Welcome To SimplyMac!
Articles, news, tech updates, reviews, helpful tips, and troubleshooting guides. We’re here to make your technology products easier to use and to help you get through any troubles you might have. We’ll show you the best way to use your electronics to the fullest and help you fix them if they break.

iPhone
iPhone Satellite Connectivity Guide

iPhone
How Good Is The iPhone 16 Plus in 2026?


Apple Watch
How to Track Sleep on Apple Watch

What’s Hot
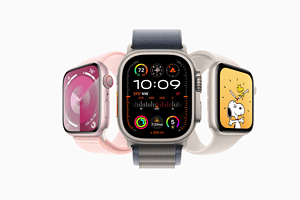
Apple Watch Series 10: Everything You Need to Know (2026 Guide)
The Apple Watch Series 10 marks a major milestone in Apple’s smartwatch lineup, celebrating a …
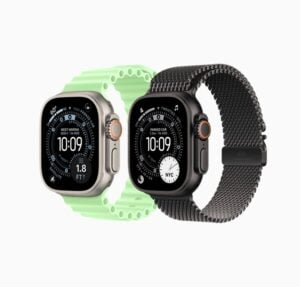
Apple Watch Ultra 3 — Specs, Info, Latest News & Rumors (2026 Guide)
Last updated: February 2026 The Apple Watch Ultra 3 is the expected successor to the …

Apple Watch Ultra Setup: A Complete Step‑by‑Step Guide
The Apple Watch Ultra is built for performance, durability, and adventure. Whether you just unboxed …
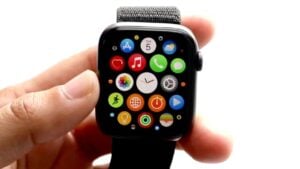
Where’s the i Icon on Apple Watch
Navigating the features of an Apple Watch can be straightforward once you know where to …
Apple Watch Ultra Band Compatibility
The Apple Watch Ultra represents the latest evolution in Apple’s wearable lineup, offering a more …

Apple TV Screen Mirroring: Quick Setup Guide for Beginners
Apple TV screen mirroring lets you share your iPhone, iPad, or Mac screen on a …
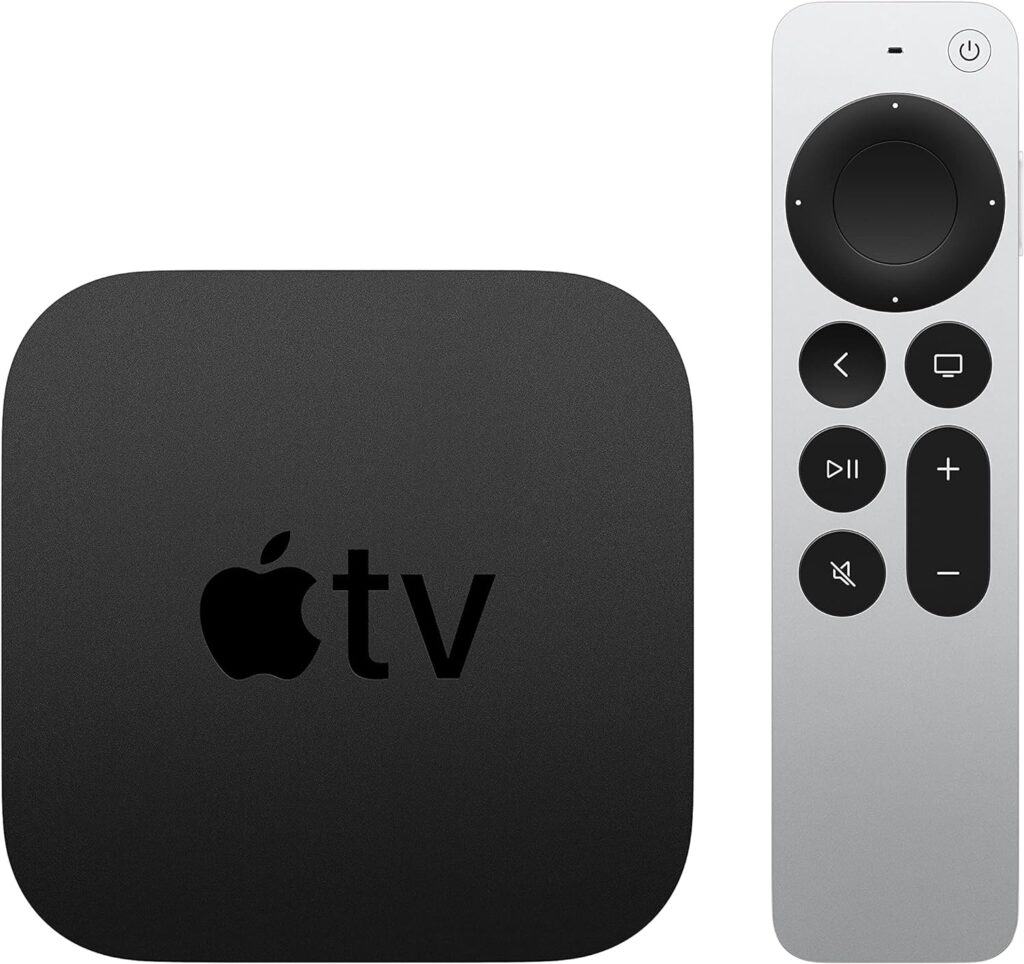
Next-Generation Apple TV 4K (2025) Still Expected Later This Year
Apple’s set-top box hasn’t been refreshed since 2022, and competitors such as Roku, Amazon, and …