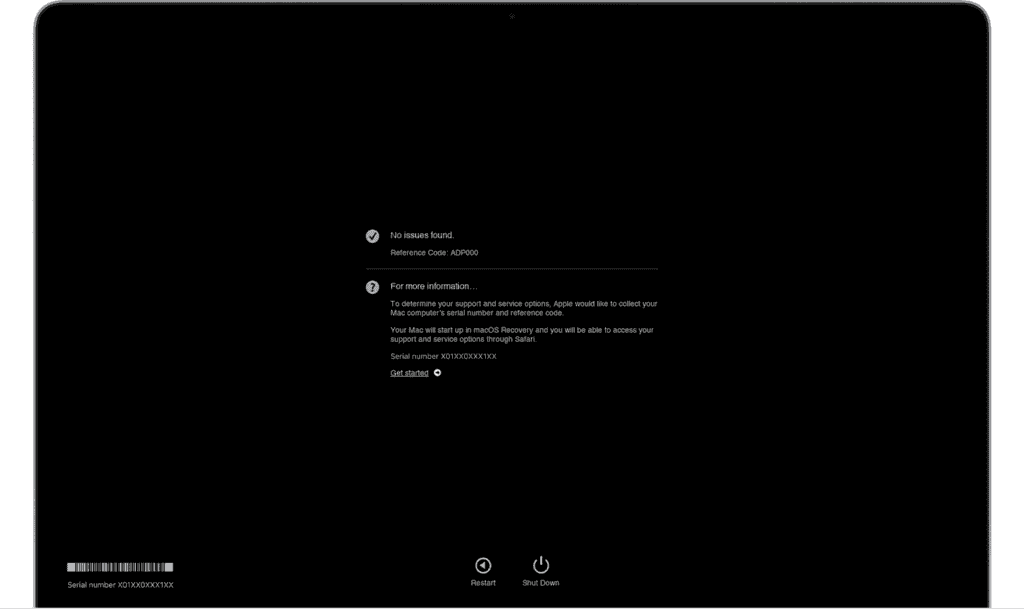
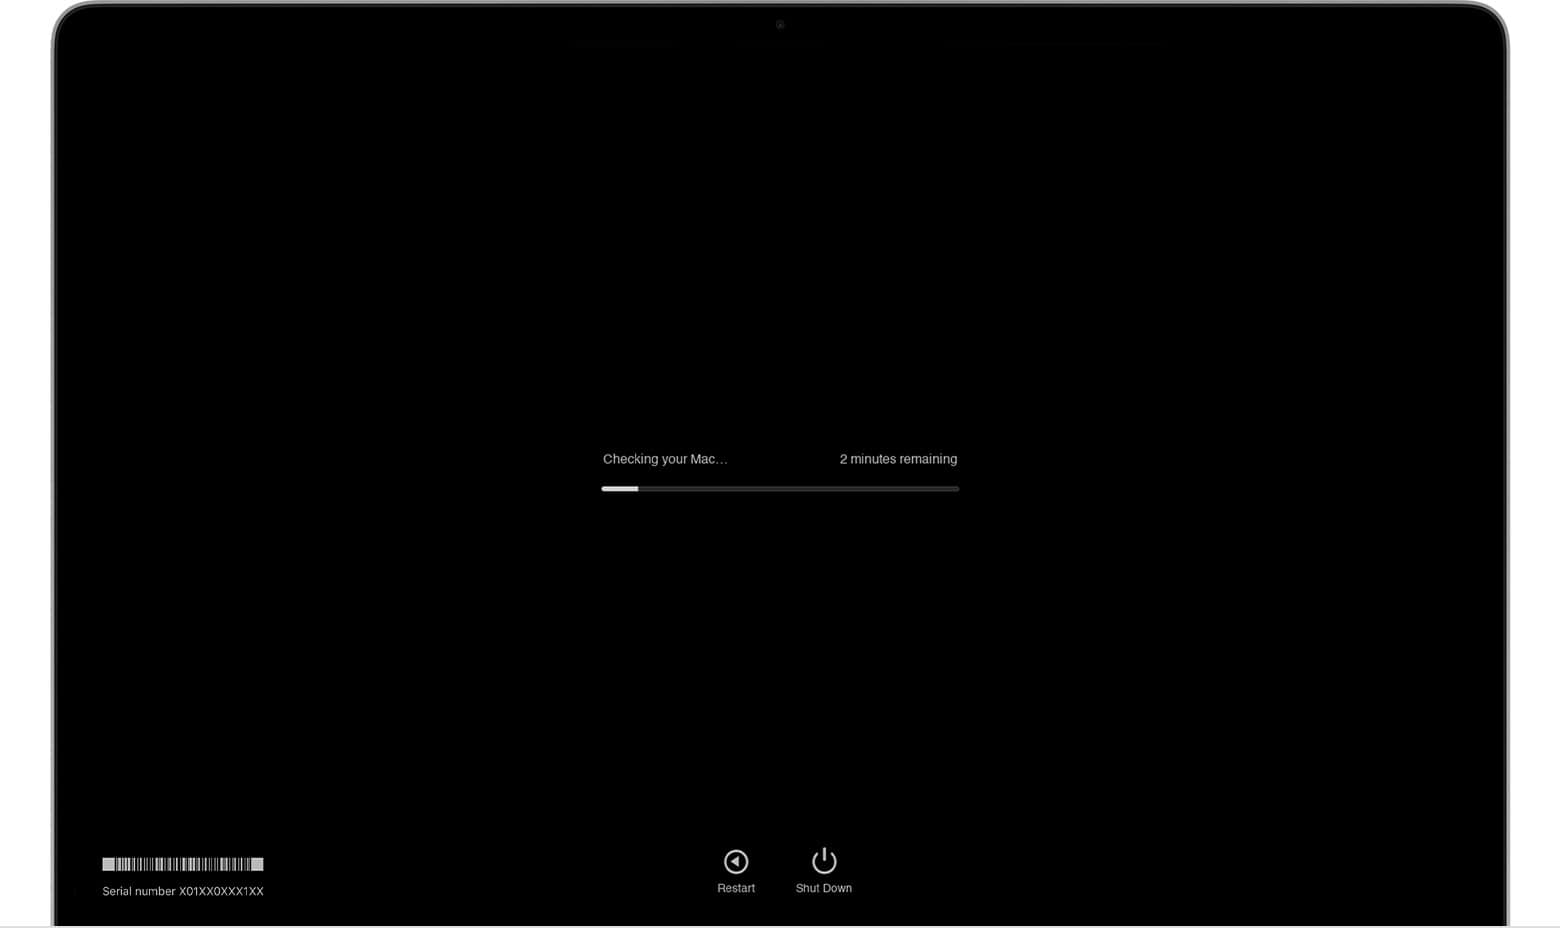
To use Apple Diagnostics and check your Mac’s hardware health, follow these steps: First, disconnect all external devices from your Mac, except for the keyboard, mouse, display, and Ethernet connection if needed. This will help Apple Diagnostics to accurately check your Mac.To run Apple Diagnostics on a Mac with Apple silicon chips, start the computer and hold down the power button until the startup options appear, then press Command-D.
For Intel-based Macs, turn on the computer and immediately hold the D key.After the test is complete, you will receive reference codes. These codes can help you take further action, such as contacting Apple Support or visiting an authorized service provider if needed.If you encounter any problems, remember that Apple Support is available to assist you with troubleshooting and resolving issues. Utilizing Apple Diagnostics can help you address potential hardware issues, such as memory, logic board, and wireless modules.
Unlocking Your Mac’s Health: A Guide to Apple Diagnostics
Apple Diagnostics, a built-in tool on Macs, is your first line of defense when troubleshooting hardware issues. This guide will walk you through the simple steps to run this diagnostic test, helping you pinpoint potential problems and get your Mac back to peak performance.
Preparing Your Mac
Before you begin, disconnect any external devices from your Mac, except for the keyboard, mouse, and display. If you’re using a MacBook, connect it to a power source.
Running Apple Diagnostics
The process differs slightly depending on whether your Mac has an Apple silicon chip or an Intel processor.
Apple Silicon
- Turn off your Mac.
- Press and hold the power button until you see the startup options window.
- Press Command (⌘) + D on your keyboard.
Intel Processor
- Turn on your Mac.
- Immediately press and hold the D key on your keyboard.
- Release the D key when you see a progress bar or are asked to choose a language.

Understanding the Results
Apple Diagnostics will run a series of tests on your Mac’s hardware components. The process typically takes a few minutes. When complete, you’ll see one of the following:
- No issues found: Your Mac’s hardware is in good shape.
- Reference code: A code indicating a potential hardware issue. Note down the code and consult Apple Support for further assistance.
Additional Options
- Run the test again: Press Command (⌘) + R to repeat the test.
- Start Apple Diagnostics over the Internet: Press Option + D to use your internet connection instead of the built-in version of Apple Diagnostics. This can be useful if your Mac’s storage drive is having issues.
| Option | Key Combination | Description |
|---|---|---|
| Run the test again | Command (⌘) + R | Repeats the diagnostic test. |
| Start Apple Diagnostics over the Internet | Option + D | Runs the test using your internet connection. |
Key Takeaways
- Apple Diagnostics helps find hardware issues on Macs.
- Disconnect external devices before starting the test.
- Test results provide reference codes for troubleshooting.
Preparing for Diagnostics
Before using Apple Diagnostics to check your Mac, a few steps are essential for a smooth and accurate testing process. These will help to ensure that external factors do not interfere with the test’s ability to detect any issues.
Before You Start
First, make sure to back up all your data to avoid any potential loss. Then, disconnect all external devices, except the keyboard, mouse, and display, unless they are built into your Mac. This could include printers, USBs, and external hard drives. Ensure that your Mac is on a flat, stable surface with good ventilation to prevent overheating. Turn off any Bluetooth devices to remove them from the equation. If you’re using a laptop, connect it to AC power to make sure it doesn’t run out of battery during the diagnostics. Lastly, ensure that your Mac is connected to the internet, preferably through an Ethernet connection, to retrieve updated information about your support options if needed.
Optimizing Test Conditions
Restart your Mac before starting the test. This can clear temporary files and give you a fresh start. It’s also important to remember that Diagnostics works best when your Mac is connected to the internet via an Ethernet cable. This will allow faster and more stable communication than relying on a Wi-Fi network. Ensure no other electronic devices are causing interference. Now, press the power button and immediately hold the ‘D’ key after you hear the startup chime or see the Apple logo. Keep holding until Apple Diagnostics begins. This will help avoid any issues that may arise if the system was not properly engaged.
Running Apple Diagnostics
Apple Diagnostics helps you identify hardware issues in Apple silicon and Intel processor Macs. It’s a reliable tool to test your machine for potential hardware problems.
Starting Diagnostics
For Macs with Apple silicon, turn on your computer and continue holding the power button until you see the startup options window. Click Options, then click Continue. Select the language you prefer and then your Mac will start checking its hardware with Apple Diagnostics. On Intel-based Macs, start by turning on your Mac, then immediately press and hold the D key. Release it when you see a progress bar or are prompted to choose a language.
Analyzing Diagnostic Results
After the diagnostics test is complete, a bar will show its progress. Then, results appear, sometimes with one or more reference codes. These codes point out hardware issues. You might see suggestions for next steps or solutions.
Troubleshooting and Support
If Apple Diagnostics finds a hardware issue, note the reference code before seeking support. Contact Apple Support or visit an Authorized Apple Service Provider to discuss service and support options. For issues not fixed by the suggestions, professional help may be needed to resolve hardware problems.
Frequently Asked Questions
Apple Diagnostics is a useful tool that can help you troubleshoot your Mac. It provides you information on hardware issues that may be affecting your device’s performance. This section covers common questions about this built-in feature.
What are the steps to initiate Apple’s built-in hardware diagnostic tests?
You can start the diagnostic tests on your Mac by first ensuring that all external devices are disconnected. Then, depending on your Mac model, you restart your device and either hold down the ‘D’ key (for Intel-based Macs) or press the power button and select ‘Options’ followed by ‘Command – D’ (for Apple Silicon Macs).
Which issues can be detected and reported by the Apple hardware diagnostic tool?
The Apple hardware diagnostic tool can detect a range of issues related to your Mac’s logic board, memory, wireless components, and other connected internal devices. It may not catch all software-related problems.
What preconditions should be met before running Apple hardware diagnostics?
Make sure your Mac has a stable power source and all peripherals are disconnected. This helps in obtaining a clear diagnosis by testing the Mac in an isolated state.
How can I interpret the error codes displayed after running Apple diagnostics?
Error codes will pop up if issues are detected. Each code starts with a letter followed by numbers. You can check what they mean by visiting Apple’s official support site or using Apple’s support resources.
Is an internet connection necessary to perform Apple’s hardware diagnostics?
No, an internet connection is not required to run Apple Diagnostics on most newer Mac models. However, for an extended test or certain older models, you may need to connect to the internet.
What should be done after obtaining the results from the Apple diagnostics test?
Once you’ve got the results, you can get more information about the issues and troubleshooting steps on Apple’s support website. If needed, contact Apple Support or visit an Apple Store for repairs.


