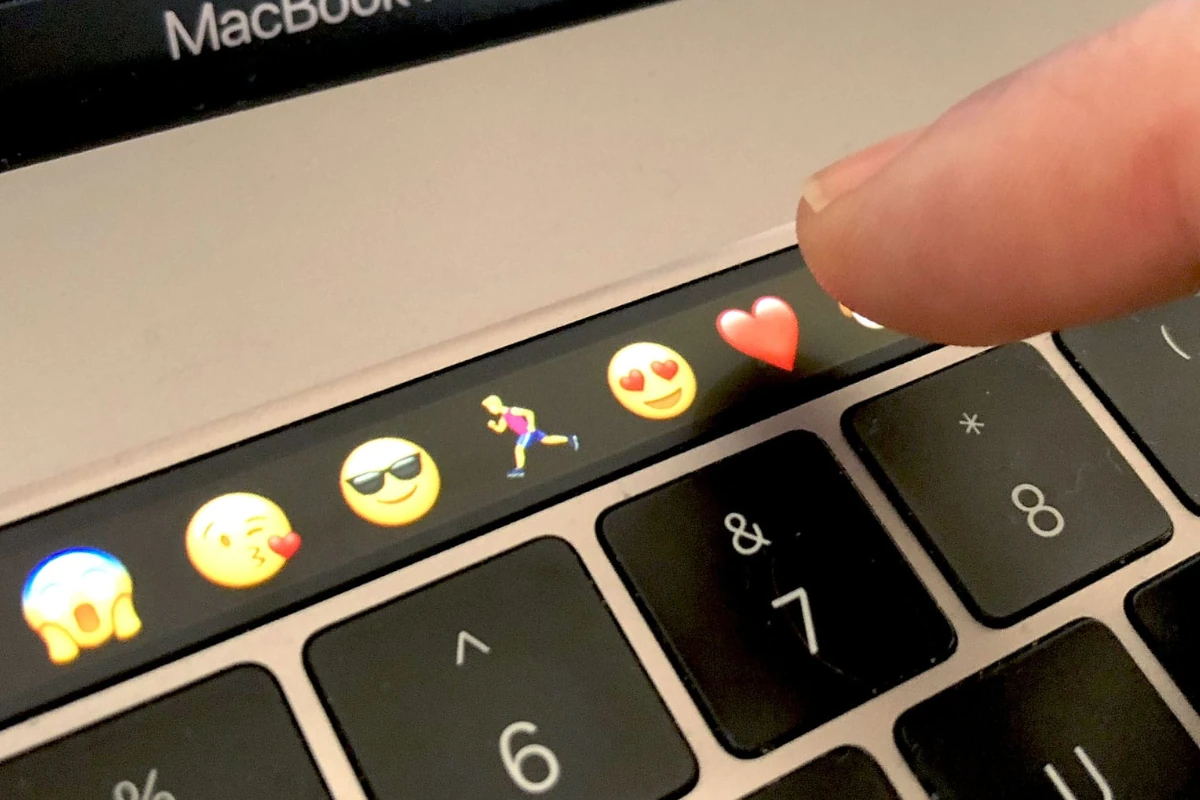
Capturing screenshots on a MacBook Pro is essential for both personal and professional use. The Touch Bar on the MacBook Pro provides an efficient way to capture the screen’s content if you add the functionality to it. Because you can control the strip of controls, adding screenshot is just a matter of following along a few steps below.
Taking screenshots on a Mac is a handy way to capture information or share visuals. Knowing where your screenshots are saved and how to customize their location can help you stay organized and easily access your captures when needed. Whether you prefer the default desktop location or a dedicated folder, macOS provides the flexibility to manage your screenshots effectively.
This guide will walk you through using the Touch Bar for taking screenshots and customizing it to fit your workflow. Learning to capture what’s on your screen using the Touch Bar is a simple and useful skill. Users can quickly save images of their desktop for future reference, create visuals for presentations, or troubleshoot with tech support. Mastery of this function can streamline work processes and enhance the overall user experience on the MacBook Pro.

Touch Bar Shortcuts
Adding A Dedicated Touch Bar Shortcut Button
The Touch Bar offers a convenient shortcut for capturing screenshots. Look for the screenshot icon (a camera with overlapping rectangles) on the Touch Bar’s Control Strip. Tap it to reveal a menu with various screenshot options. By default the screenshot shortcut may not be setup to show on your Macbook. To add that shortcut you:
- On your Mac, choose Apple menu
 > System Settings, click Keyboard
  in the sidebar, then click Touch Bar Settings on the right. (You may need to scroll down.)
 - Click Customize Control Strip.Expand the Control Strip in the Touch Bar, if you want.
- Add, rearrange, or remove buttons in the Control Strip.
- Add buttons: Use the trackpad or mouse to drag a button from the screen to the Control Strip; buttons in the Control Strip jiggle slightly.
- Rearrange buttons: Use your finger on the Control Strip to drag a button.
- Remove buttons: Use the trackpad or mouse to drag a button from the Control Strip to the screen.
- Add the shortcut for ‘Screenshot’
- When you’re finished, click Done on the screen (or tap Done in the Touch Bar, if it’s shown there).

Screenshot Options in the Touch Bar Menu
| Option | Description |
|---|---|
| Entire Screen | Captures the whole screen, including the Touch Bar if present. |
| Selected Window | Captures a specific window after you select it. |
| Selected Portion | Allows you to drag and select the area you want to capture. |
| Screen Recording | Records your screen, either the entire display or a selected portion. |
| Touch Bar Screenshot | Captures the Touch Bar display itself. |
Customizing the Touch Bar
You can tailor your Touch Bar to suit your preferences. To add the screenshot button if it’s not visible:
- Go to System Settings > Keyboard.
- Click on Keyboard Shortcuts in the sidebar.
- Select Screenshots on the right.
- Check the box next to Show Touch Bar Screenshot button.
Advanced Screenshot Options
For more control over your screenshots, press Shift-Command-5. This opens a floating toolbar with options for timed screenshots, choosing where to save the file, and showing or hiding the mouse pointer.
Taking A Screenshot Of The Touch Bar
To capture only the Touch Bar’s display, use the keyboard shortcut Command-Shift-6. The screenshot will be saved to your desktop, just like other screenshots.
Key Takeaways
- The Touch Bar offers a customizable strip for screen captures.
- Mac users can screenshot the full screen, a portion, or just the Touch Bar.
- These functions enhance user experience and proficiency on the MacBook Pro.
Taking Screenshots Using the Touch Bar
The MacBook Pro’s Touch Bar offers a unique method to take screenshots quickly. It simplifies the process with a dedicated button and custom settings for user convenience.
Using the Screenshot Button
The Touch Bar has a screenshot button that users can tap to capture the entire screen. After tapping this button, the screenshot saves instantly. By default, screenshots save to the desktop, making them easy to find.
Customizing the Control Strip for Screenshots
Users can customize the Control Strip in the Touch Bar to include controls for screenshots. First, go to System Preferences, then select Keyboard. Choose ‘Customize Control Strip’ and drag the screenshot button into the Touch Bar layout. This setup allows for quicker access to screenshot features right from the Touch Bar.
Screenshot Management and Tips
Taking a screenshot on a MacBook Pro with a Touch Bar is simple but managing and customizing those images effectively requires a bit more know-how. This section guides you through storing and finding screenshots and offers tips for making those screenshots suit your needs perfectly.
Finding and Managing Screenshots
Once you take a screenshot on macOS, it saves to the desktop by default. This makes it easy to find, but you might want to organize them better. Create a folder in the Documents section and name it “Screenshots” for easy storage. To move a screenshot to this folder, drag it from the desktop. If you take many screenshots, consider using a tagging system in Finder to sort them.
For quick access to recent screenshots, use the Preview app. Open it, and you will find your recent screenshots listed under “Recent Documents”. The Photos app is another storage option, especially if you want to keep the images synced across different Apple devices.
Tips for Effective Screenshot Customization
You can do more with screenshots than just save them. Using keyboard shortcuts, you can quickly copy a screenshot to the clipboard instead of saving it. Press Command + Control + Shift + 4, then select the area you want to capture. Now, the screenshot is stored in your clipboard and ready to paste into documents or image editors.
For a more tailor-made screenshot, use Command + Shift + 4 and select the exact area you wish to capture. Once you have your screenshot, open it in the Preview app to crop or annotate it as needed. This app provides tools to edit and refine images easily, so you get exactly what you want. Remember that the Touch Bar has its own screenshot shortcut: Command + Shift + 6. This captures the Touch Bar alone and can be a valuable asset for designers and developers who need to showcase their Touch Bar layouts.
Screenshot Safari: Locating Your Captures on a Mac
Default Location: Your Desktop
By default, macOS saves screenshots directly to your desktop. They’ll have a name like “Screen Shot [date] at [time].png.” This makes them easy to find after you snap them, but it can also lead to a cluttered desktop if you take a lot of screenshots.
Changing the Default Save Location
If you prefer to keep your screenshots organized in a specific folder, you can change the default save location. Here’s how:
- Open the Screenshot app: Press
Shift + Command + 5to launch the Screenshot app. - Access Options: Click on the “Options” button in the toolbar that appears at the bottom of your screen.
- Choose a new location: Under the “Save to” section, select your preferred location from the list or choose “Other Location” to specify a custom folder.
Finding Lost Screenshots
If you can’t find your screenshots, try these methods:
- Search with Spotlight: Press
Command + Spaceto open Spotlight, then type “screenshot” to search for all screenshot files on your Mac. - Check the Recent Items folder: Your screenshots might be in the “Recent Items” folder in the Finder sidebar.
- Use Finder search: Open a Finder window and press
Command + F. In the search bar, typekMDItemIsScreenCapture:1to filter for screenshot files.
Customizing Screenshot Settings
The Screenshot app offers various customization options:
| Option | Description |
|---|---|
| Show Floating Thumbnail: Choose whether to display a thumbnail preview of your screenshot in the corner of your screen. | |
| Remember Last Selection: If enabled, the Screenshot app will remember the area you selected for your last screenshot. | |
| Show Mouse Pointer: Decide whether to include the mouse pointer in your screenshots. |
Additional Tips
- Drag and Drop: You can drag the screenshot thumbnail to a specific folder or document to save it there directly.
- Copy to Clipboard: Press and hold the
Controlkey while taking a screenshot to copy it to the clipboard instead of saving it as a file. - Third-Party Apps: Consider using third-party screenshot apps like CleanShot X or Snagit for more advanced features and customization options.


