Laptop batteries are essential for portable computing, but they don’t last forever. Over time, they lose their ability to hold a charge, leading to shorter runtimes and inconvenience. Whether your laptop has an external or internal battery, knowing how to replace it is a valuable skill that can save you time and money. Maintaining a good quality and long-lasting laptop battery is important for keeping your computer working well. When it’s time to replace your external battery, here are the steps to follow:
- Turn off your laptop and unplug the AC adapter.
- Release the latch or other attachment holding the battery in place.
- Slide the old battery out of its compartment.
- Carefully lift the battery out.
- Avoid touching the contacts on the battery or inside the bay.
- Take the replacement battery out of the box.
- Slide it into place and close the safety latch to secure it.
- Reconnect the AC adapter and fully charge the battery.
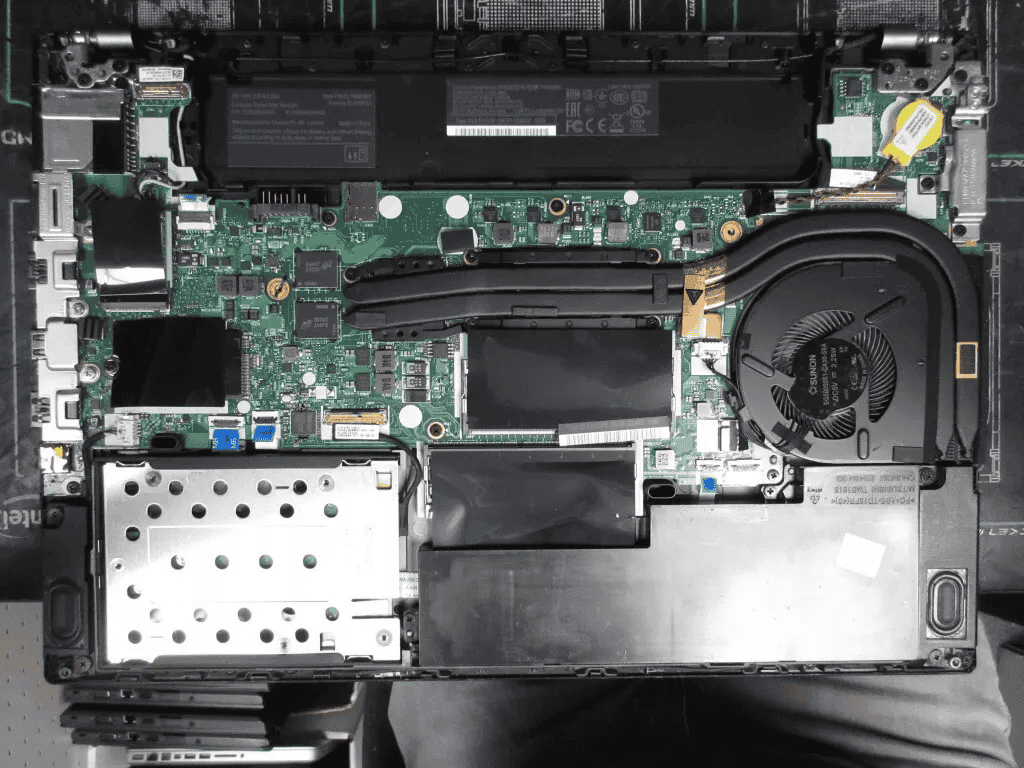
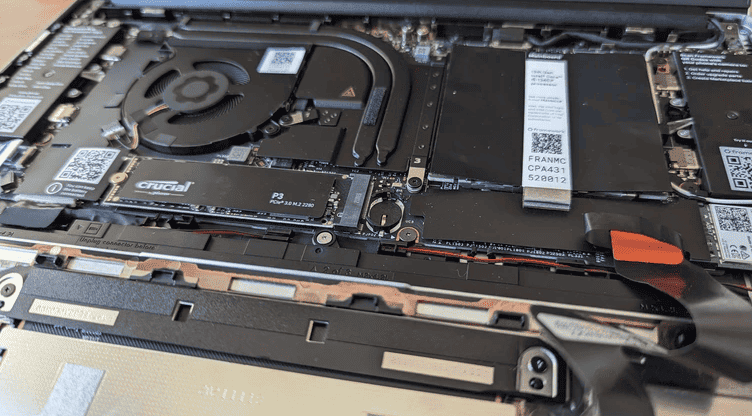
For internal batteries the process becomes significantly more complicated as the laptop will have to be taken apart. Usually, this requires the work of a technician (unless you are comfortable doing it). Because you’re tearing down a laptop, the best course of action for internal batteries is to go on Youtube and search for a tear-down video specific to your model so you know where all the screws and special ribbons are located. Search Youtube for “[YOUR LAPTOP MODEL] + Tear Down Video”
Laptop Battery Replacement: A Step-by-Step Guide
External Batteries

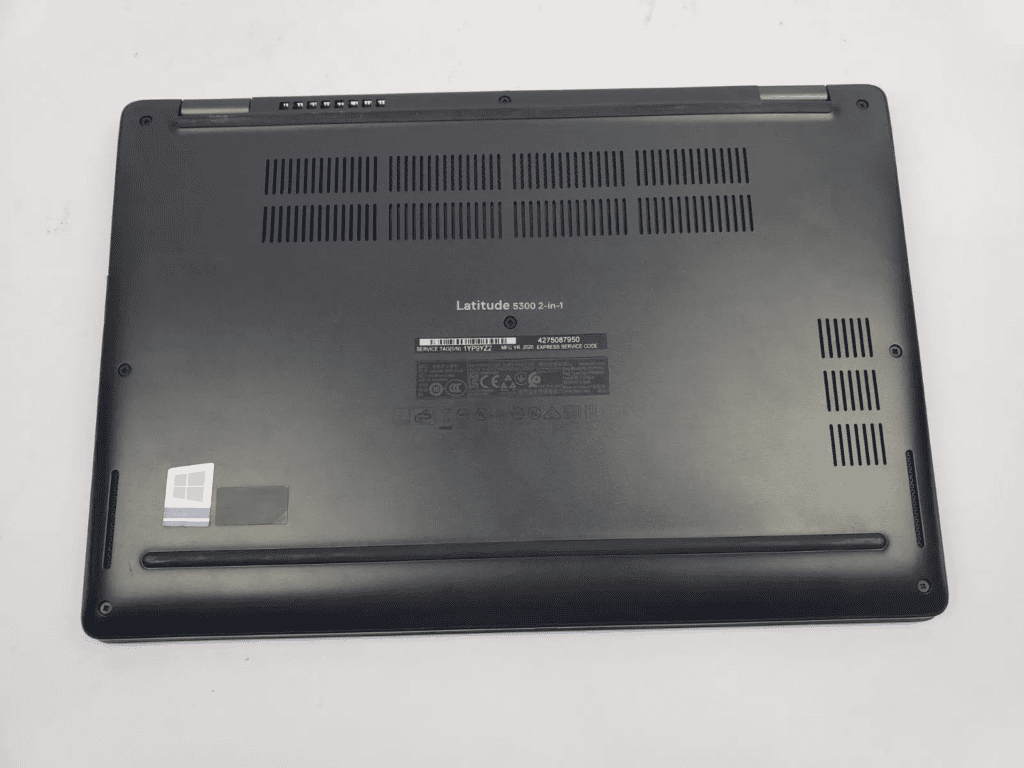
Replacing an external laptop battery is usually a straightforward process. First, make sure your laptop is off and unplugged. Locate the battery latch or release mechanism, often found on the bottom of the laptop. Slide or unlock the latch to release the battery. Insert the new battery, ensuring it clicks into place securely, and then re-engage the latch.
Internal Batteries

Replacing an internal battery can be more complex, as it requires opening the laptop’s casing. It’s crucial to consult your laptop’s manual or manufacturer’s website for specific instructions. Generally, you’ll need to:
- Power off the laptop and disconnect the power adapter.
- Remove any screws securing the bottom panel of the laptop.
- Gently pry open the bottom panel using a plastic tool to avoid damaging the components.
- Locate the battery and disconnect it from the motherboard.
- Remove any screws holding the battery in place and carefully lift it out.
- Connect the new battery, secure it with screws, and reattach the bottom panel.
When to Replace Your Laptop Battery
Several signs indicate it might be time for a new battery:
- Reduced Battery Life: If your laptop dies quickly or doesn’t hold a charge as long as it used to, it could mean your battery is nearing the end of its lifespan.
- Overheating: A faulty battery can overheat, causing your laptop to shut down unexpectedly or feel unusually warm.
- Physical Damage: A swollen or leaking battery should be replaced immediately, as it can pose a safety hazard.
Safety Tips
- Use the Correct Battery: Always use a compatible battery recommended by your laptop’s manufacturer. Using an incorrect battery can damage your laptop.
- Handle with Care: Batteries can be fragile, so handle them gently to avoid damage.
- Proper Disposal: Recycle old batteries responsibly to minimize environmental impact.
Table: External vs. Internal Laptop Batteries
| Feature | External Battery | Internal Battery |
|---|---|---|
| Replaceability | Easy, user-replaceable | More difficult, may require professional help |
| Cost | Generally less expensive | Can be more expensive |
| Convenience | Convenient for frequent travelers | Sleeker design, integrated with laptop |
| Safety | Less risk of damage to laptop | Can pose a risk if not handled properly |
Replacing your laptop’s battery can be a simple DIY project or a task best left to professionals, depending on whether the battery is external or internal. By understanding the differences and following the appropriate steps, you can restore your laptop’s power and extend its lifespan
How to Replace a Laptop Battery
| Step | Description | Notes |
|---|---|---|
| Preparation: | 1. Turn off your laptop and unplug it from the power outlet. 2. Gather your tools: screwdriver (type depends on your laptop), replacement battery (compatible with your laptop model), anti-static wrist strap (optional). 3. Locate your laptop’s user manual or search online for specific instructions for your model. | Different laptops have different battery removal procedures. |
| Opening the Laptop: | 1. Find the battery compartment. Consult your manual or online guide if needed. It’s usually on the bottom of the laptop but can vary. 2. Remove the screws securing the compartment cover. Pay attention to screw sizes and locations for reassembly. 3. Carefully pry open the compartment cover. Use a plastic tool to avoid damaging the case. | Be gentle and avoid touching any sensitive components inside. |
| Battery Removal: | 1. Locate the battery connector. It’s usually attached to the motherboard. 2. Disconnect the battery connector carefully. Consult your manual for specific instructions on how to unlatch or unlock it. 3. Remove the old battery. | Don’t force it if it’s stuck. Double-check your manual if needed. |
| Battery Installation: | 1. Insert the new battery into the compartment. Ensure it’s aligned correctly. 2. Reconnect the battery connector. Follow the same steps as before in reverse order. 3. Secure the compartment cover with the screws. Tighten them gently but firmly. | Double-check that everything is connected properly before closing the compartment. |
| Testing and Closing: | 1. Close the laptop and plug it back in. 2. Turn on your laptop. Check if the battery is detected and charging. 3. Consult your manual for any additional setup steps. | Some laptops may require BIOS updates or calibration after battery replacement. |
Additional Notes:
- This is a general guide, and specific steps may vary depending on your laptop model. Always refer to your manual or online resources for accurate instructions.
- Battery replacement can void your laptop’s warranty. Consider professional help if you’re unsure or uncomfortable doing it yourself.
- Dispose of old batteries responsibly according to local regulations. Never throw them in the trash.
Understanding Laptop Batteries
Types of Laptop Batteries
Most modern laptops use lithium-ion batteries because of their high energy capacity and lightweight design. There are also nickel-cadmium (NiCad) and nickel-metal hydride (NiMH) batteries, but these are less common due to their heavier weight and lower energy densities.
Signs of Battery Aging
Batteries age, losing capacity over time. If your laptop doesn’t last as long on a full charge as it used to, or if you see a red X over the battery icon on your Windows device, it’s a signal that the battery’s capacity is dwindling. Other serious signs include physical deformations, such as a swollen battery, which can be hazardous.
Battery Life and Capacity
The battery life of a laptop is how long it can run before needing a recharge. Capacity refers to the maximum charge a battery can hold. With age and usage, capacity drops, meaning your laptop may not run as long as when it was new. Keeping an eye on the battery capacity and the number of charge cycles helps gauge lifespan.
Preparing for Battery Replacement
When it’s time to replace a laptop battery, it’s crucial to approach the task with the right tools and knowledge. This ensures safety and compatibility, and results in a smooth replacement process.
Safety Precautions
Before starting the replacement process, safety should always come first. Always ensure the laptop is powered off and disconnected from any power sources. It’s wise to wear an anti-static wrist strap to prevent any static damage to the laptop’s internal components. Keep liquids and other conductive materials away from the workspace.
- Wear anti-static wrist strap
- Disconnect laptop from power source
- Work in a dry, clean environment
Required Tools and Parts
To replace a laptop battery, having the correct tools and a suitable replacement battery on hand is necessary. Typically, a small Phillips head screwdriver is needed to remove the screws securing the battery. For laptops with non-removable batteries, a pry tool might be necessary to gently lift the battery out.
- Phillips head screwdriver: For screws.
- Pry tool: For prying out the battery (if needed).
- Replacement battery: Specific to the laptop model.
Identifying the Correct Replacement Battery
Selecting the correct replacement battery is essential. It should match the laptop’s make and model to ensure compatibility. The battery’s voltage and capacity should be the same as the original. For precise identification, look for the model number on the original battery or consult the laptop manufacturer’s website.
- Laptop make and model: Match with the battery.
- Battery’s voltage and capacity: Must be the same as the original.
- Model number: Located on the original battery.
Finding the right battery often involves checking with the laptop manufacturer, like HP or Dell, to avoid mistakes. Once the correct battery is identified and the tools are gathered, it’s almost time to start the replacement.
Removing the Old Battery
Before starting the battery removal process, it’s important to ensure the laptop is turned off and all cables are disconnected to prevent any potential electrical issues. This will involve accessing the battery compartment, detaching various latches or screws, and carefully removing the battery itself.
Shutting Down and Disconnecting Your Laptop
First, shut down the laptop completely—don’t just put it to sleep. Make sure the power switch is turned off, and then disconnect all cables, including the power cord and any peripherals. This is a crucial step to avoid any electrical accidents and ensure your own safety.
Accessing the Battery Compartment
Next, flip the laptop over to locate the battery compartment. Depending on the model, you might see a battery icon indicating its position. For compartments secured with screws, you will need a suitable screwdriver to remove them. Make a note of which screws came from where to help with reassembly later. If the battery is housed within the laptop, you will need to open the case by removing the necessary screws from the bottom panel.
Detaching the Battery
Once you’re in the battery compartment, look for the latch or lock that holds the battery in place. Slide latches should be moved to the unlock position, sometimes requiring you to hold them while removing the battery. For internal batteries, disconnect any cables or wires connected to the battery—these should gently pull apart or may have a connector you’ll need to unseat. Be careful not to pull on wires with force; instead, grip the plastic connector to separate it from the main board. After all connections are free, lift the battery out of the compartment. If the battery is screwed in, remove the screws before lifting out the battery.
Always handle the laptop and battery with care, respecting the delicate components inside your machine.
Installing the New Battery
Replacing your laptop battery can be a smooth process with the right preparation. Here’s how to confidently install your new power source and get your laptop running like new.
Positioning and Securing the Battery
The new battery must be aligned correctly within the laptop’s battery compartment. Ensure that the shape and size of the replacement battery match the compartment. Slide the battery into place with firm, gentle pressure until it is seated properly. If there are screws or clips that were removed from the original battery, reattach them to secure the new battery. Use the correct tools to avoid stripping screw heads or damaging the laptop.
Reconnecting Laptop Components
Once the battery is in place, look for the connector that will power the laptop. It should be easy to spot and only fit in one direction. Firmly press the connector into the port to reconnect the power. Be sure not to force the connection, as this can cause damage.
Testing the New Battery
After the replacement battery is secured and connected, power on the laptop to test its function. Check the battery icon on the taskbar to ensure the laptop recognizes the new battery and is charging properly. If everything looks good, your battery replacement is complete!


