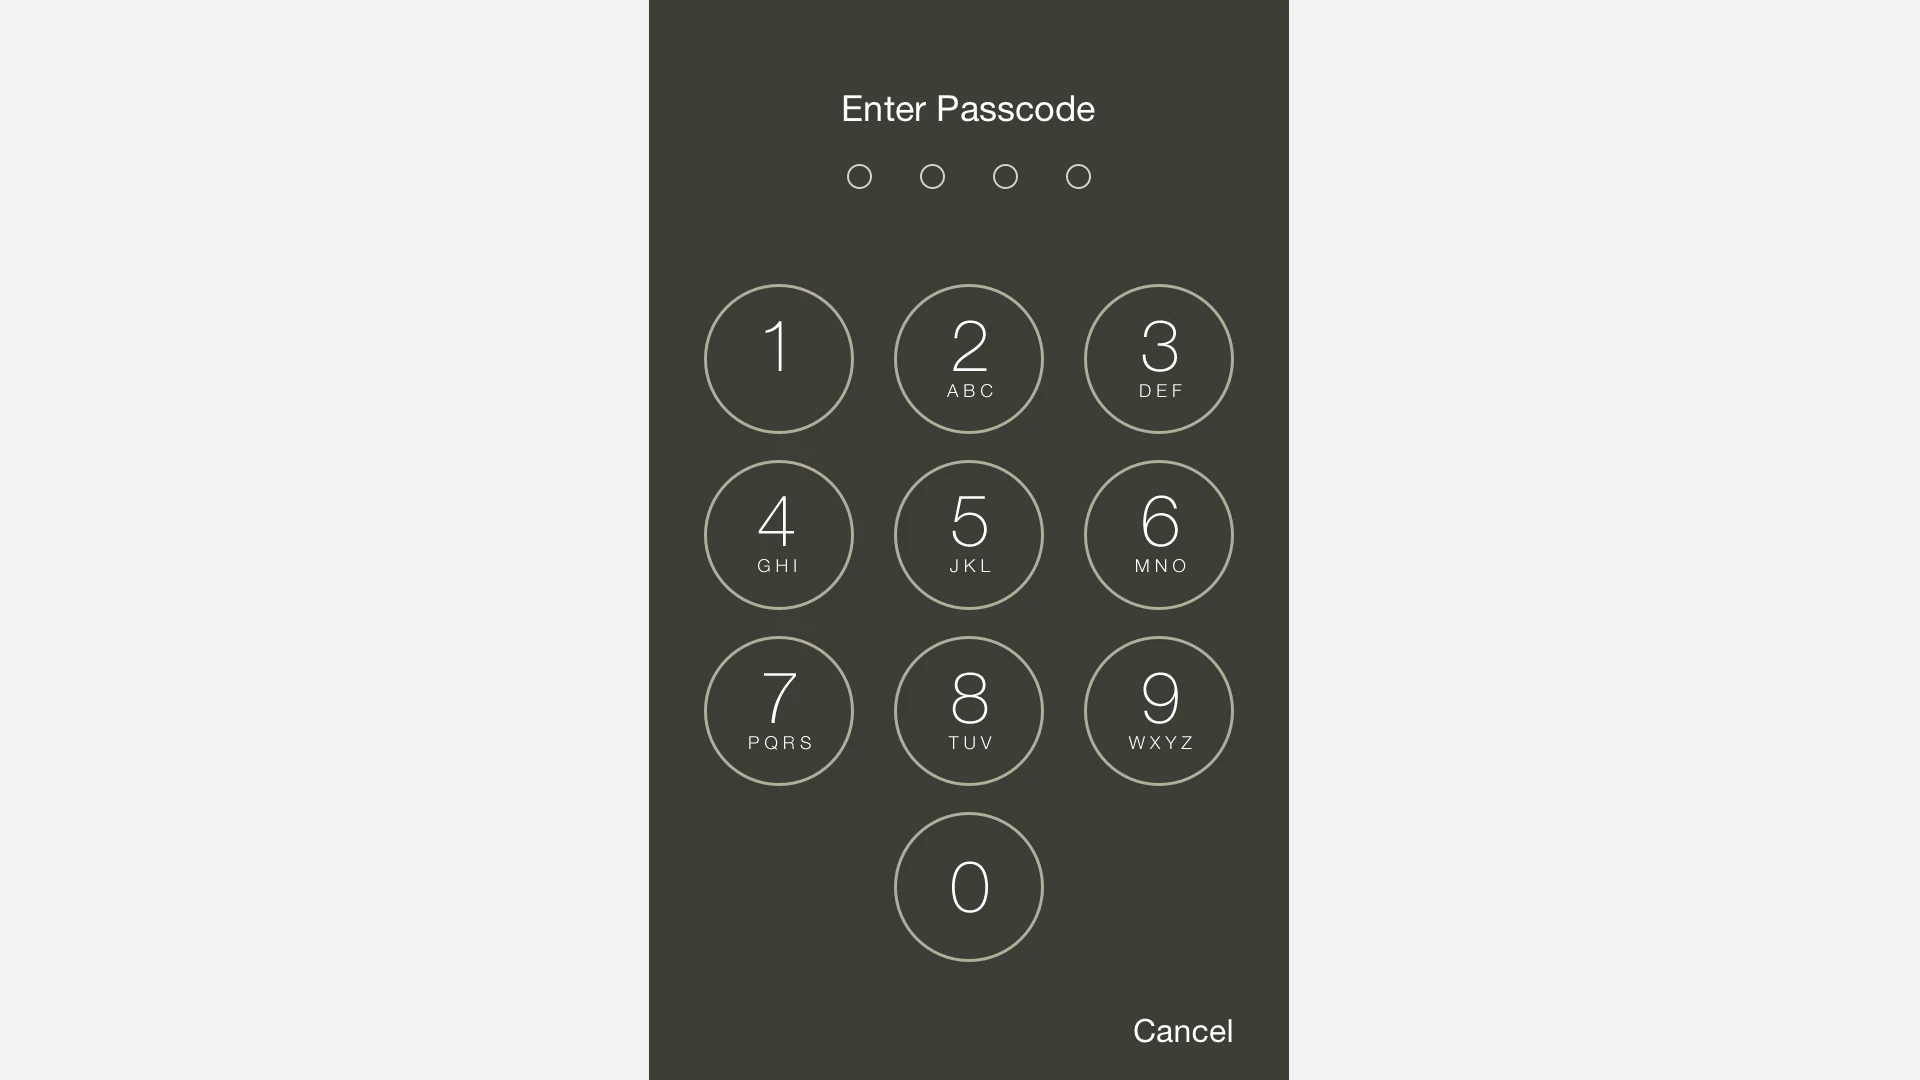
Protecting your iPhone with a passcode is crucial for safeguarding your personal data. Setting up a passcode adds an extra layer of security to your device, preventing unauthorized access to your information. You can choose between a simple 4-digit code or a more complex alphanumeric password for enhanced protection.
If you forget your iPhone passcode, don’t panic. Apple provides ways to regain access to your device. You can use a computer to erase and reset your iPhone, allowing you to set it up again with a new passcode. This process ensures you can recover your device without compromising your data security.
For iPad users, the process is similar. If you’ve forgotten your iPad passcode, you can use your Mac or PC to reset it. This involves putting your iPad into recovery mode and using iTunes or Finder to restore the device.
| Device | Passcode Reset Method | Required Tools |
|---|---|---|
| iPhone | Computer-assisted erase and reset | Mac or PC with iTunes/Finder |
| iPad | Recovery mode restore | Mac or PC with iTunes/Finder |
https://support.apple.com/iphone/passcode
Resetting Your iPhone’s Passcode
Forgetting your iPhone passcode can be a stressful experience, but there are ways to regain access to your device. Here’s a guide to resetting your iPhone’s passcode:
Important: Resetting your iPhone will erase all data and settings on the device. Ensure you have a recent backup before proceeding.
Methods to Reset Your Passcode
There are two primary methods to reset your iPhone’s passcode:
1. Using Recovery Mode
This method involves putting your iPhone into recovery mode and restoring it using a computer.
- Connect your iPhone to a computer: Use a USB cable to connect your iPhone to a Mac or Windows PC that has iTunes or Finder installed.
- Put your iPhone into recovery mode: The process varies depending on your iPhone model:
- iPhone 8 or later: Press and quickly release the Volume Up button. Press and quickly release the Volume Down button. Then, press and hold the Side button until you see the recovery mode screen.
- iPhone 7 or iPhone 7 Plus: Press and hold both the Side and Volume Down buttons until you see the recovery mode screen.
- iPhone 6s or earlier: Press and hold both the Home and the Top (or Side) buttons until you see the recovery mode screen.
- Restore your iPhone: On your computer, iTunes or Finder will detect your iPhone in recovery mode. Choose the option to restore your iPhone. This will erase all data and install the latest iOS version.
- Set up your iPhone: Once the restore process is complete, follow the on-screen instructions to set up your iPhone as new or restore from a backup.
2. Using Find My iPhone
If you have Find My iPhone enabled on your device, you can erase it remotely.
- Go to iCloud.com: On a computer or another device, go to iCloud.com/find.
- Sign in with your Apple ID: Use the same Apple ID that’s signed in to your locked iPhone.
- Select your iPhone: Click on “All Devices” and choose your locked iPhone from the list.
- Erase your iPhone: Click on “Erase iPhone” and follow the on-screen instructions. This will erase all data and settings, including the passcode.
- Set up your iPhone: Once the erase process is complete, you can set up your iPhone as new or restore from a backup.
Preventing Future Lockouts
- Use Face ID or Touch ID: These biometric authentication methods provide convenient and secure ways to unlock your iPhone without a passcode.
- Choose a memorable passcode: Select a passcode that you can easily remember but is difficult for others to guess.
- Enable iCloud Keychain: This feature securely stores your passwords and other sensitive information, including your iPhone passcode, making it easier to recover if forgotten.
- Regularly back up your iPhone: Create backups on your computer or iCloud to have a copy of your data in case you need to reset your device.
By following these tips and utilizing the available methods, you can reset your iPhone’s passcode and regain access to your device. Remember to always keep your data backed up to avoid losing important information during the reset process.
Setting Up Your Passcode
Securing your iPhone or iPad starts with creating a strong passcode. This essential step protects your personal data and prevents unauthorized access to your device.
Creating Your First Passcode
To set up your first passcode, go to Settings on your device. For iPhones with Face ID, tap “Face ID & Passcode“. On devices with Touch ID, select “Touch ID & Passcode”. Tap “Turn Passcode On” and enter a six-digit code.
You’ll need to enter it twice to confirm. Your device will now require this passcode to unlock. For added security, enable “Require Passcode” immediately after locking your device.
Consider these tips for a strong passcode:
- Avoid easily guessable numbers like birthdays
- Don’t use repeating or sequential digits
- Change your passcode regularly
Custom Numeric Code
If you prefer more options, you can create a custom numeric code. This allows for a passcode longer than six digits. To set this up, tap “Passcode Options” when creating your passcode.
Select “Custom Numeric Code” and enter your desired number sequence. Longer codes offer better security. Consider using a memorable pattern on the number pad for easy entry.
Benefits of custom numeric codes:
- More digits = increased security
- Easier to remember than alphanumeric codes
- Faster to enter than typing letters
Custom Alphanumeric Code
For maximum security, choose a custom alphanumeric code. This option combines letters and numbers, creating a more complex password. Select “Custom Alphanumeric Code” from the “Passcode Options” menu.
Use a mix of uppercase and lowercase letters, numbers, and symbols. Aim for at least 8 characters. Avoid using common words or phrases.
| Code Type | Security Level | Ease of Use |
|---|---|---|
| 6-Digit | Good | Easy |
| Custom Numeric | Better | Medium |
| Alphanumeric | Best | Harder |
Remember to balance security with convenience. Choose a code you can enter quickly but others can’t guess easily.
Accessing Your Device
iPhone security features like Touch ID and Face ID provide convenient yet secure ways to unlock your device. The lock screen offers quick access to essential functions. When standard methods fail, you can use Finder or iTunes to regain access.
Using Touch ID and Face ID
Touch ID and Face ID offer swift and secure ways to unlock your iPhone. Touch ID uses your fingerprint while Face ID scans your face. To set up Touch ID, go to Settings > Touch ID & Passcode. For Face ID, navigate to Settings > Face ID & Passcode.
These features work with apps too. You can use them to authorize purchases and sign in to accounts. This adds an extra layer of security to your device.
Both methods are fast and reliable. They reduce the need to enter your passcode frequently. This makes your iPhone more convenient to use without compromising security.
Lock Screen Navigation
The lock screen is your first point of interaction with your iPhone. It shows notifications, time, and date at a glance. You can access the Control Center by swiping down from the top right corner.
Swipe left to open the camera quickly. Swipe right to view your widgets. These shortcuts save time and let you perform tasks without unlocking your device.
On newer iPhones, raise to wake automatically turns on the screen. This feature makes checking notifications easier. You can customize which notifications appear on the lock screen in Settings.
| Feature | Action | Benefit |
|---|---|---|
| Camera | Swipe left | Quick photo capture |
| Widgets | Swipe right | At-a-glance info |
| Control Center | Swipe down (top right) | Quick settings access |
Unlocking with Finder or iTunes
If you forget your passcode, you can unlock your iPhone using Finder or iTunes. This process erases your device and restores it from a backup.
On a Mac with macOS Catalina or later, use Finder. On a Windows PC or Mac with macOS Mojave or earlier, use iTunes. Connect your iPhone to the computer with a USB cable.
Put your iPhone in recovery mode. The steps vary by model. For iPhones with Face ID, press and quickly release the volume up button, then the volume down button. Finally, press and hold the side button until you see the recovery mode screen.
In Finder or iTunes, choose the Restore option when prompted. This will erase your iPhone and install the latest iOS version. After restoration, you can set up your iPhone as new or restore from a backup.
Recovering Your Passcode
Forgetting your iPhone passcode can be frustrating. Luckily Apple provides several methods to regain access to your device. These options involve resetting your iPhone to its factory settings.
Restore iPhone via Recovery Mode
To restore your iPhone using recovery mode, follow these steps:
Connect your iPhone to a computer with a USB cable.
Force restart your device:
- For iPhone 8 or later: Press and release volume up, then volume down. Hold the side button until you see the recovery mode screen.
- For iPhone 7: Hold the volume down and side buttons until the recovery mode screen appears.
- For iPhone 6s or earlier: Hold the home and top (or side) buttons until you see the recovery mode screen.
On your computer, open Finder (Mac with macOS Catalina or later) or iTunes (Windows or Mac with macOS Mojave or earlier).
When prompted, choose “Restore” to erase your device and install the latest iOS version.
This process will erase all data on your iPhone. You can restore a backup after setup if available.
Using ‘Find My iPhone’ for Passcode Reset
If you’ve enabled Find My iPhone you can use it to erase your device remotely:
- Go to iCloud.com/find on a computer or another device.
- Sign in with your Apple ID.
- Click “All Devices” and select your iPhone.
- Choose “Erase iPhone” to remove all content and settings.
After erasing your iPhone you can set it up as new or restore from a backup. This method works even if your iPhone isn’t connected to Wi-Fi or cellular data.
iTunes and Finder Recovery Options
For older iOS versions or when other methods fail you can use iTunes or Finder:
- Connect your iPhone to the computer you normally sync with.
- Open iTunes (Windows or macOS Mojave and earlier) or Finder (macOS Catalina and later).
- If prompted for a passcode ignore it and wait for the sync to finish.
- Click “Restore iPhone” to erase your device and install the latest iOS version.
| Recovery Method | Pros | Cons |
|---|---|---|
| Recovery Mode | Works for all iPhones | Requires a computer |
| Find My iPhone | Can be done remotely | Needs Find My enabled |
| iTunes/Finder | Familiar for long-time users | May not work for newer iOS |
Remember to always keep your Apple ID password secure and updated. It’s crucial for accessing these recovery options.
Additional Security Features and Troubleshooting
iPhone passcodes offer robust protection for your device. Beyond the basics, several advanced features can enhance security and help you troubleshoot issues.
Changing Your Passcode
To change your iPhone passcode:
- Go to Settings > Face ID & Passcode (or Touch ID & Passcode)
- Enter your current passcode
- Tap “Change Passcode”
- Enter your old passcode
- Set a new passcode
Choose a strong, unique passcode. Avoid easily guessable numbers like birth dates or repeating digits. Consider using a longer alphanumeric code for extra security.
If you forget your passcode, you’ll need to erase your iPhone and restore from a backup.
Turning Passcode Off
While not recommended, you can turn off your passcode:
- Go to Settings > Face ID & Passcode (or Touch ID & Passcode)
- Enter your current passcode
- Scroll down and tap “Turn Passcode Off”
- Confirm your choice
Turning off your passcode leaves your device vulnerable. Only do this if absolutely necessary. Remember to re-enable it as soon as possible.
Some features like Apple Pay require a passcode to be set.
Erase Data After Failed Passcode Attempts
Enable this feature to protect your data if your iPhone falls into the wrong hands:
- Go to Settings > Face ID & Passcode (or Touch ID & Passcode)
- Enter your passcode
- Scroll down and toggle on “Erase Data”
This will erase your iPhone after 10 failed passcode attempts. Make sure you have recent backups before enabling this feature.
| Attempt | Result |
|---|---|
| 1-5 | Normal |
| 6 | 1-minute delay |
| 7-8 | 5-minute delay |
| 9 | 60-minute delay |
| 10 | iPhone erases |
Dealing with a Compromised Apple ID
If you suspect your Apple ID has been compromised:
- Change your Apple ID password immediately
- Enable two-factor authentication if not already active
- Check your account for any suspicious activity
- Sign out of all devices
For additional security, set up Stolen Device Protection. This feature adds extra verification steps when your iPhone is away from familiar locations.
If you can’t access your account, contact Apple Support for assistance in regaining control.
Frequently Asked Questions
iPhone passcode issues can be frustrating. Here are solutions for common problems like forgotten passcodes, disabled devices, and locked-out situations.
What steps should I follow to reset my iPhone passcode when it’s forgotten?
If you’ve forgotten your iPhone passcode, you can erase your device and set it up again using a Mac or PC. Connect your iPhone to the computer and open iTunes or Finder. Put your device in recovery mode. Choose the Restore option when prompted.
After restoring, you can set up your iPhone as new or restore from a backup. This process erases all data on your device, so regular backups are crucial.
How can I restore my iPhone with iTunes after entering the wrong passcode too many times?
When your iPhone is disabled due to too many incorrect passcode attempts, iTunes can help. Connect your device to a computer with iTunes installed. Force restart your iPhone while connected. iTunes will detect a device in recovery mode.
Click “Restore” when prompted. This erases your iPhone and installs the latest iOS version. After restoration, set up your device and restore from a backup if available.
How do I put my iPhone into recovery mode for passcode reset?
The method to enter recovery mode varies by iPhone model. For iPhone 8 and later: Press and quickly release the volume up button, then volume down button. Press and hold the side button until the recovery mode screen appears.
For iPhone 7: Press and hold the side and volume down buttons together. Keep holding until you see the recovery mode screen. For iPhone 6s and earlier: Hold the home and side (or top) buttons simultaneously until the recovery mode screen appears.
Is there a way to bypass the iPhone passcode without using iTunes?
There’s no official way to bypass an iPhone passcode without iTunes or Finder. Apple prioritizes security and doesn’t provide passcode bypass methods. Unofficial methods risk data loss or device damage.
Your best option is using iTunes or Finder to restore your device. This erases all data but allows you to regain access to your iPhone.
How do I recover access to my iPhone without using the passcode or Face ID/Touch ID?
If you can’t use your passcode, Face ID, or Touch ID, you’ll need to erase and restore your iPhone. Use iTunes or Finder on a computer you’ve previously synced with. If that’s not possible, use recovery mode as described earlier.
After restoring, set up your iPhone and use a recent backup to recover your data. If you don’t have a backup, you’ll need to set up the device as new.
What should I do if I’m locked out of my iPhone and don’t have access to a trusted computer?
If you’re locked out without access to a trusted computer, you can use iCloud to erase your iPhone remotely. Sign in to iCloud.com on any device. Go to Find My iPhone and select your device. Choose “Erase iPhone.”
After erasing, you can set up your iPhone again. If you don’t have an iCloud backup, you’ll need to set it up as a new device. Consider enabling Find My iPhone and creating regular backups to prevent future issues.
| Method | Requirements | Data Loss |
|---|---|---|
| iTunes/Finder Restore | Computer with iTunes/Finder | Yes |
| Recovery Mode | Computer with iTunes/Finder | Yes |
| iCloud Erase | Internet access, Find My iPhone enabled | Yes |


