iPhone photography has become incredibly popular. The iPhone camera is easy to use and always with you. Learning a few simple tips can help you take much better photos with your iPhone.
Taking great iPhone photos is not hard. You just need to know some basics. The iPhone camera has many features that can improve your pictures. Things like focus, exposure, and composition make a big difference.
Getting started with iPhone photography is fun. You can open the camera app quickly from the lock screen. This lets you capture moments fast. Try taking multiple shots of the same subject. You can pick the best one later.
Unlocking Your Inner Photographer
iPhone Photography Tips for Beginners
Want to take amazing photos with your iPhone? You don’t need to be a professional photographer to capture stunning shots. With a few simple tips and tricks, you can master mobile photography and capture memories like a pro. Here’s how to get started.
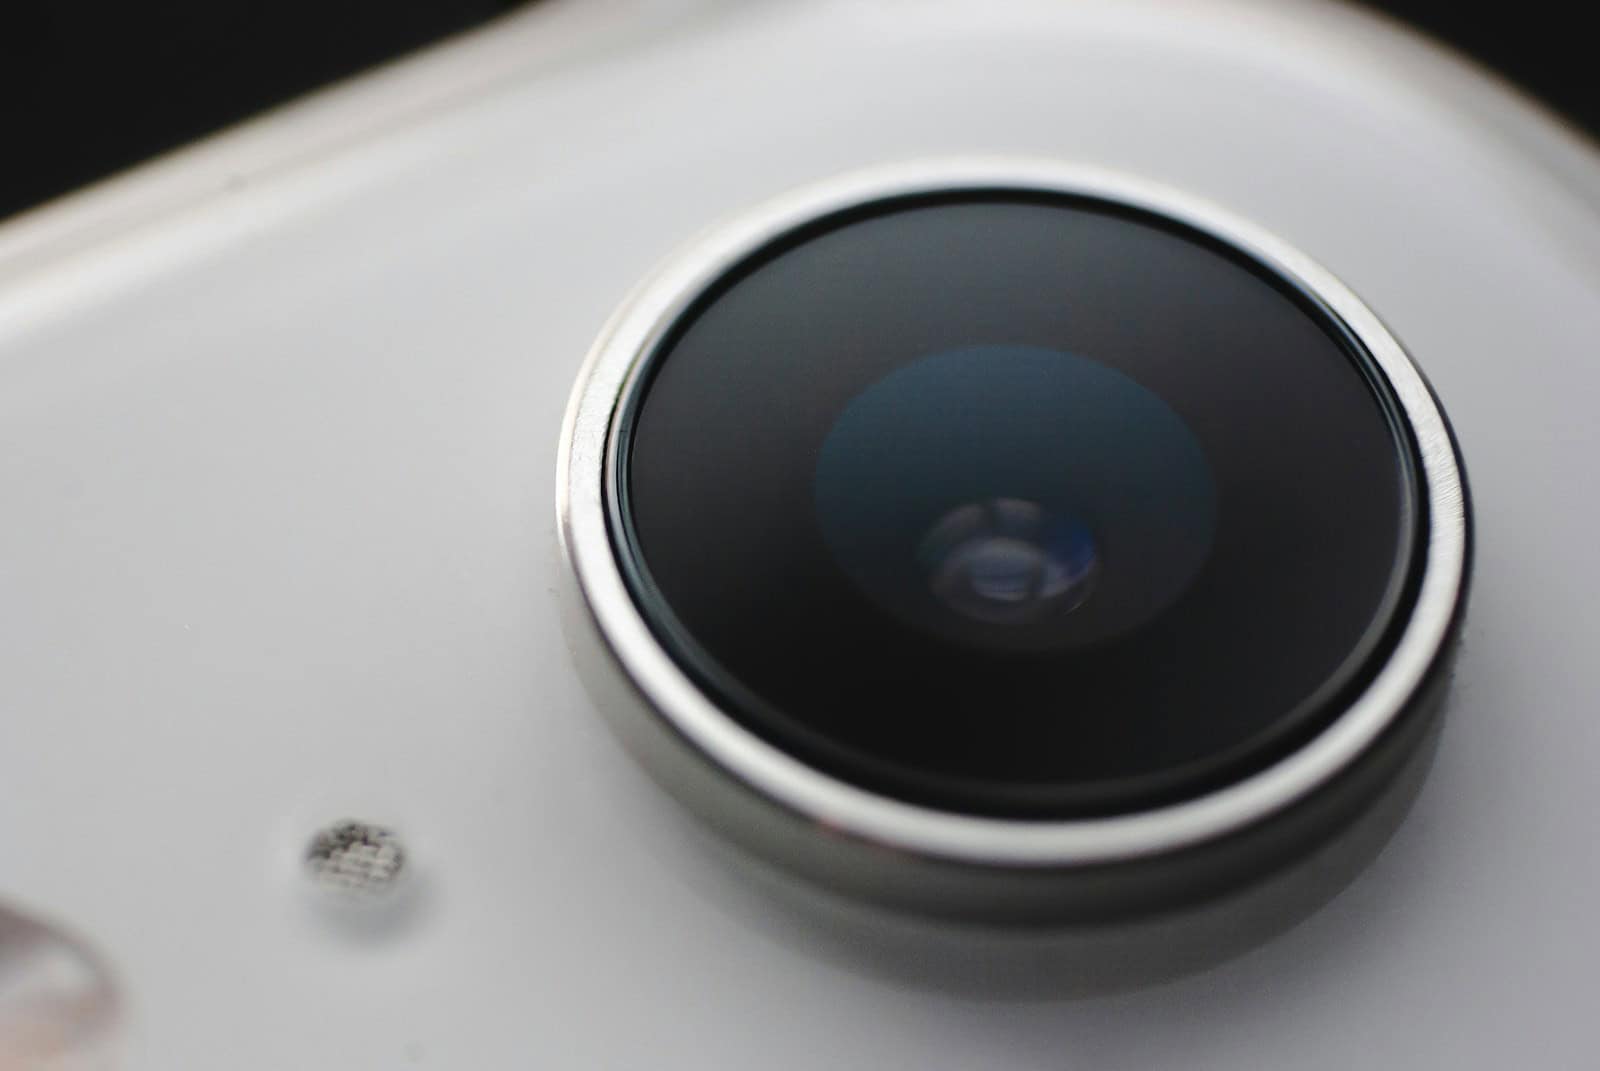
1. Clean Your Lens
It seems obvious, but it’s easy to forget! Fingerprints and smudges on your iPhone’s lens can make your photos look blurry or hazy. Give your lens a quick wipe with a soft cloth before you start snapping pictures. This will ensure your photos are crystal clear.
2. Use Gridlines for Better Composition
Gridlines are a handy tool for composing your shots. They divide your screen into thirds, helping you position your subject in a visually appealing way. To turn on gridlines, go to Settings > Camera > Grid.
3. Focus on Your Subject
Tap on the screen to set the focus point. This ensures your subject is sharp and clear. You can also adjust the exposure (brightness) by dragging the sun icon up or down.
4. Explore Different Shooting Modes
Your iPhone camera offers various shooting modes, including Portrait mode, Night mode, and Panorama. Experiment with these modes to capture different effects and perspectives. Portrait mode, for example, creates a blurred background effect that makes your subject pop.
5. Play with Lighting
Lighting is crucial for great photos. Natural light is usually best, so try to take your photos outdoors or near a window. Avoid harsh shadows by shooting during the golden hours (early morning or late afternoon). You can also use artificial light sources creatively.
6. Try the Burst Mode for Action Shots
Capturing fast-moving subjects? Use burst mode to take a series of photos in quick succession. This increases your chances of getting a perfect shot. To use burst mode, simply hold down the shutter button.
7. Edit Your Photos
Don’t be afraid to edit your photos to enhance them. Your iPhone has built-in editing tools that let you adjust brightness, contrast, saturation, and more. You can also use third-party apps for more advanced editing options.
8. Practice Makes Perfect
The best way to improve your iPhone photography skills is to practice regularly. Experiment with different angles, compositions, and lighting conditions. The more you shoot, the better you’ll become at capturing stunning photos.
Quick Tips Table
| Tip | Description |
|---|---|
| Clean your lens | Ensure clear, sharp images |
| Use gridlines | Compose your shots effectively |
| Focus on your subject | Keep your subject sharp and clear |
| Explore shooting modes | Capture different effects |
| Play with lighting | Enhance the mood and quality of your photos |
Key Takeaways
- The iPhone camera is powerful and easy to use for beginners
- Focus, exposure, and composition are key to better iPhone photos
- Practice by taking multiple shots and experimenting with settings
Fundamentals of iPhone Photography
These days, everyone has a pretty amazing camera right in their pocket – their iPhone! But even with a great camera, taking really good photos takes a little know-how. This article shares some easy-to-follow tips to help you take your iPhone photography to the next level. From basic things like cleaning your lens to more creative techniques like using different shooting modes and playing with light, these tips will have you snapping pics like a pro in no time.
iPhone photography combines technical know-how with creative vision. Getting started requires mastering basic camera functions, shot composition, and lighting techniques.
Understanding Your iPhone Camera
The iPhone camera is a powerful tool with many features. It has both front and back cameras. The back camera is better for most photos. The camera app has different modes like Portrait, HDR, and Pano.
To open the camera, tap the Camera app icon. You can also swipe left on the lock screen. This is faster when you need to catch a quick shot.
The volume buttons can act as a shutter. This helps reduce camera shake. For even steadier shots, use a tripod.
Composing and Capture the Shot
Good composition makes photos more eye-catching. Use the grid feature to help with framing. Turn it on in your camera settings.
The rule of thirds is a key composition tip. Place important elements along the grid lines or at their intersections.
Try different angles and perspectives. Get low or climb high for unique views. Change between landscape and portrait orientations to fit your subject.
Focus is crucial. Tap the screen where you want to focus. This also sets the exposure.
Mastering Lighting and Exposure
Lighting can make or break a photo. Natural light often gives the best results. Avoid using flash unless necessary.
The iPhone adjusts exposure automatically. But you can change it. Tap to focus, then slide the sun icon up or down.
HDR mode helps in tricky lighting. It combines multiple exposures into one balanced shot.
For creative effects, try shooting into the light. This can create silhouettes or sun flares.
Practice is key. The more photos you take, the better you’ll get. Don’t be afraid to experiment with different techniques.
Frequently Asked Questions
iPhone photography offers many creative possibilities. These tips can help beginners improve their skills and take better photos.
How do I get started with iPhone photography?
Open the Camera app on your iPhone. Tap the shutter button to take a photo. Try different modes like Portrait or Panorama. Experiment with composition by moving closer or farther from your subject.
Practice is key. Take lots of photos to learn what works best. Review your shots and note what you like or want to improve.
What settings should I use to make my iPhone photos look professional?
Turn on the grid in your camera settings. This helps with framing and using the rule of thirds. Adjust exposure by tapping the screen and sliding up or down.
Try HDR mode for high-contrast scenes. Use Portrait mode for photos of people. Lock focus and exposure by pressing and holding on the screen.
What are some iPhone photography hacks to improve my photos?
Use the volume buttons as a shutter release. This can reduce camera shake. Clean your lens often for sharper images. Try shooting from unusual angles for unique perspectives.
Use everyday objects as props or framing devices. Experiment with reflections in water or windows. Look for leading lines to guide the viewer’s eye.
How can I take high-quality pictures using an iPhone 14?
The iPhone 14 has powerful cameras. Use the main camera for most shots. Switch to the ultra-wide lens for landscapes. Try macro mode for close-ups of small objects.
Explore Photographic Styles to adjust tone and warmth. Use Night mode for low-light photos. Try Action mode for smooth video while moving.
Can you share some tricks for creative iPhone photography?
Play with shadows and silhouettes. Use burst mode to capture fast action. Create double exposures by layering two photos. Try long exposures of moving water or light trails.
Experiment with foreground elements to add depth. Use the timer for shake-free low-light shots. Look for symmetry and patterns in your surroundings.
What are the best practices for posting iPhone photos on Instagram?
Edit your photos before posting. Use the built-in editing tools or third-party apps. Adjust brightness, contrast, and saturation for a polished look.
Choose a consistent style for your feed. Use relevant hashtags to reach more people. Write engaging captions to tell the story behind your photos.