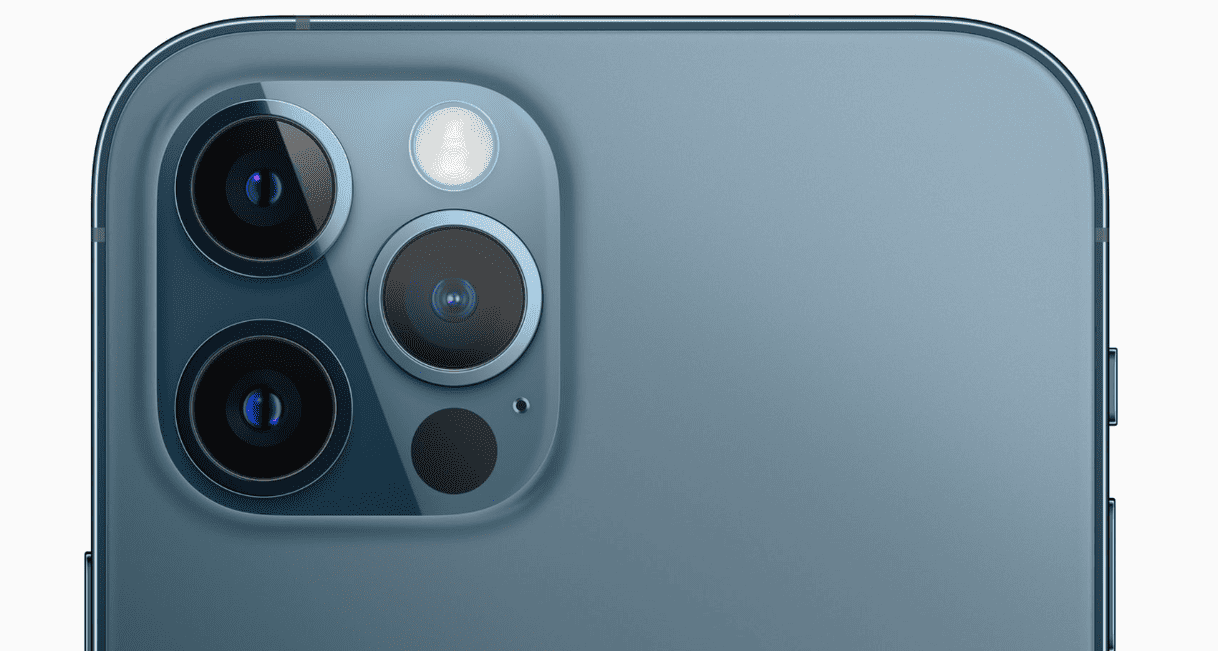
If the camera lens on your iPhone is cracked, it can affect the quality of your photos and videos. While it’s possible to fix it yourself, it’s important to handle your iPhone carefully to avoid further damage. However, attempting to repair the lens yourself may void your warranty and potentially worsen the problem. It’s generally safer and more reliable to seek professional help.
If you still want to proceed, you’ll need to open the device safely by unscrewing the screws near the charging port and then work on the camera part inside the iPhone. With the right parts and patience, you may be able to clear the damage and restore your iPhone’s camera.
Tools and Materials Needed
| Tool/Material | Description |
|---|---|
| Replacement camera lens kit | Specific to your iPhone model, these kits often include the lens, adhesive, and tools |
| Precision prying tools | To gently remove the old lens and residue |
| Cleaning cloth | Lint-free, to remove fingerprints and dust |
| Heat gun or hairdryer (optional) | To soften adhesive |
Step-by-Step Guide
- Power Down: Fully turn off your iPhone to prevent accidental shorts.
- Disassemble: Carefully follow disassembly instructions specific to your iPhone model to access the camera module.
- Remove Cracked Lens: Use precision tools to gently pry off the damaged lens. If adhesive is present, soften it with gentle heat.
- Clean the Area: Thoroughly clean the camera lens seating area with the cleaning cloth, ensuring no glass particles or adhesive residue remain.
- Apply New Adhesive: If not pre-applied, carefully place new adhesive around the camera housing.
- Install New Lens: Align the new camera lens precisely and press it firmly into place.
- Reassemble: Meticulously reassemble your iPhone, ensuring all connections are secure.
- Test: Turn on your iPhone and thoroughly test the camera functionality.
Important Considerations
- Difficulty: This repair requires delicate handling and precision. It’s not suitable for beginners.
- Risk: Improper repair could damage your camera module or other components.
- Water Resistance: DIY repair will likely compromise your iPhone’s water resistance.
Seek Professional Help When in Doubt
If the process seems too complex or you lack confidence, it’s always recommended to consult a qualified Apple technician or a reliable third-party repair service.
Key Takeaways
- A cracked lens can be fixed with careful DIY repairs.
- Proper tools and a gentle approach are crucial.
- Replacing the lens restores photo and video quality.
Understanding iPhone Camera Lens Damage
Repairing a cracked iPhone camera lens requires a firm grasp of how the damage occurs and its implications for your device. This knowledge ensures the right approach to fix the issue and restore the camera’s functionality.
Assessing the Damage
Check the rear camera lens for any visible cracks or scratches. The extent of the damage could range from a simple scratch to a completely shattered lens. A cracked lens can compromise photo quality, leading to blurry images or lens flare. Before deciding on a repair strategy, determine if the damage is superficial or if it affects the camera’s ability to capture images.
Factors Affecting Repair Options
Several factors influence the repair process for a cracked iPhone camera lens:
- Warranty and AppleCare+: If your iPhone is under warranty or covered by AppleCare+, Apple may provide a free or discounted repair. It’s important to consult with Apple support to understand your coverage.
- Protection Plan: Some users may have a third-party insurance or protection plan that covers accidental damage.
- Professionals vs. DIY: Consider whether to seek help from professionals at an Apple store or a third-party repair shop. Professional repair ensures the replacement of the lens with genuine parts and maintaining the integrity of the water-resistance seal.
- Cost and Quality: Weigh the cost of repair against the risk of reducing the phone’s functionality or value. Third-party repairs may offer cost savings, but they can void your warranty and possibly lead to additional problems if not done correctly.
Step-by-Step Guide to iPhone Camera Lens Repair
Repairing an iPhone camera lens requires precision and care. With the right tools and attention to detail, DIY repairs are manageable for most users.
Gathering Necessary Tools and Supplies
Before starting, ensure that you have all the necessary tools and supplies. A typical iPhone camera repair kit should include:
- Precision screwdrivers
- A suction cup
- Spudgers and tweezers
- Replacement lens and adhesive
- Lens protectors
Make sure your workspace is clean to prevent debris from getting into the device.
Disassembling the iPhone
Turn off the iPhone. Remove screws near the charging port using the precision screwdriver. Use the suction cup to gently lift the screen. Introduce a spudger to gradually separate the screen from the body, taking care not to damage ribbon cables connected to the logic board.
Replacing the Cracked Camera Lens
Locate the camera module and carefully disconnect it from the logic board if necessary. Remove any broken lens pieces with tweezers. Clean the camera area to remove smudges or fingerprints. Apply new adhesive to the replacement lens. Place it firmly into position, ensuring that it’s free of air bubbles and aligned properly.
Reassembling the iPhone
Reattach the camera module to the logic board if you disconnected it. Place the screen back onto the iPhone body. Realign any waterproof seals or adhesive to maintain the phone’s resistance to water and dust. Replace all screws and ensure that the screen fits snugly against the back cover.
Testing the Camera Functionality
Power on the iPhone and open the camera app to check the new lens. Ensure there is no blurriness and that the focus operates correctly. Snap a few pictures to confirm that the repair is successful.
By following these steps, you should be able to replace a cracked iPhone camera lens with confidence. Remember, patience and attention to cleanliness are key in achieving a successful repair.
Frequently Asked Questions
In this section, we answer common questions about dealing with a cracked camera lens on an iPhone, including repair options, costs, and preventive measures.
Can a cracked iPhone camera lens be repaired or should it be replaced?
Often, a cracked lens can either be repaired or replaced. The best course of action depends on the extent of the damage and the model of the iPhone.
What is the average cost to fix a cracked lens on various iPhone models?
Repair costs for an iPhone camera lens vary. It can range from $60 to $200. Factors influencing price include model variations and whether you choose an official repair service or a third-party provider.
Are there DIY methods for repairing a cracked iPhone camera lens, and are they recommended?
There are DIY repair kits available for replacing a camera lens. While these can be economical, they are not always recommended due to the risk of causing further damage.
What steps should be taken to fix a broken iPhone camera lens?
The repair process typically involves removing the damaged lens, cleaning the camera area, and installing a new lens. It’s important to handle the device and the components with care throughout the process.
Does fixing a cracked iPhone camera lens require professional service?
It’s often best to seek professional service when dealing with a cracked camera lens. Technicians have the proper tools and expertise to ensure the repair is done correctly.
How can I prevent damage to my iPhone camera lens in the future?
To prevent future damage to your iPhone camera lens, consider using a protective case, avoiding placing the phone on rough surfaces and keeping it away from situations where drops or impacts are likely.


