If your iPhone is no longer responsive after it got wet, you could be dealing with a device that has to be replaced. Water and electronics don’t mix well so if your iPhone takes an unexpected dive the outcome can be uncertain. But there’s still hope. By acting quickly and taking the right steps, you might be able to lessen the damage. It’s important to act fast because the longer your iPhone stays in contact with water, the greater the risk of permanent damage.
The first step to fixing the problem is to assess the damage and take immediate action to prevent further harm. If your iPhone won’t turn on after getting wet, don’t try to turn it on. Turning on the iPhone can make things worse by allowing electricity to flow through wet components, risking a short circuit. Instead, your plan should include safely removing the iPhone from the water, gently drying it, and avoiding heat sources or DIY methods that could make the issue worse.
Dealing with a Water-Damaged iPhone
Finding your iPhone submerged in water is a nightmare scenario. While water damage can be devastating, there’s still a chance to salvage your phone. Here’s what to do if your iPhone gets wet and won’t turn on:
Immediate Actions
- Don’t Turn it On: Resist the urge to see if it still works. Attempting to turn on a wet iPhone can cause short circuits and make the damage worse.
- Power it Off: If it’s already on, immediately power it down.
- Remove Accessories: Unplug any cables, remove the SIM card and case, and gently dry those items with a soft cloth.
Drying Your iPhone
- Don’t Use a Hairdryer: The heat from a hairdryer can damage internal components. Instead, place it in a dry area with good airflow.
- Rice is Not Ideal: Uncooked rice is minimally effective. A better option is silica gel packets (the ones found in shoeboxes and vitamin bottles). Put your phone in a sealed container filled with silica gel packets for 48 or more hours.
- Seek Professional Help: If the above steps don’t work, your best bet is to take your iPhone to a repair shop specialized in water damage repair. They can open the device and clean internal components.
What to Do If Your iPhone Finally Turns On
Even if your iPhone eventually turns on, it’s important to be cautious:
- Back it Up: Immediately back up your data in case the phone malfunctions again.
- Monitor for Issues: Be on the lookout for problems like screen glitches, audio distortion, or rapid battery drain.
Table: Troubleshooting Tips
| Issue | Action |
|---|---|
| Won’t Turn On | Follow the drying steps and consider professional repair |
| Turns On But Has Issues | Back up your data and monitor for further problems |
Important Reminders
- Act Quickly: The sooner you start the drying process, the better your chances of salvaging your phone.
- No Guarantees: Water damage can be unpredictable, and there’s no guarantee that you can fix it.
- Warranty Considerations: Unfortunately, water damage usually voids Apple’s warranty, so you might need to pay for repairs.
Key Takeaways
- Quick response can reduce water damage to your iPhone.
- Do not turn on your iPhone immediately after water exposure.
- Seek professional repair to mitigate risks and restore functionality.
Initial Damage Assessment and Immediate Actions
When an iPhone encounters water, quick action is key to minimize damage. Assessing the situation and acting swiftly can save the phone.
Understanding the Extent of Water Damage
An iPhone’s liquid contact indicator (LCI) helps to check for internal liquid damage. The LCI is found in the SIM card slot on models like the iPhone 6 to the iPhone 12. On newer models, it’s inside the SIM card tray. If this indicator has turned red, the iPhone has water damage. Remember, while iPhones from the iPhone 7 and up have some water resistance, they are not waterproof. Their IP rating shows how much liquid they can resist, but this can weaken over time.
Steps to Take Immediately After Water Exposure
First, power off the iPhone immediately. Time is of the essence to prevent short circuits. Remove the SIM card to stop liquid from harming it. Do not press any buttons or plug in the device as this can spread moisture further.
Now, gently remove water from the outside. Use a soft cloth to dry the phone. Keep the iPhone tilted to let any liquid inside flow out. Resist the urge to use heat or a hair dryer as this could cause more harm.
To aid in drying, leave the iPhone in a dry area. Some suggest placing it in a bag of rice or with silica gel packets but experts offer mixed opinions on this. Air drying is a safer option overall. Give the phone time — it may need 24 to 48 hours or more to dry out entirely. Only after this period should one attempt to power on the iPhone.
- Power Off: Immediately turn off the iPhone to avoid short circuits.
- Remove SIM Card: Eject the SIM card tray and gently shake out any trapped water.
- Drain Water: Hold the iPhone at an angle to help water drain from the ports.
- Avoid Heat: Do not use hairdryers or other heat sources, as they can cause additional damage.
- Dry Naturally: Place the iPhone in a dry, airy space to aid natural evaporation.
- Use Silica Gel: Opt for silica gel packets to absorb moisture effectively, avoiding rice due to its lower efficacy.
Repair and Restoration Process
Repairing a water damaged iPhone that won’t turn on involves a series of detailed steps. Attempting to restore functionality includes drying out the device, assessing and cleaning key components, and deciding between professional help or a DIY approach.
Drying and Cleaning Internal Components
The first step is turning off the iPhone to avoid short circuits. If the device is submerged in water, remove it cautiously. Shake out excess moisture gently. Next, use a fan to air out the iPhone. Avoid direct heat as it can warp iPhone parts. For a thorough clean, dismantle the iPhone and use isopropyl alcohol to mitigate corrosion. This process cleans connectors and parts but proceed with care.
Professional Repair vs. DIY Repair Kits
After drying, choosing between a professional repair service and a DIY repair kit is critical. AppleCare+ may cover some forms of accidental damage, so check your coverage first. Otherwise, a local repair shop can provide expertise and handle complex issues like logic board or battery damage. DIY repair kits are an option for those experienced with smartphone repairs, but remember, improper handling can cause more damage.
Professional
- Diagnostic Services: Utilize services like uBreakiFix by Asurion for a free diagnostic to understand the extent of damage.
- Experienced Technicians: Rely on skilled professionals for handling sensitive components such as logic boards and LCD screens.
- Warranty Consideration: Choose repair services that offer a 1-year limited warranty; consider Apple Authorized Service Providers for optimal part quality.
- Turnaround Times: Some services offer same-day repairs, adding convenience.
- Warranty Voidance: Note that water damage typically voids Apple’s limited warranty and AppleCare+ plans.
DIY
- Immediate Action: Power off the iPhone and pat dry any visible moisture.
- Isopropyl Alcohol: Use high-concentration isopropyl alcohol to clean visible corrosion or debris gently.
- Use Proper Tools: Acquire appropriate disassembly tools and guides, like those from iFixit.
- Careful Disassembly: Proceed with caution to avoid further damage or warranty issues.
- Quality Replacement Parts: Ensure replacement parts are compatible and from reliable suppliers.
- Risks of DIY: While potentially cost-effective, DIY repairs carry risks of further damage and may invalidate warranties.
Reassembling the Device Post-Repair
Once cleaned and repaired, it’s time to reassemble your iPhone. Ensure all components are dry. Carefully connect the battery, display, and charging port. Make sure all the screws are back in place. If the device still doesn’t turn on, the logic board may have sustained irreparable damage or other components may need more attention.
Understanding iPhone Water Damage
Water damage to an iPhone can occur in numerous ways and has varying effects on the device’s performance and functionality. This section examines the causes, evaluation methods, and protective ratings related to iPhone water damage.
Causes of Water Damage
When an iPhone comes into contact with liquids, it can lead to water damage. Common causes include:
- Dropping the phone in water (toilets, pools, puddles)
- Liquid spills (drinks, household cleaners)
- Exposure to a high-humidity environment (bathrooms, saunas)
The exposure can result in corrosion, short circuits, or residue accumulation inside the device, potentially impairing its operation.
Assessing the Damage
To assess if an iPhone has water damage, check the following indicators:
- Malfunctioning or unresponsive buttons and touchscreens
- Issues with charging or turning on the device
- Distorted sounds or no audio
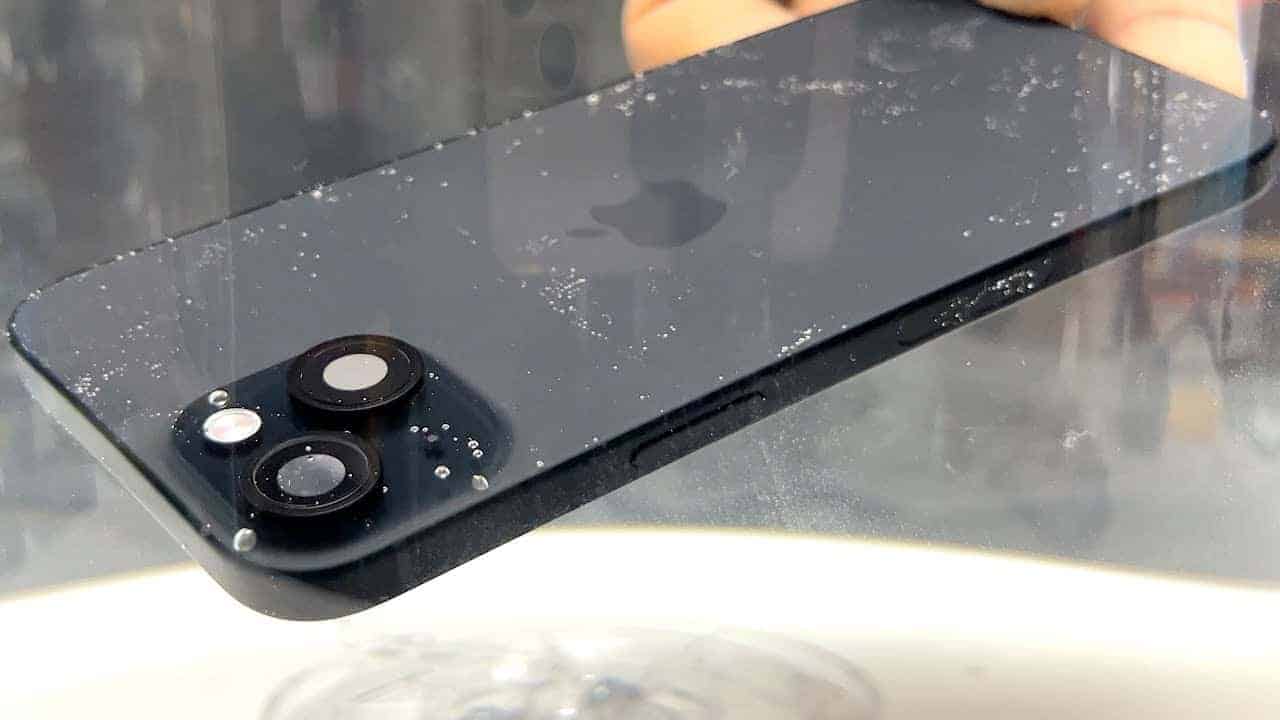
- Presence of moisture or fog under the camera lenses
- Activation of Liquid Contact Indicators (LCI) found in the SIM card slot, which turn red when exposed to water
Immediate assessment can prevent further damage, so act swiftly if you suspect water ingress.
Understanding IP Rating and Water Resistance
iPhones have an IP (Ingress Protection) rating that specifies their resistance to water and dust. For instance, an “IP67” rating means the device is fully protected against dust and can withstand immersion in water up to 1 meter for 30 minutes. Despite these ratings, water damage can occur and is not covered under standard iPhone warranties. It is important to note that water resistance may decrease over time due to wear and tear. Regular checks on the device’s condition are essential to mitigate risks of water damage.
Frequently Asked Questions
Handling a water-damaged iPhone requires careful steps to minimize further damage and increase the chances of a successful recovery. This section aims to directly answer common questions with straightforward guidance and tips.
What steps can be taken to address an iPhone that won’t power up after water exposure?
First, turn off the iPhone to avoid short circuits. Gently shake the phone to remove water, mainly from the ports. Do not heat up the phone as this can cause more damage.
What are the indicators that an iPhone has water damage?
Check for the Liquid Contact Indicator (LCI) in the SIM card slot; it turns red upon contact with water. Other signs include erratic behavior, no sound, or a non-responsive screen.
How much does it typically cost to repair an iPhone with water damage?
The cost varies widely depending on the extent of damage and if there’s a warranty or insurance. Repair costs can range from a small fee for minor issues to much more for severe damage.
Can an iPhone that doesn’t charge after being submerged in water be fixed, and how?
It can sometimes be fixed. After drying out the iPhone completely for at least 48 hours, try charging it again. If it doesn’t work, a repair service might be needed to address any internal damage.
Is it possible for an iPhone to recover from water damage on its own, and what factors influence this?
An iPhone might recover on its own if the water hasn’t caused a significant short circuit or corrosion. Quick action to dry it and not charging until it’s dry can help.
After an iPhone has sustained water damage, what is the expected duration before it can be powered on again?
It is safest to wait at least 48 hours before attempting to power on an iPhone after it has been water damaged. This allows time for the internal components to dry fully.


