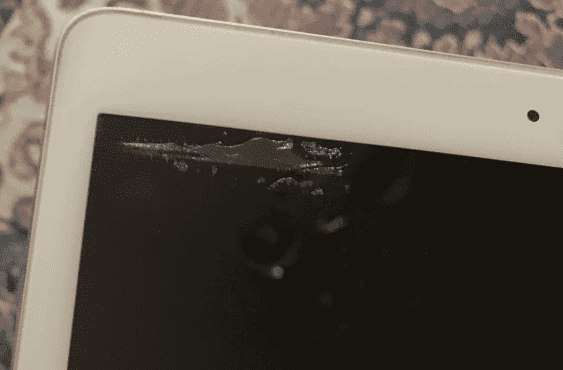
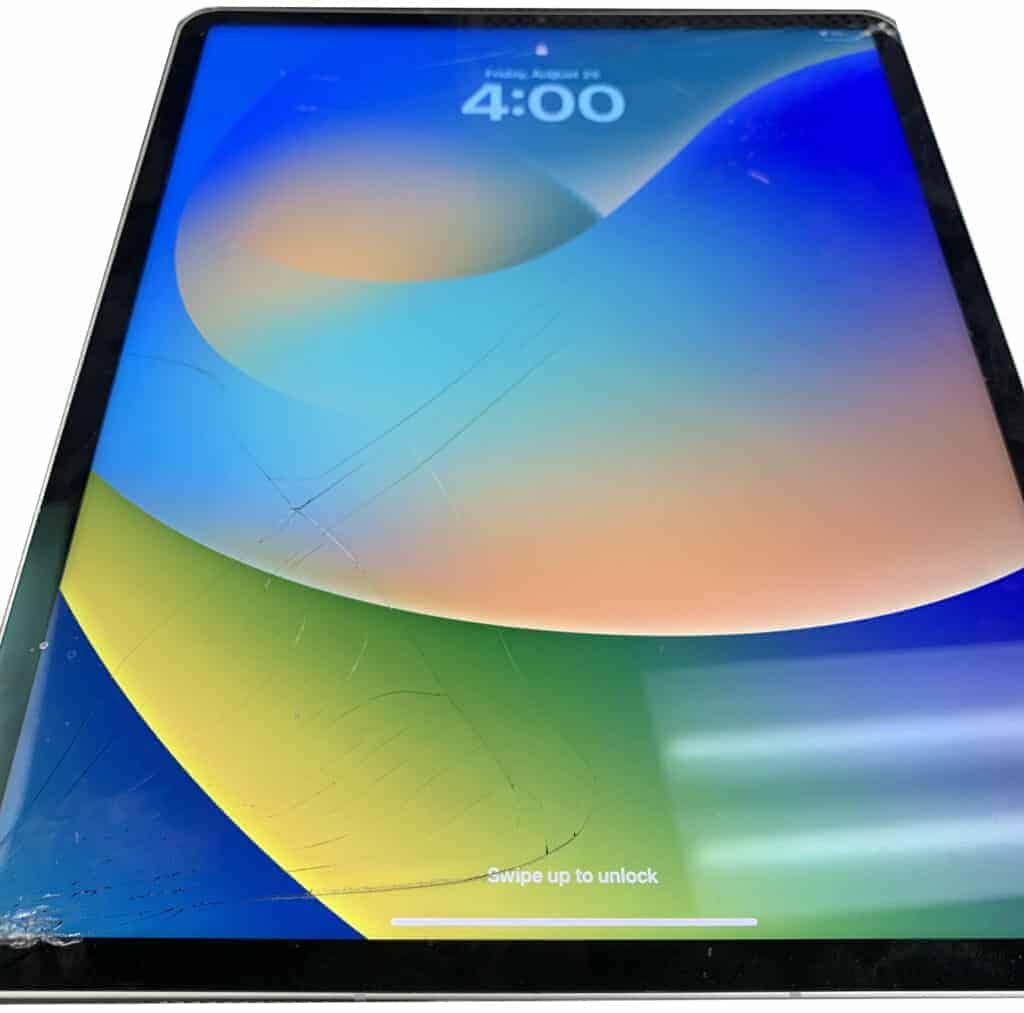
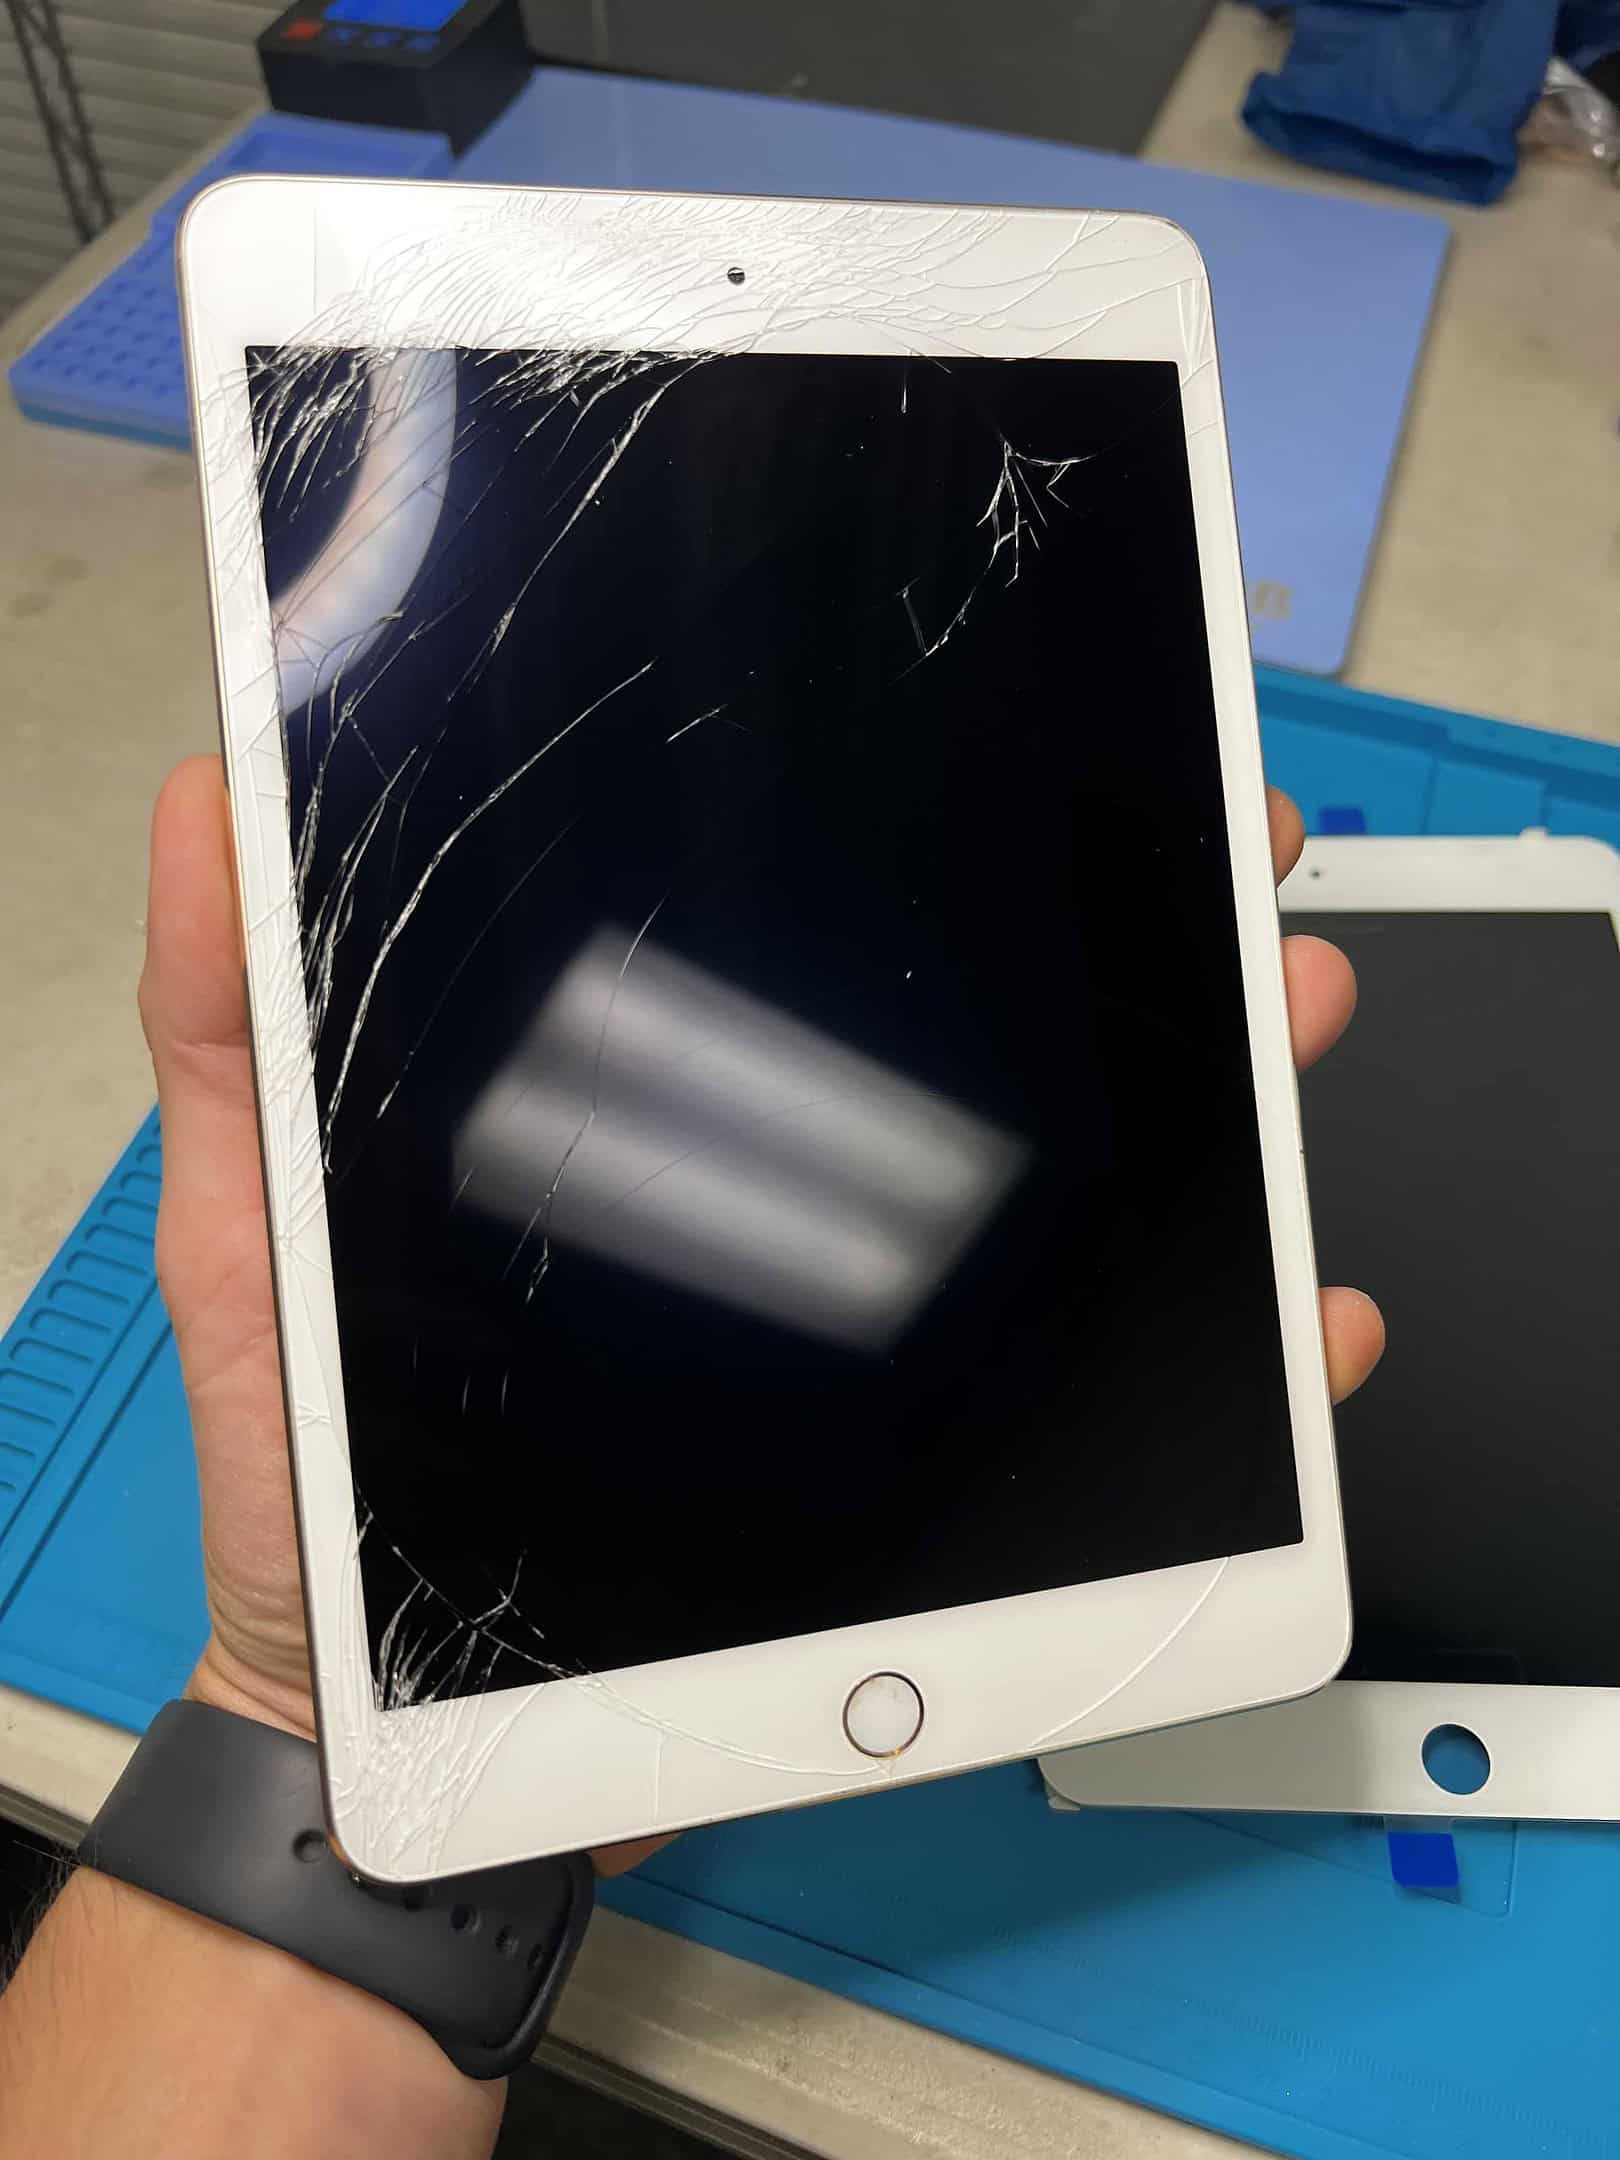
If your iPad’s screen is cracked or shattered from a drop or impact, you may need to replace it. This can affect touch responsiveness and viewing. To do the replacement, you’ll carefully remove the damaged screen and install a new one. Although a cracked iPad screen can be frustrating, you can often repair it yourself with the right tools and instructions. However, this requires patience, attention to detail, and a willingness to take on some risk.
If you’re unsure, you can seek help from a professional repair service. Some models like the iPad Air 4 and iPad Pro 12.9″ 5th Gen may have specific steps for the replacement process, which can be intricate and require precision and patience. Before attempting a repair, ensure you have the correct tools and follow guidelines attentively. If your model has features like Face ID, transferring the top sensor assembly is crucial for functionality. When repairing electronics, safety is important.
Work with a charged battery and take static precautions to prevent damage to the device’s internal components. If a DIY repair seems overwhelming, professional service options are available, offering expertise and guaranteeing the quality of the repair.

Fix Your Cracked iPad Screen: A Step-by-Step Guide
Gather Your Tools
Before diving in, you’ll need these tools:
- Heat gun or hair dryer: To soften the adhesive holding the screen.
- Suction cup: To lift the screen safely.
- Plastic opening tools: To pry the screen open and disconnect cables.
- Precision screwdrivers: To remove the screws securing the display.
- Replacement screen: Ensure compatibility with your iPad model.
- Tweezers: For handling delicate components.
Step-by-Step Instructions
- Power Off: Completely power off your iPad to prevent electrical damage.
- Heat the Edges: Gently apply heat around the screen edges to soften the adhesive.
- Apply Suction Cup: Attach the suction cup near the Home button and lift the screen slightly.
- Insert Opening Tool: Carefully insert a plastic opening tool into the gap and slide it along the edges to release the adhesive.
- Disconnect Cables: Locate the display cables and carefully disconnect them using a spudger or plastic tool.
- Remove the Screen: Lift the screen away from the body of the iPad.
- Remove the Home Button: If your iPad has a physical Home button, transfer it to the new screen.
- Install New Screen: Connect the new screen’s cables, position it carefully, and press it down to secure the adhesive.
- Reassemble: Reattach any screws and components you removed earlier.

Tips for a Successful Repair
- Take your time: Avoid rushing and be gentle with the delicate components.
- Work in a clean, well-lit area: This helps prevent dust and debris from getting into your iPad.
- Watch instructional videos: Several online videos provide detailed visual guidance for iPad screen repair.
- Consult professional help: If you’re uncomfortable with the process, consider taking your iPad to a qualified repair shop.
DIY vs. Professional Repair: Weighing Your Options
| Factor | DIY Repair | Professional Repair |
|---|---|---|
| Cost | Lower cost | Higher cost |
| Time | Can take several hours | Typically faster turnaround |
| Expertise | Requires technical skills and patience | Handled by experienced technicians |
| Warranty | May void warranty | Often comes with a warranty on the repair |
| Risk | Potential for damage if not done correctly | Lower risk of damage |
Key Takeaways
- Repairing an iPad screen requires precise steps to avoid further damage.
- Transferring certain components during replacement is necessary to maintain features like Face ID.
- Users should prioritize safety and may opt for professional services if needed.
iPad Screen Repair Process
Repairing an iPad screen involves careful steps to ensure the safety of both the device and the person doing the repair. The process requires specific tools and materials, and each stage must be performed with precision to avoid further damage.
Safety Precautions
Before beginning a repair, it is crucial to power off the device to prevent any electrical issues. Working in a clean, organized space reduces the risk of accidents. Keep a fire extinguisher nearby if you plan to use a heat gun or any device that could potentially start a fire. Handle the internal battery and other components with care to avoid punctures or short circuits.
Required Tools and Materials
Tools needed for iPad screen repair include:
- Screwdrivers: for removing screws.
- Tweezers: for handling small parts.
- Suction cups: to lift the screen.
- Opening picks: to separate the screen from the frame.
- iOpener, heat gun, or hair dryer: for softening adhesive.
- Spudgers: to disconnect cables.
Materials needed include:
- Replacement screen: ensure it is the correct model.
- New adhesive: to secure the new screen.
- Clear packing tape: for temporary screen hold.
- Glass screen protector: to keep the new screen safe.
Screen Removal Steps
Begin by heating the edges of the iPad with an iOpener, heat gun, or hair dryer to loosen the adhesive. Place suction cups near the edges and lift gently while inserting an opening pick to prevent it from resealing. Carefully disconnect the digitizer cable and any ribbon cables attached to the screen. Remove the screws and screen magnets. Ensure prevention of accidental damage by lifting the screen away slowly and keeping track of all parts.
Installing the New Screen
With the old screen off, clear the frame of any broken glass and old adhesive. Lay down the new adhesive strips carefully. Connect the digitizer cable and other ribbon cables to the new screen. Align the new screen to the frame and press down gently to adhere it in place. Be mindful of the ambient light sensors to ensure they are not blocked or damaged.
Post-Repair Testing
After installing the new screen, perform a function check. Turn on the iPad and test the touch capabilities, along with any buttons and connection ports affected during the repair process. Check the display for any unusual behavior. Attach the new glass screen protector to prevent future screen damage.
Each step in the iPad screen repair process is critical for restoring the functionality and appearance of the device. By following these guidelines, repairs can be completed with confidence and precision.
Service and Support Options
When an iPad screen breaks, knowing the right repair option is key. The following sections outline the support services available for iPad repair.
Warranty and AppleCare
Apple’s standard warranty may cover your iPad repair. Check your coverage to see if the repair costs nothing. AppleCare extends this warranty and can reduce repair fees. Make sure to understand what services fall under warranty to avoid unexpected costs.
Professional Repair Services
Apple Stores and authorized repair shops offer reliable services. They use genuine parts and provide warranties for their repairs. Some shops even run free diagnostics. Weigh the cost and convenience before choosing where to get your iPad fixed.
DIY Repair Considerations
For those with technical skill, Apple’s Self Service Repair lets you buy real parts and tools. Manuals are also available. But remember, this is good for out-of-warranty fixes only and it can be tricky. Be sure you know what you’re doing to avoid extra damage.
Protection and Maintenance
Keeping your iPad safe is important. Use protection like screen protectors to defend against future damage. Proper maintenance can extend your iPad’s life and might save you from needing repairs later on.
Frequently Asked Questions
Knowing how to address common concerns about iPad screen repair can save time and money. These answers provide a brief, yet complete guide to some typical questions.
How can one replace the screen on an iPad?
For a screen replacement, you must power off the iPad, heat the edges to loosen adhesive, and use suction cups to lift the display. Next, insert an opening pick to keep the screen up.
What is the estimated cost for iPad Pro screen replacement?
Costs vary by model and the damage. For an iPad Pro, repairs can range from a couple of hundred to over five hundred dollars.
Is repairing a cracked iPad screen financially justifiable?
Repairing a cracked screen can be cheaper than buying a new iPad. It also depends on the repair cost and the iPad’s age.
Can the glass on an iPad be replaced without changing the entire display?
Yes, it’s possible to replace just the glass on certain iPad models, but this requires precision and the right tools.
Where can one find a professional iPad screen repair service?
Apple offers repairs, or you can visit certified repair shops. You can find them through Apple’s support page or by looking for local repair centers with high-rated reviews.
What are the steps involved in fixing a cracked iPad screen without replacement?
You can secure a cracked screen with clear tape to prevent further damage or small glass pieces from falling out. This is a temporary fix not a permanent solution.


