iPad Pro screens are strong, but accidents can cause them to crack or break. You can have the screen fixed by Apple or other repair shops, often on the same day. It’s possible to replace the screen yourself if you have the right tools, pay attention to details, and are patient. Make sure to follow safety guidelines and use reliable resources, like iFixit’s repair guides, for specific instructions and help. Fixing a cracked or damaged iPad Pro screen can be expensive. If you’re good with technology and want to save money, replacing the screen yourself is an option.
However, be aware of the risks and challenges. This guide gives a quick overview of the process and important points to consider for a successful DIY repair. The cost of a screen replacement varies based on your iPad model and if you have AppleCare+. Without coverage, it can be expensive, but it’s usually cheaper than buying a new iPad Pro. Some people try to replace iPad Pro screens themselves to save money, but it’s risky and can easily cause damage. For most people, professional repair is the safest choice.
Replacing Your iPad Pro Screen: A DIY Approach
Essential Tools and Precautions
Before you start, gather your tools: a heat gun or hair dryer, suction cups, prying tools, precision screwdrivers, tweezers, and replacement adhesive. Take precautions to prevent damage by wearing an anti-static wrist strap and working on a clean, flat surface.
Step-by-Step Guide
- Power off your iPad Pro and remove the SIM card tray (if applicable).
- Use the heat gun or hair dryer to gently warm the edges of the screen to soften the adhesive.
- Place suction cups on the screen and carefully lift to create a small gap. Insert a prying tool and gently work your way around the edges to loosen the adhesive.
- Once the screen is detached, carefully disconnect the display cables using tweezers or a plastic opening tool.
- Remove any remaining adhesive and clean the frame.
- Connect the new screen’s cables, ensuring they are properly aligned.
- Apply new adhesive to the frame and carefully position the new screen.
- Press the screen firmly to secure the adhesive.

Important Considerations
| Model | Specific Considerations |
|---|---|
| iPad Pro 11-inch (All Generations) | The Face ID sensor cable is delicate and should be handled with care. |
| iPad Pro 12.9-inch (All Generations) | Due to the larger size, extra caution is needed to avoid damaging the display. |
Key Takeaways
- iPad Pro screen repairs are available from Apple and authorized shops
- Screen replacement costs vary based on iPad model and warranty status
- Professional repair is often safer than DIY for most users
Understanding iPad Pro Screen Damage and Repair Options
iPad Pro screens can break in various ways. Users have several choices for fixing them. The repair process depends on the type of damage and warranty status.
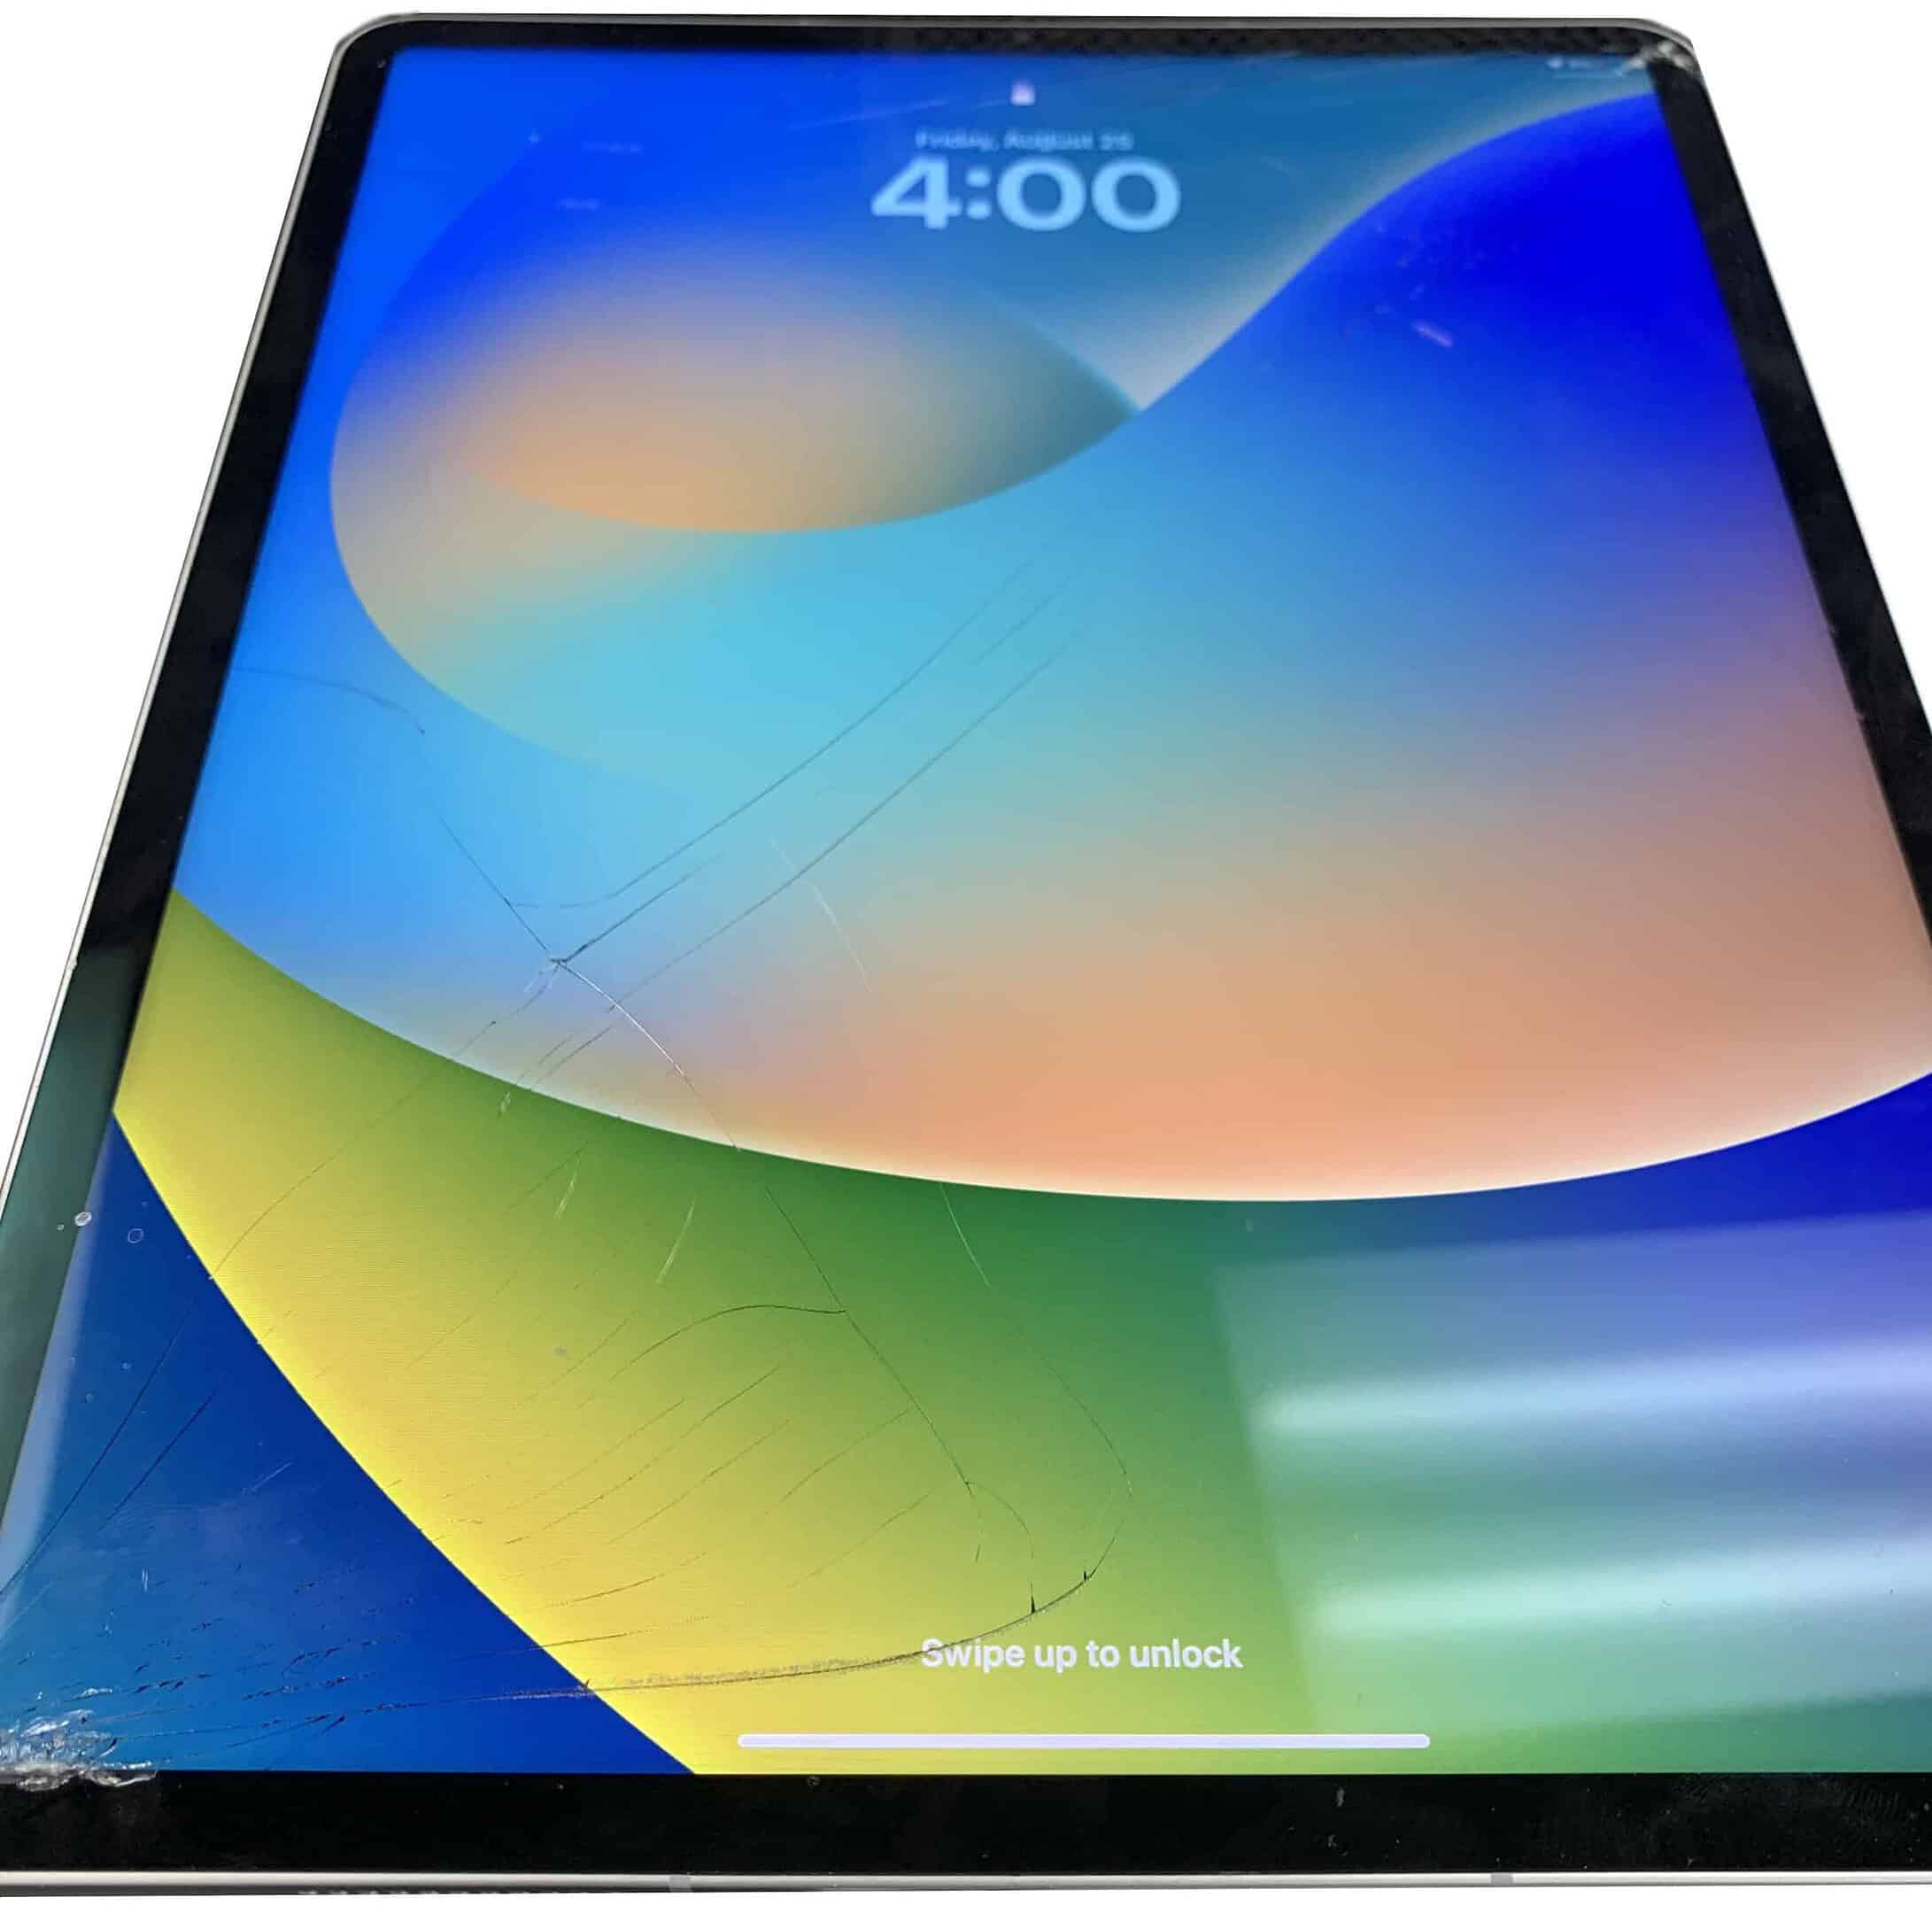
Assessing the Damage to Your iPad Pro Screen
Cracked screens are a common issue for iPad Pro users. Small cracks may not affect the display. Large cracks can make the screen hard to use. Some breaks only impact the outer glass. Others can harm the LCD underneath.
Check if your device still responds to touch. Look for dead pixels or dark spots. These signs point to more serious damage. Note any issues with the display’s color or brightness. Take photos of the damage for reference.
Options for Repair Services
Apple offers screen repairs through its stores and authorized providers. Costs vary based on the iPad Pro model and damage type. AppleCare+ can lower repair fees if you have it.
You can book an appointment at an Apple Store for same-day service. Mail-in repairs are also available. This option takes longer but may be more convenient.
Third-party shops might offer cheaper repairs. But they may use non-Apple parts. This can affect your warranty and device quality. Always ask about the parts and warranty before choosing a repair shop.
Some users try DIY repairs. This is risky and can void your warranty. It’s best for those with technical skills and the right tools.
Steps for iPad Pro Screen Replacement
Replacing an iPad Pro screen involves careful disassembly, part swapping, and reassembly. The process requires specific tools and attention to detail to avoid damaging components.
Preparation and Safety Measures
Get the right tools before starting. You’ll need a heated iOpener or heat gun, suction cups, an opening pick, adhesive, and a Phillips screwdriver. Wear safety glasses to protect your eyes.
Make sure your work area is clean and well-lit. Have a soft cloth ready to place parts on. Organize small screws in labeled containers to keep track of them.
Turn off the iPad and unplug it. Remove the SIM card tray if your model has one. Heat the edges of the screen with the iOpener or heat gun to soften the adhesive.
Disassembling and Reassembling the iPad Pro
Use suction cups to lift the screen slightly. Slide an opening pick into the gap to separate the screen from the frame. Go slowly around the edges to avoid tearing cables.
Disconnect display cables inside. Remove screws holding the LCD in place. Take out the old screen carefully.
Put the new screen in place. Reconnect all cables. Make sure they’re secure. Replace screws in the right spots. Use new adhesive to seal the screen to the frame.
Post-Repair Testing and Quality Assurance
Turn on the iPad to test the new screen. Check touch response across the whole surface. Test the cameras, speakers, and buttons.
Make sure Face ID or Touch ID still works. This may need transferring sensors from the old screen. Check that the ambient light sensor adjusts brightness correctly.
Look for any gaps or unevenness around the edges. Press gently to ensure the adhesive bonds well. Let the iPad sit for a few hours before regular use to allow the adhesive to set fully.
Frequently Asked Questions
iPad Pro screen replacement involves several key considerations. Costs, repair options, and DIY possibilities are important factors to weigh.
How much is the typical cost for an iPad Pro screen replacement?
The cost of an iPad Pro screen replacement ranges from $200 to $600. This price depends on the model and whether you use Apple or a third-party repair shop. Newer models tend to cost more to fix.
What options are available for iPad Pro screen repair in my vicinity?
Local repair options for iPad Pro screens include Apple Stores, authorized service providers, and independent repair shops. Many areas have multiple choices within driving distance. Some shops even offer mobile repair services.
Is replacing the screen on an iPad Pro considered cost-effective?
Screen replacement can be cost-effective for newer iPad Pro models. It’s often cheaper than buying a new device. For older models, the repair cost may be close to the price of a used iPad Pro in good condition.
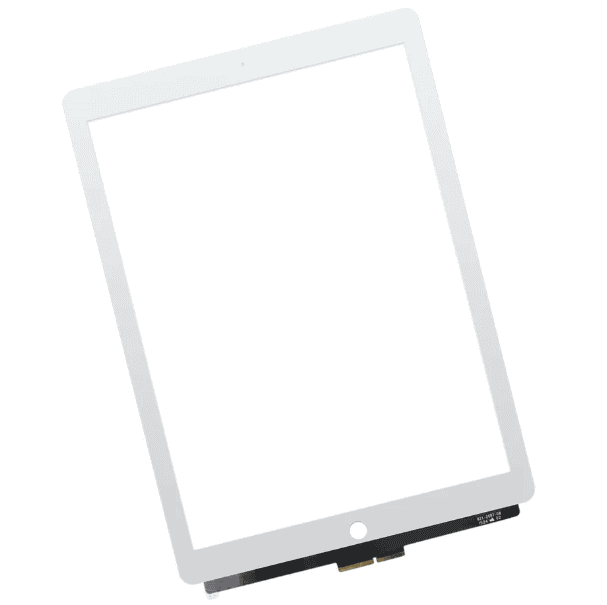
Can only the glass of an iPad Pro be replaced if the screen is damaged?
In most cases, the entire screen unit needs replacement. The glass is fused to the display. Separating them is risky and may cause more damage. Professional repair shops usually replace the whole screen assembly.
Are there DIY options for replacing an iPad Pro screen, and what do they entail?
DIY screen replacement is possible but tricky. It requires special tools and careful handling. Steps include heating the edges, lifting the screen, disconnecting cables, and attaching the new screen. DIY repairs can void warranties and may lead to more damage if not done right.
What are the contents of an iPad Pro screen replacement kit?
A typical iPad Pro screen replacement kit includes:
- New screen assembly
- Screwdriver set
- Pry tools
- Adhesive strips
- Tweezers
- Suction cup
- Cleaning cloth
Some kits also come with detailed instructions or video guides.