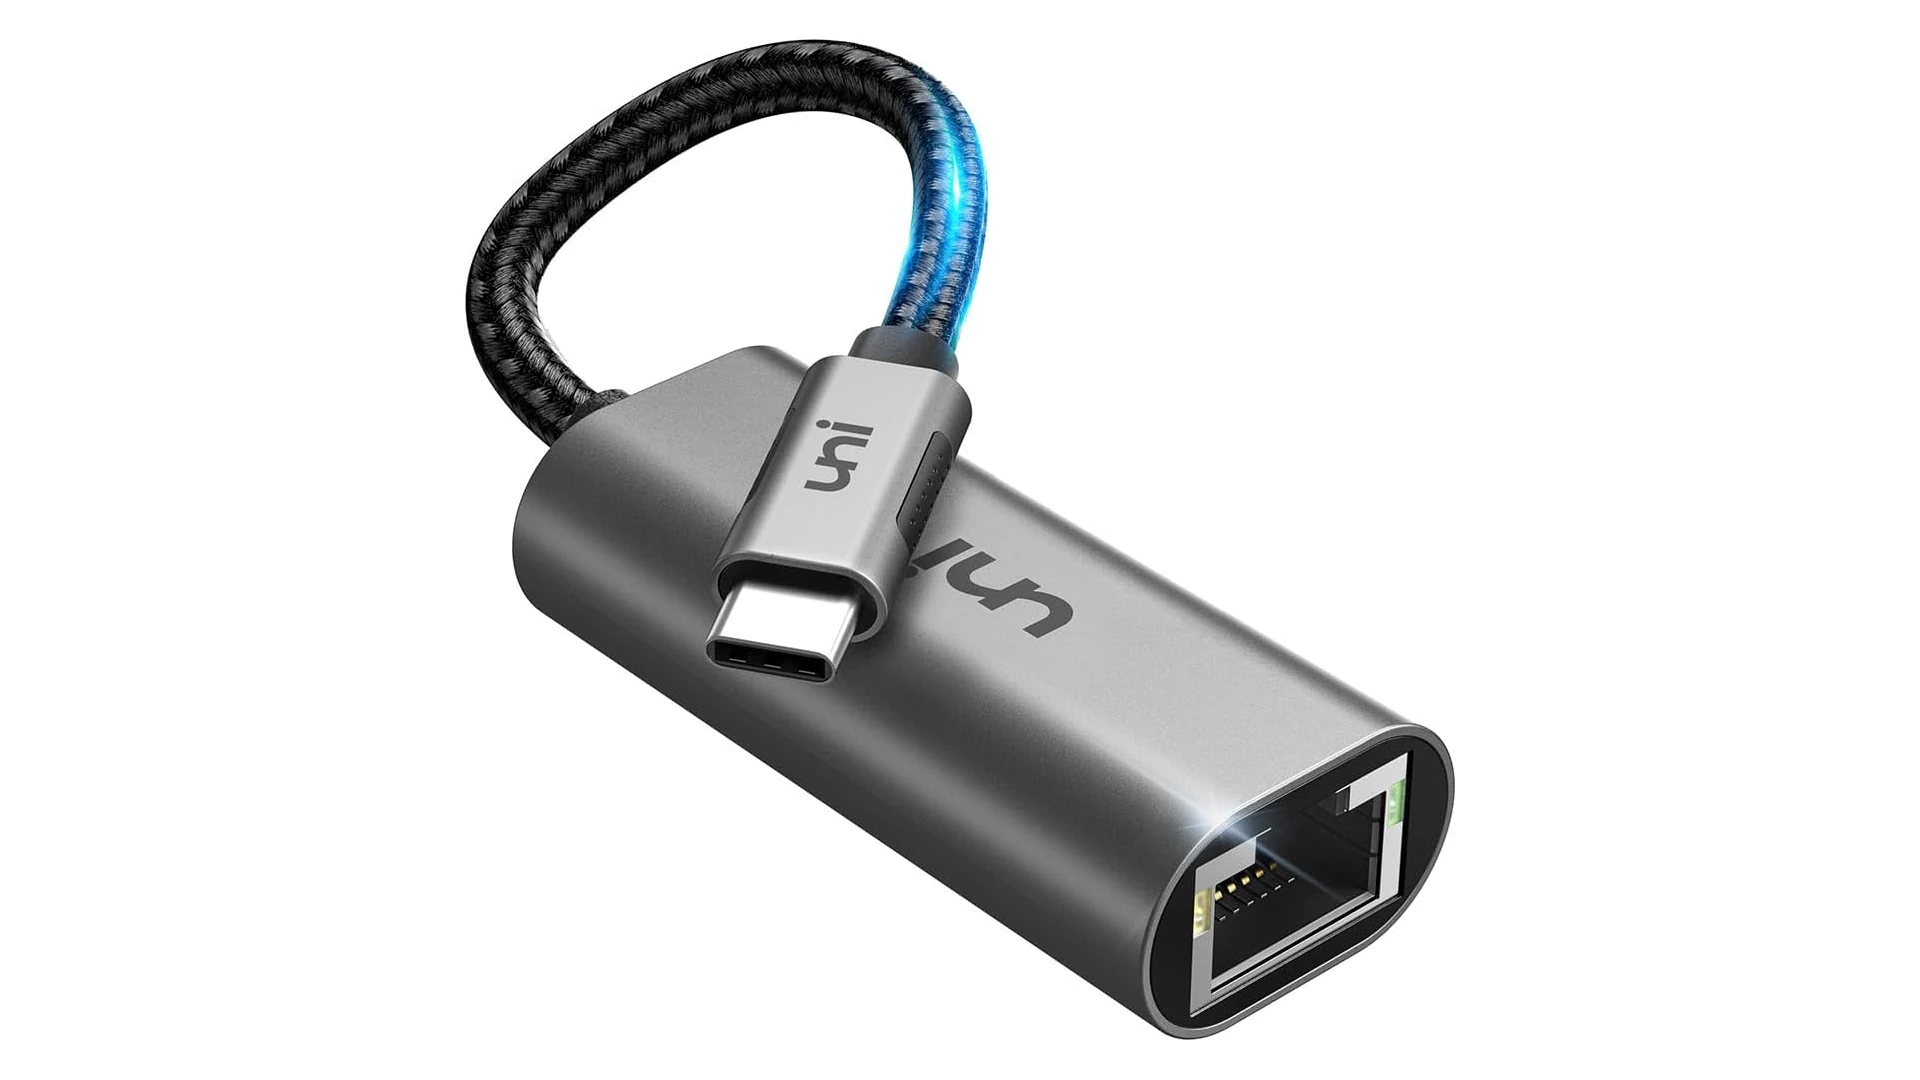
Connecting an iPad to Ethernet offers a stable and fast internet connection. This method can be particularly useful when Wi-Fi is unavailable or unreliable. To connect an iPad to Ethernet, users need a compatible USB to Ethernet adapter and, for some iPad models, a Lightning to USB-3 adapter.
The process is straightforward. Plug the Ethernet cable into the USB to Ethernet adapter, then connect the adapter to the iPad. For older iPads with Lightning ports, use the Lightning to USB-3 adapter as an intermediary. Once connected, the iPad should automatically recognize the Ethernet connection and configure it.
USB-C iPads simplify the process further. These models can connect directly to USB-C Ethernet adapters without additional accessories. This feature makes Ethernet connectivity more accessible for newer iPad Pro and iPad Air users.
Connect Your iPad To Ethernet
You can connect your iPad to Ethernet for a more stable and potentially faster internet connection than Wi-Fi. Here’s how:
What you’ll need:
- An Ethernet adapter: iPads don’t have an Ethernet port, so you’ll need an adapter that converts the Lightning or USB-C port (depending on your iPad model) to an Ethernet port. There are a few types:
- Lightning to Ethernet adapters: These are for older iPads with a Lightning port. Some also include a Lightning port for charging while using Ethernet.
- USB-C to Ethernet adapters: These are for newer iPads with a USB-C port. Some may also include additional USB ports.
- An Ethernet cable: This cable connects the adapter to your router or network switch.
Pro Tip: Looking for a USB-C Ethernet Adapter that works with iPad? Try this one from uni that works for iPads, Macbooks, and more:
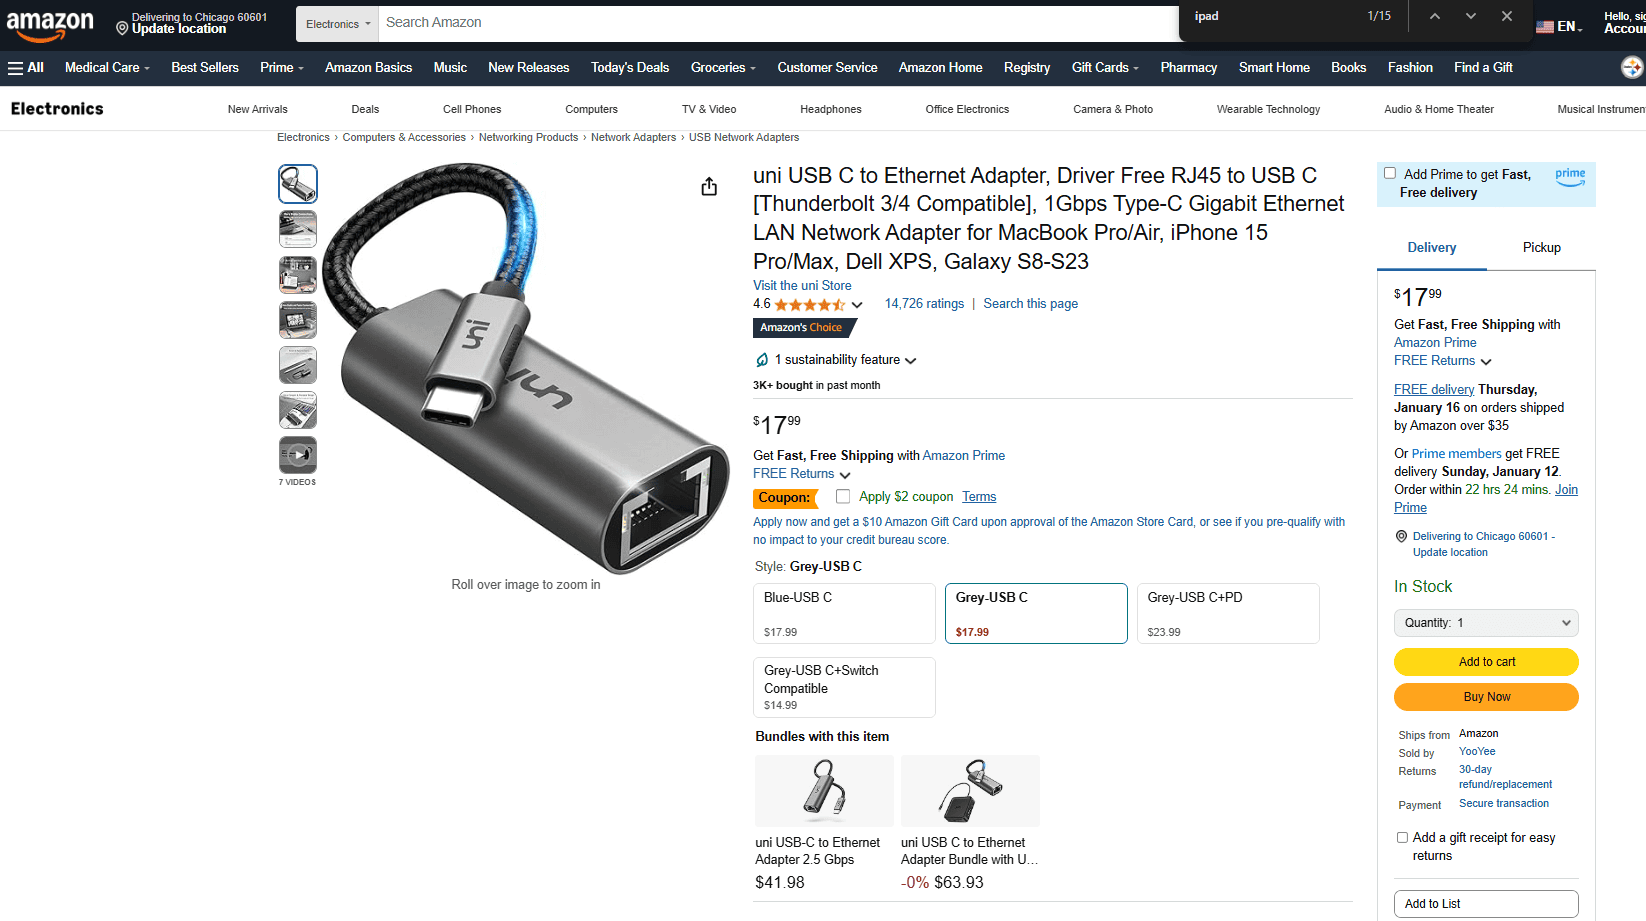
https://www.amazon.com/Ethernet-Adapter-uni-Thunderbolt-Compatible/dp/B077KXY71Q

Steps:
- Connect the adapter to your iPad: Plug the Lightning or USB-C end of the adapter into your iPad’s port.
- Connect the Ethernet cable: Plug one end of the Ethernet cable into the adapter’s Ethernet port and the other end into an available port on your router or network switch.
- Check the connection:
- Go to Settings on your iPad.
- You should see an Ethernet option in the left-hand menu. Tap it.
- If the connection is successful, you’ll see details about the Ethernet connection.
Important Notes:
- Power: Some adapters, especially those with extra features like charging, may require external power.
- Adapter compatibility: Make sure the adapter you choose is compatible with your iPad model (Lightning or USB-C).
- Troubleshooting: If you’re having trouble connecting, try these steps:
- Make sure the Ethernet cable is securely plugged in at both ends.
- Restart your iPad.
- Try a different Ethernet cable.
- Check your router or network switch to make sure it’s working properly.
By following these steps, you can easily connect your iPad to Ethernet and enjoy a reliable wired internet connection.
Key Takeaways
- iPads can connect to Ethernet using appropriate adapters
- USB-C iPads offer simpler Ethernet connectivity
- Ethernet provides a stable alternative to Wi-Fi for internet access
Setting Up a Wired Ethernet Connection on an iPad
Connecting an iPad to Ethernet provides a stable, fast internet connection. This process involves selecting the right adapter, making physical connections, and adjusting settings.
Identifying Compatible iPad Models and Requirements
iPads with USB-C ports, including newer iPad Pro, iPad Air, and iPad mini models, can connect to Ethernet. Older iPads with Lightning ports also support Ethernet connections with specific adapters. iOS 10.2 or later is required for Ethernet functionality.
USB-C iPads offer more direct compatibility with Ethernet adapters. Lightning port iPads need a Lightning to USB adapter plus a USB Ethernet adapter. Check your iPad’s port and iOS version before proceeding.
Choosing the Right Ethernet Adapter
For USB-C iPads, use a USB-C to Ethernet adapter or a USB-C hub with an Ethernet port. Popular options include Belkin and Anker adapters. These connect directly to the iPad’s USB-C port.
Lightning port iPads require a Lightning to USB adapter and a separate USB Ethernet adapter. Apple’s Lightning to USB 3 Camera Adapter works well for this setup. Ensure the adapters are MFi (Made for iPhone/iPad) certified for compatibility and safety.
Connecting the Ethernet Cable to Your iPad
Plug the Ethernet adapter into your iPad’s USB-C or Lightning port. For Lightning iPads using two adapters, connect them in series. Insert one end of an Ethernet cable into the adapter and the other end into your router or network port.
Ensure all connections are secure. The iPad should recognize the Ethernet connection automatically. If using a USB-C hub, you may need to connect the hub to a power source for the Ethernet port to function.
Configuring iPad’s Network Settings
Once connected, open the Settings app on your iPad. Look for “Ethernet” in the menu, which confirms the physical connection. Tap on Ethernet to view network details.
Most networks will configure automatically via DHCP. For manual setup, tap “Configure IP” and enter the required information. You can set a static IP address, subnet mask, and DNS servers if needed.
To prioritize Ethernet over Wi-Fi, disable Wi-Fi in Settings. This ensures your iPad uses the wired connection when available. Test your connection by opening a web browser or using an internet-dependent app.
Frequently Asked Questions
Connecting an iPad to Ethernet involves specific steps, settings, and compatible hardware. Users may encounter common issues and need troubleshooting tips.
What steps are involved in connecting an iPad to an ethernet cable using an adapter?
- Get a compatible Ethernet adapter for your iPad model.
- Connect the adapter to your iPad’s Lightning or USB-C port.
- Plug an Ethernet cable into the adapter.
- Connect the other end of the cable to your router or wall Ethernet port.
- Turn off Wi-Fi on your iPad in Settings.
- Your iPad should now use the wired connection.
Where can the ethernet settings be found on an iPad?
Ethernet settings on an iPad are located in the Settings app.
- Open Settings.
- Tap “General.”
- Select “Ethernet” if an adapter is connected.
- Configure IP settings if needed.
Why might an ethernet connection not work on an iPad and how can it be troubleshooted?
An Ethernet connection may fail due to:
- Incompatible or faulty adapter
- Loose cable connections
- Incorrect network settings
To troubleshoot:
- Check all physical connections.
- Restart your iPad and router.
- Verify network settings in the Settings app.
- Try a different Ethernet cable or port.
How can you connect an iPad Pro to the internet using an ethernet connection?
To connect an iPad Pro to Ethernet:
- Use a USB-C to Ethernet adapter.
- Plug the adapter into the iPad Pro’s USB-C port.
- Connect an Ethernet cable to the adapter.
- Link the cable to your router or wall Ethernet port.
- Disable Wi-Fi in Settings to prioritize the wired connection.
Are there Ethernet adapters compatible with USB-C on the iPad?
Yes, USB-C Ethernet adapters are available for iPads with USB-C ports. These include:
- Apple USB-C to Ethernet Adapter
- Third-party USB-C to Gigabit Ethernet adapters
- USB-C hubs with Ethernet ports
These adapters support various Ethernet speeds, including Gigabit connections.
Does the iPad Pro come equipped with a built-in Ethernet port?
No, iPad Pro models do not have built-in Ethernet ports. Users must use external adapters to connect to wired networks.
- All iPad Pro models require USB-C to Ethernet adapters for wired connections.
- The lack of a built-in port maintains the iPad’s slim design.
- Wireless connectivity remains the primary method for internet access on iPads.

