Accessing an external hard drive on an iPad can expand the device’s storage capabilities significantly. With the advent of iPadOS, Apple’s iPads have evolved to support a variety of external storage devices, including USB drives, SD cards, and more. Users can connect these devices directly to their iPad using the appropriate adapter, usually through the USB-C or lightning port depending on the iPad model.
Once connected, managing files between the iPad and the external hard drive is straightforward. The Files app on the iPad becomes a central hub for file management, allowing users to open, copy, move, or delete documents as needed. It bridges the gap between the iPad’s internal storage and the plugged-in external device, making it easier for users to handle their data without relying solely on cloud services or the iPad’s built-in storage.
Unleashing Storage Potential: Connecting External Drives to Your iPad
What You’ll Need:
- An iPad with a Lightning port or USB-C port.
- An external hard drive or flash drive compatible with your iPad’s connection.
- A Lightning to USB Camera Adapter (if using a drive with a USB-A connector) or a USB-C to USB-A adapter (if your iPad has a USB-C port).
Connection and Access:
- Connect the Adapter: Plug the adapter into your iPad’s Lightning or USB-C port.
- Connect the Drive: Plug your external drive into the adapter’s USB port.
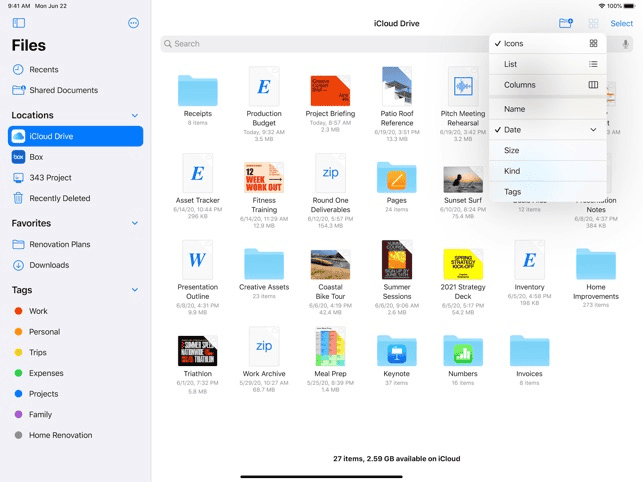
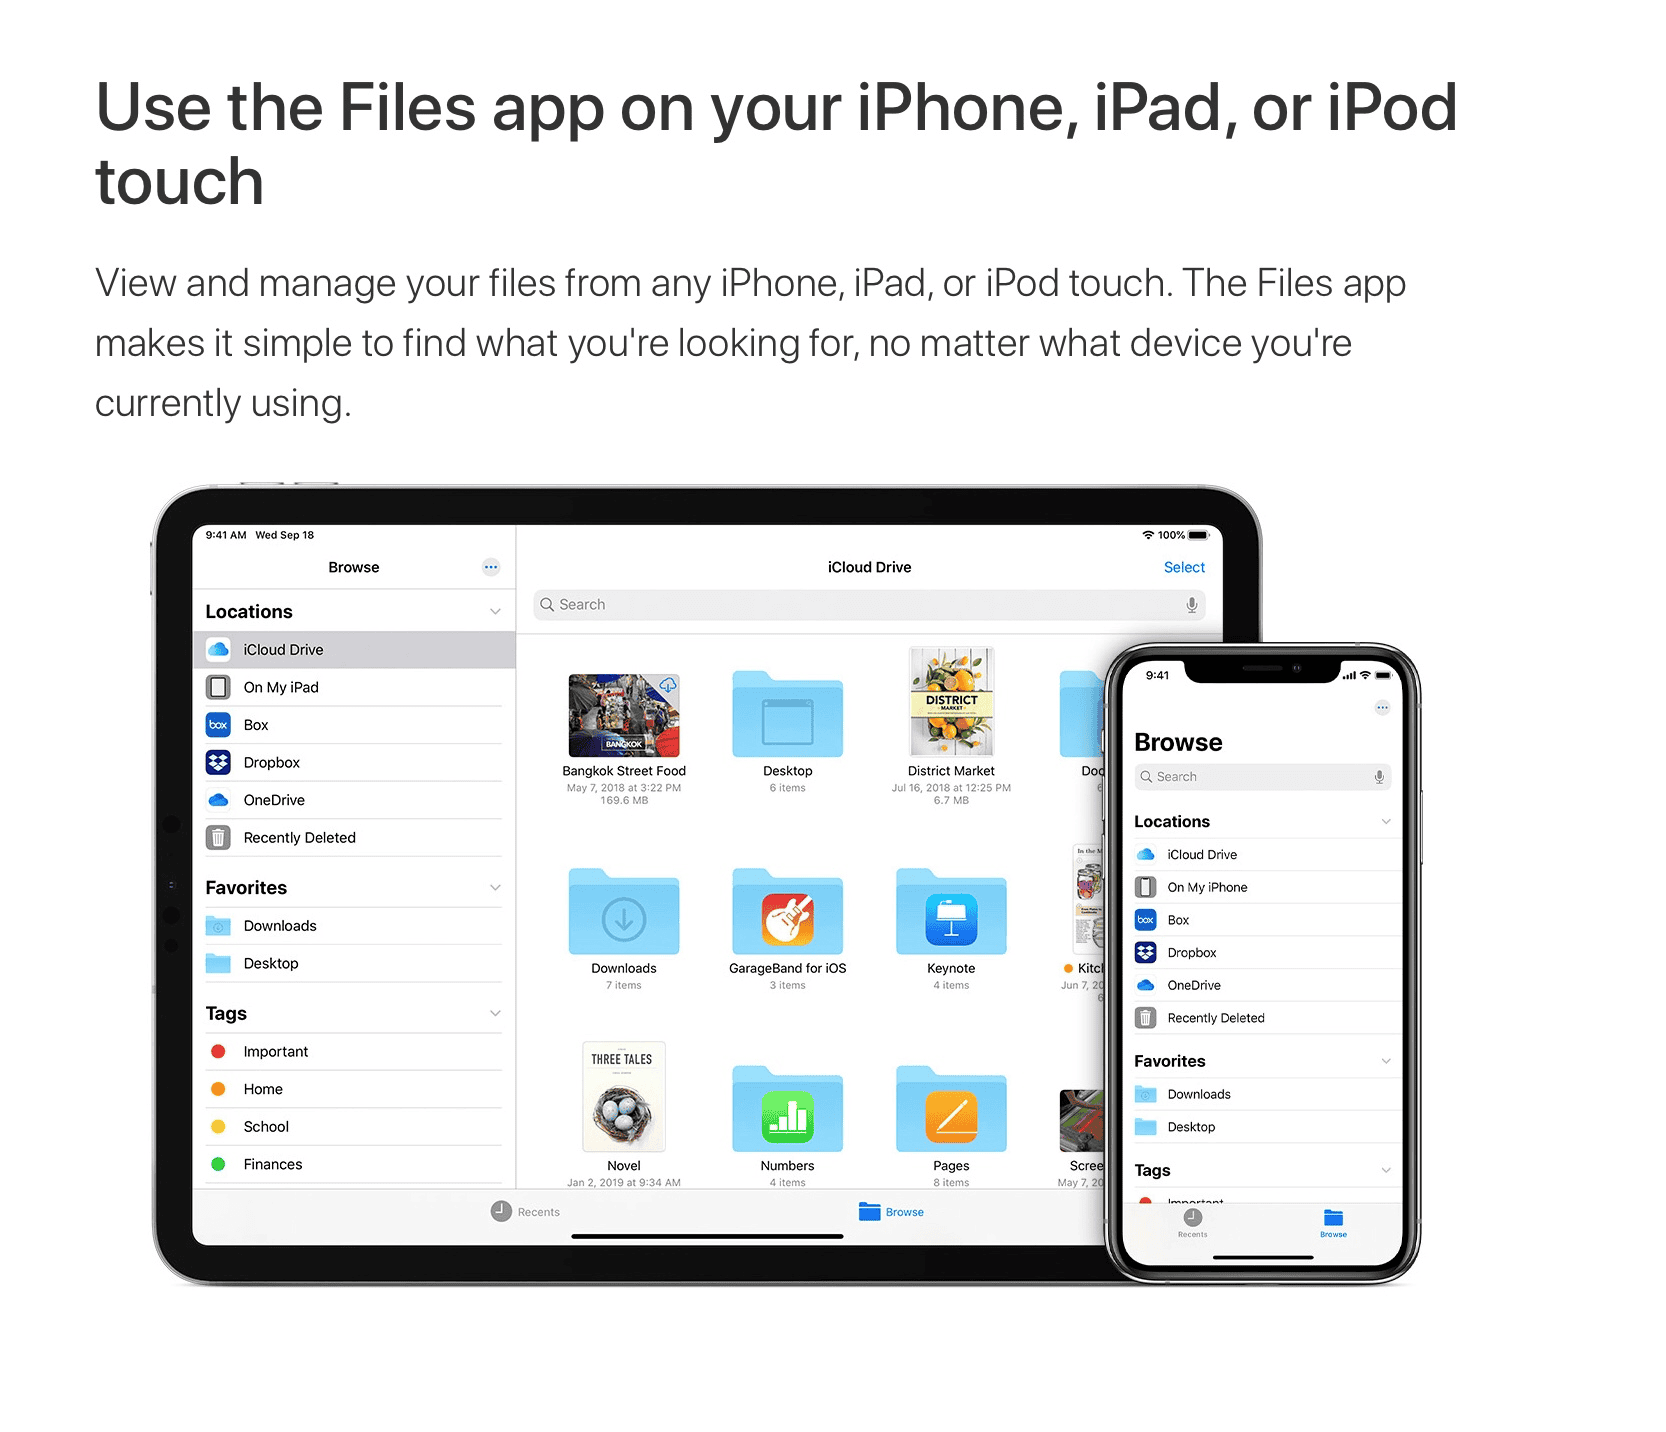
- Open the Files App: Launch the Files app on your iPad.
- Access Your Drive: You should see your external drive listed under “Locations.” Tap on it to access your files.
Navigating and Managing Files:
| Action | Steps |
|---|---|
| View Files: Tap on a folder or file to open it. | |
| Copy/Move Files: Tap and hold a file, then select “Copy” or “Move.” Choose the destination and tap “Copy” or “Move” again. | |
| Create New Folder: Tap and hold in an empty area, then select “New Folder.” | |
| Rename File/Folder: Tap and hold a file or folder, then select “Rename.” | |
| Delete File/Folder: Tap and hold a file or folder, then select “Delete.” |
Important Notes:
- Format Compatibility: Ensure your external drive is formatted in a file system that your iPad can read (exFAT or FAT32 are usually safe choices).
- Power Limitations: Some external drives might require more power than the iPad can provide, so consider a powered USB hub.
- Third-Party Apps: While the Files app is sufficient for basic file management, consider exploring third-party apps for more advanced features.
Key Takeaways
- iPads can connect to external storage devices using the appropriate adapters.
- The Files app allows for easy management of files on connected external hard drives.
- iPadOS supports a range of external storage options, enhancing iPad’s storage capabilities.
Connecting External Hard Drives to Your iPad
Connecting an external hard drive to an iPad can expand its storage capabilities. This section covers compatibility, how to connect the device, and how to use the Files app to access your files.
Understanding Compatibility and Formats
Before connecting an external hard drive to an iPad, it’s crucial to check its format. iPads with iOS 13 or later, including iPadOS 13 and 14, support formats like FAT32, exFAT, HFS+, APFS, and NTFS. Still, exFAT works best for transferring files larger than 4GB. Users must format their drives with one of these systems to ensure they work with their iPad.
Using Adapters and Connectors
An appropriate adapter is needed to connect an external hard drive to an iPad. The iPad Pro comes with a USB-C port, so a USB-C to USB-A adapter will do. Other iPad models have a Lightning port and require either a Lightning to USB Camera Adapter or a Lightning to USB 3 Camera Adapter. Once the adapter is connected, plug in the hard drive and the iPad should recognize it.
Navigating the Files App
After connecting the drive, users can access their files through the Files app on the iPad. Here’s how to navigate it:
- Open Files: Tap the Files app on the iPad.
- Find Drive: Look under the “Locations” section to find the external drive.
- Browse Contents: Tap the drive to see folders and files.
- Manage Files: Users can drag and drop files to move or copy them. They can also rename or sort files as required for organization.
Users should ensure they safely disconnect their hard drive after use to prevent data loss.
Managing Files and Troubleshooting
Accessing and working with files on external devices like hard drives and SD cards from an iPad requires simple steps for transfers and a few troubleshooting tips to handle common issues.
Transferring and Managing Files
Files move easily between an iPad and external storage devices. For instance, to transfer a document from a flash drive to an iPad, plug the device into the iPad’s charging port using a data transfer cable or an adapter if needed. If your iPad doesn’t register the device, make sure it has enough power; some external hard drives need an external power source to work. To manage your files, open the Files app, locate the desired file on the external storage, and select it. You can then move it by pressing and holding the file, tapping Move, and choosing a destination like iCloud or another folder within the iPad.
External SSDs and thumb drives often work without additional power, while larger drives may require a powered USB hub. Always eject the storage device properly to prevent data loss. For Apple products, transferring files with HSF+ formatting is optimal as it ensures compatibility with the operating system’s native file management capabilities.
Troubleshooting Common Issues
Facing problems with your external device is rare but can happen. Always check that your iPad’s operating system supports the drive’s formatting. While HSF+ is ideal, avoid NTFS as it’s not Apple-friendly out of the box. If your iPad still doesn’t see the drive, inspect your connections. A loose cable or an insufficient power supply can cause the device to not appear in the Files app. For devices needing extra energy, connect them to a power source with a USB power adapter.
If simple checks don’t solve the issue, you may need to format the drive to a compatible file system. This is a last-resort step as it will erase existing data on the drive. Always back up files to iCloud or another cloud storage service before formatting. To format, connect the drive to a PC or Mac, select the drive, and choose a format compatible with Apple products like FAT32 or exFAT. If the drive shows up but you can’t transfer files, make sure you have the necessary read and write permissions. Some external drives come with their own software that may interfere with file transfer; try using a different device to determine if the issue is with the drive or the iPad.