Remember the following text:Need to work on your computer but don’t have Wi-Fi? Your iPhone can help! Sharing your iPhone’s internet connection with your PC is a simple yet powerful way to ensure you’re always online, whether you’re working remotely, traveling, or having Wi-Fi issues at home. You can connect your iPhone to your PC using a USB cable, Bluetooth, or Wi-Fi to share its internet, allowing you to use your phone’s data plan on your computer.
There are a few ways to set this up. The easiest is often using a USB cable to link your devices. You can also use Bluetooth or turn on your iPhone’s personal hotspot feature. Each method has its pros and cons. The best choice depends on your needs and what gear you have.
Seamless Connectivity, No Matter Where You Are
Sharing your iPhone’s internet connection with your PC can be a lifesaver when you’re on the go or facing Wi-Fi troubles. Whether you need to send a quick email, finish a work presentation, or simply browse the web, tethering your iPhone to your PC provides a reliable internet connection. Let’s explore the different ways you can share your iPhone’s internet with your PC.
Methods to Share Internet from iPhone to PC
There are three primary methods to share your iPhone’s internet with a PC:
| Method | Pros | Cons |
|---|---|---|
| Wi-Fi Hotspot (Personal Hotspot) | Easy to set up, wireless connection | Can drain iPhone battery faster, range limitations |
| USB Tethering | Stable connection, charges your iPhone while connected | Requires a cable, may need iTunes installation |
| Bluetooth Tethering | Wireless connection, lower battery drain than Wi-Fi hotspot | Slower speeds compared to other methods |
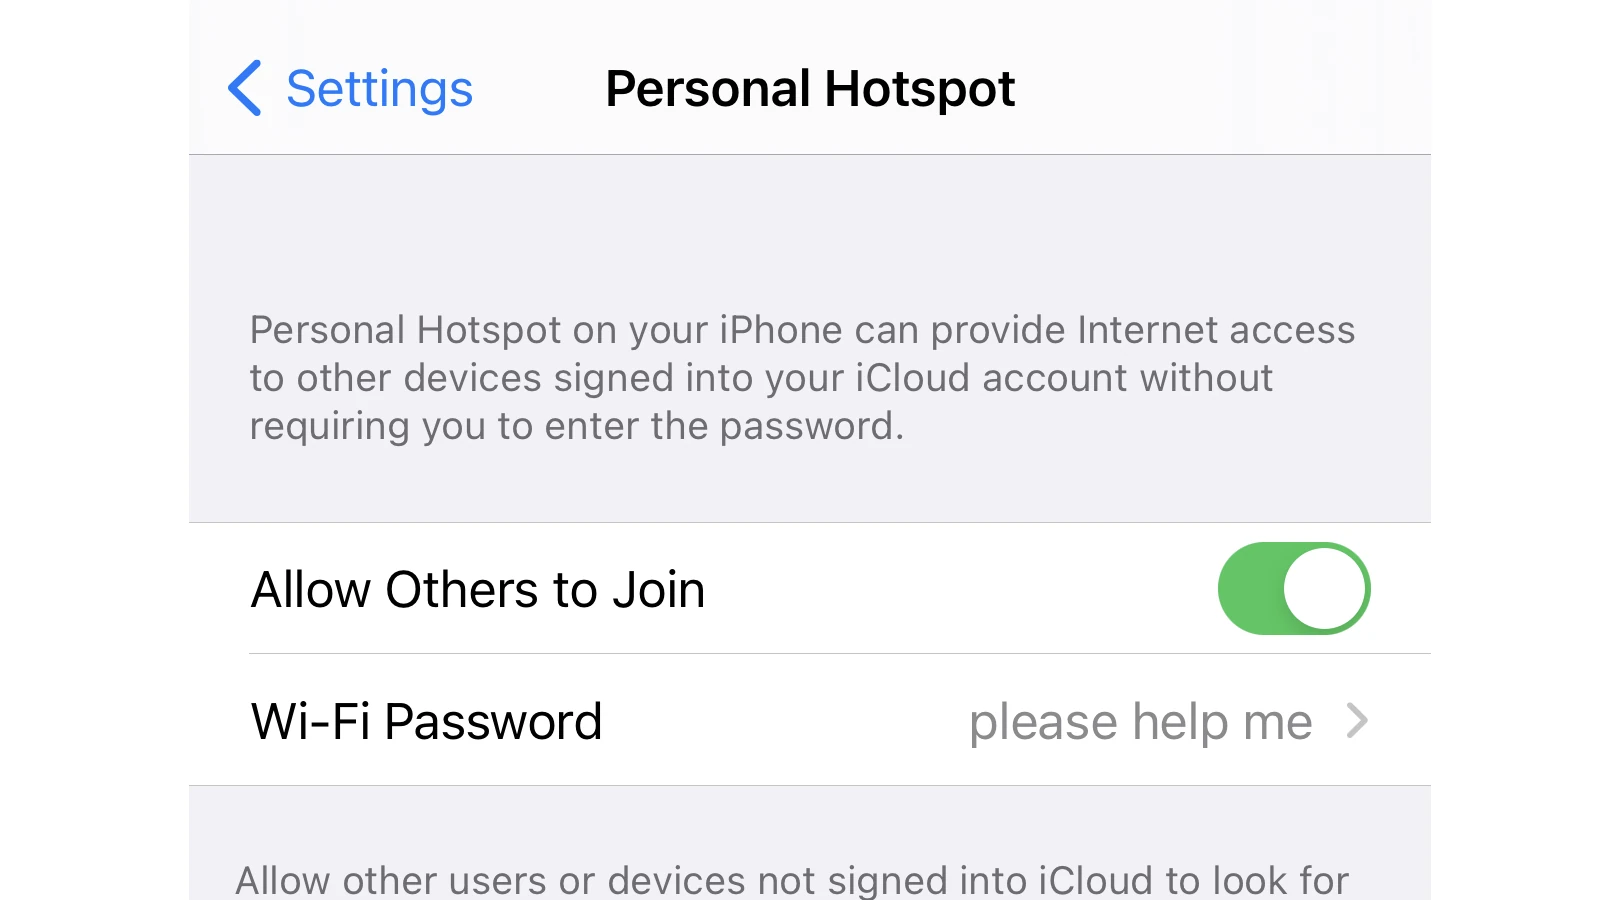
Setting Up a Wi-Fi Hotspot (Personal Hotspot)
- On your iPhone, go to Settings > Cellular > Personal Hotspot.
- Toggle on Personal Hotspot.
- Note the network name (SSID) and password displayed on the screen.
- On your PC, connect to the Wi-Fi network with the same SSID and enter the password.
Setting Up USB Tethering
- Connect your iPhone to your PC using a USB cable.
- On your iPhone, go to Settings > Cellular > Personal Hotspot and toggle it on.
- Your PC should automatically recognize the connection and start using your iPhone’s internet.
Setting Up Bluetooth Tethering
- Pair your iPhone with your PC via Bluetooth.
- On your iPhone, go to Settings > Cellular > Personal Hotspot and toggle it on.
- On your PC, go to Bluetooth settings and find your iPhone. Right-click and select “Connect using” > “Access point”.
Important Considerations
- Check with your carrier: Some carriers may have restrictions or additional charges for tethering.
- Monitor data usage: Tethering can use a significant amount of data, so keep an eye on your usage to avoid overage fees.
- Battery life: Tethering can drain your iPhone’s battery faster, so consider keeping it plugged in while sharing its internet connection.
Key Takeaways
- You can share iPhone internet with a PC via USB, Bluetooth, or Wi-Fi
- USB tethering is often the fastest and most reliable method
- Personal Hotspot lets you connect multiple devices wirelessly
Setting Up Personal Hotspot on iPhone
Personal Hotspot lets you share your iPhone’s internet with other devices. It’s easy to set up and use with Wi-Fi, USB, or Bluetooth.
Configuring iPhone Hotspot Settings
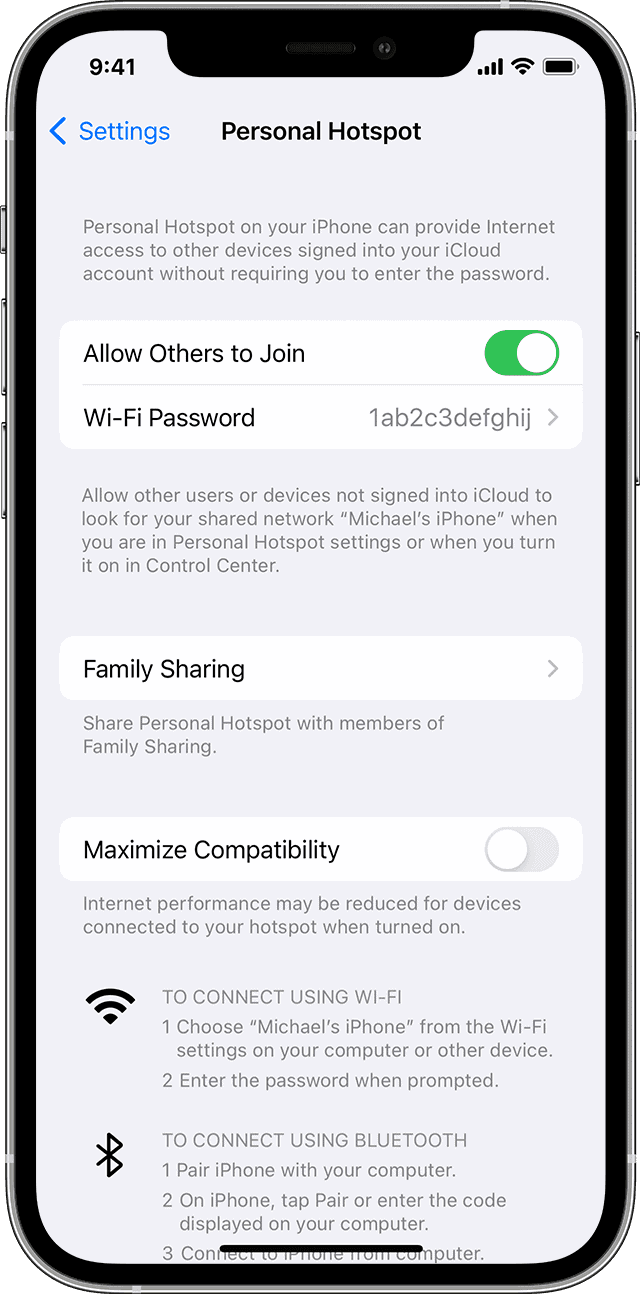
To set up Personal Hotspot, go to Settings on your iPhone. Tap Cellular, then Personal Hotspot. Turn on Allow Others to Join. Make a Wi-Fi password for your hotspot. This keeps your connection safe.
You can change the hotspot name too. It’s usually your iPhone’s name. To change it, go to Settings > General > About > Name.
If you have two SIM cards, pick which one to use for the hotspot. Go to Settings > Cellular > Cellular Data. Choose the line you want.
Connecting to Wi-Fi Hotspot from PC
Once your iPhone hotspot is on, find it on your PC. Click the Wi-Fi icon in the taskbar. Look for your iPhone’s name in the list of networks.
Click on your iPhone’s network name. Type in the password you made earlier. Click Connect. Your PC should now be online using your iPhone’s internet.
If you can’t see your iPhone, make sure Wi-Fi is on for both devices. Also check that your iPhone’s hotspot is still active in Settings.
Using USB Tethering with iPhone
USB tethering is another way to share your iPhone’s internet. It’s faster than Wi-Fi and keeps your iPhone charged.
First, connect your iPhone to your PC with a USB cable. On your iPhone, tap “Trust This Computer” if asked. On your PC, you might need to install iTunes if you haven’t before.
Go to your PC’s network settings. Look for a new network adapter named “Apple Mobile Device Ethernet” or similar. Your PC should now be using your iPhone’s internet.
Enabling Bluetooth Tethering on iPhone
Bluetooth tethering uses less power than Wi-Fi. It’s good for when you need to save battery.
On your iPhone, turn on Bluetooth in Settings. Do the same on your PC. Then pair your devices. On your PC, right-click the Bluetooth icon and select “Join a Personal Area Network.”
Right-click your iPhone in the list. Choose “Connect using” then “Access Point.” Your PC should now connect to your iPhone’s internet through Bluetooth.
If it doesn’t work, make sure Personal Hotspot is on in your iPhone settings. Also check that your PC’s Bluetooth is up to date.
Managing Network Connections on PC
Windows offers several ways to connect your PC to your iPhone’s internet. You can use Wi-Fi, USB, or Bluetooth. Each method has its own steps.
Accessing Network Settings on Windows
To manage network connections on Windows, open the Settings app. Click “Network & Internet” to see all options. Here you can turn Wi-Fi on or off, connect to networks, and set up a mobile hotspot. For more choices, click “Change adapter options” in the right sidebar. This shows all network connections on your PC.
You can also use the Control Panel to access network settings. Open it and click “Network and Sharing Center.” From here, you can set up new connections, change adapter settings, and troubleshoot problems.
Connecting to iPhone’s Internet via Wi-Fi
To use your iPhone’s internet on your PC via Wi-Fi, first turn on Personal Hotspot on your iPhone. Go to Settings > Personal Hotspot and toggle it on.
On your Windows PC, click the Wi-Fi icon in the system tray. Look for your iPhone’s name in the list of networks. Click on it and enter the password shown on your iPhone’s Personal Hotspot screen.
Once connected, your PC will use your iPhone’s internet. Keep an eye on your data usage if you don’t have an unlimited plan.
Establishing USB Connection with iPhone
To share internet via USB, you need iTunes on your PC. If you don’t have it, download it from Apple’s website.
Connect your iPhone to your PC with a USB cable. If asked, tap “Trust” on your iPhone. Open iTunes to make sure your PC sees your iPhone.
On your iPhone, go to Settings > Personal Hotspot and turn it on. Your PC should now use your iPhone’s internet. If not, open Network settings on your PC and look for a new network adapter named “Apple Mobile Device Ethernet.”
Pairing PC and iPhone over Bluetooth
Bluetooth lets you share internet without cables. First, turn on Bluetooth on both devices. On your iPhone, go to Settings > Bluetooth. On your PC, go to Settings > Bluetooth & devices.
Click “Add device” on your PC and choose your iPhone. Follow the steps to pair them. Once paired, go to your iPhone’s Personal Hotspot settings and turn it on.
On your PC, right-click the Bluetooth icon in the system tray. Choose “Join a Personal Area Network.” Right-click your iPhone and select “Connect using > Access point.” Your PC should now use your iPhone’s internet.
FAQs
How Do I Share Internet from My Phone to PC? / Can I Share Internet from iPhone? / Can I Share Internet from iPhone to PC? / How Do I Share Internet from My iPhone to My Computer Windows 10? / How Do I Share Wi-Fi Between My iPhone and My Computer?
Yes, you absolutely can share internet from your iPhone to a PC! There are three main ways to do this:
- Wi-Fi Hotspot (Personal Hotspot): This is the most common method. You turn your iPhone into a Wi-Fi network that your PC can connect to.
- USB Tethering: Connect your iPhone to your PC with a USB cable, and your PC will use the phone’s internet connection.
- Bluetooth Tethering: Similar to a Wi-Fi hotspot, but uses Bluetooth instead. It may be slower but uses less battery.
The specific steps might vary slightly depending on your iPhone model and PC’s operating system, but the general process is the same.
Why Can’t I Share Internet from My iPhone to PC?
There could be a few reasons why you can’t share internet:
- Carrier restrictions: Some carriers might limit or charge extra for tethering. Check your plan.
- Personal Hotspot settings: Make sure Personal Hotspot is turned on in your iPhone’s settings.
- Incorrect password: Double-check you’re entering the correct password on your PC when connecting to the hotspot.
- Software issues: Try restarting both your iPhone and PC, or resetting network settings on your iPhone.
- Hardware issues: If using USB tethering, try a different cable.
Is Sharing Internet with a Neighbor Safe?
Sharing your internet with a neighbor comes with some risks:
- Security: They could potentially access your network and personal data if you don’t have strong security measures in place.
- Bandwidth: They’ll be using your data, which could slow down your own connection or lead to extra charges.
- Liability: If they do something illegal online while using your network, you might be held responsible.
If you decide to share, make sure you:
- Use a strong password for your Wi-Fi hotspot.
- Limit the number of devices that can connect.
- Monitor your data usage to avoid unexpected charges.
- Consider the legal implications in your area.