Remembering to manage your iPhone subscriptions is important for avoiding unexpected charges. Subscriptions are linked to your Apple ID and it’s easy for them to add up over time. Whether you’ve finished a free trial or no longer use a service, canceling subscriptions can save you money and simplify your digital life. It’s easy to lose track of the services we’re paying for in this digital age. If you want to tidy up your iPhone and keep track of your spending, knowing how to cancel subscriptions is crucial.
This guide offers a simple step-by-step process to unsubscribe from any service on your iPhone, putting you back in control of your digital spending. For iPhone users, managing subscriptions is just a few taps away in the device’s settings. Apple provides a central place where all active and inactive subscriptions are listed, making it easy to review and manage your subscriptions directly from your phone. If you come across a subscription you no longer need, the process to cancel it is straightforward and quick, giving you peace of mind right away.
https://support.apple.com/billing


A Simple Guide to Managing Your iPhone Subscriptions
Subscriptions have become a common way to access content and services on our iPhones. However, sometimes we need to cancel or modify these subscriptions. Luckily, Apple has made it easy to manage your subscriptions right from your iPhone. Here’s a step-by-step guide:
Step 1: Open Settings
Tap the “Settings” icon on your iPhone’s home screen. It looks like a gear.
Step 2: Tap on Your Name
At the top of the Settings menu, you’ll see your name and Apple ID profile picture. Tap on it.
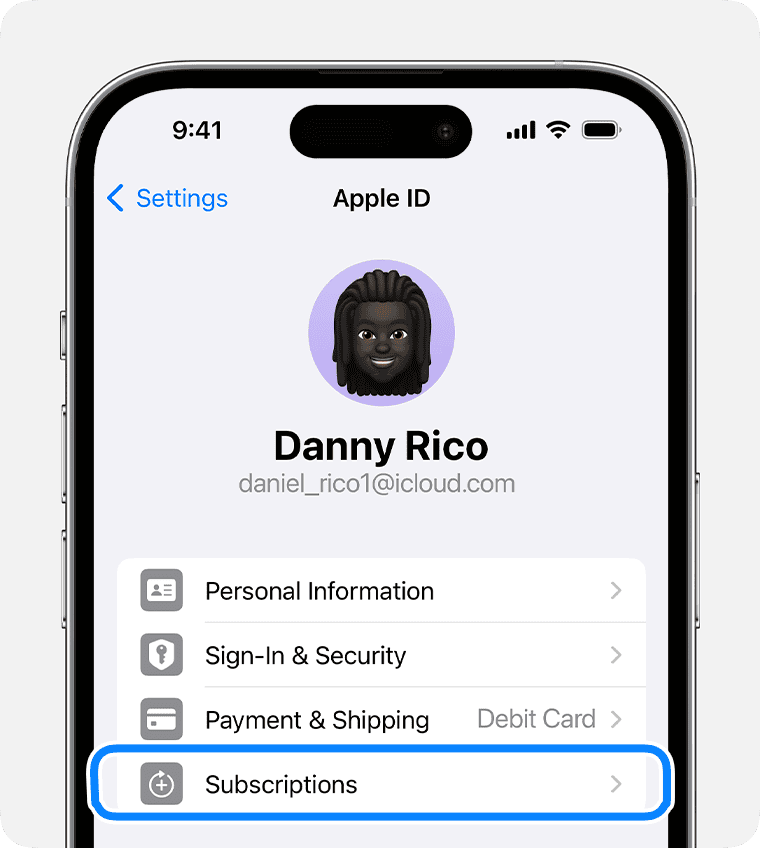
Step 3: Select “Subscriptions”

Scroll down a bit and you’ll find the “Subscriptions” option. Tap on it.
Step 4: Choose the Subscription to Cancel
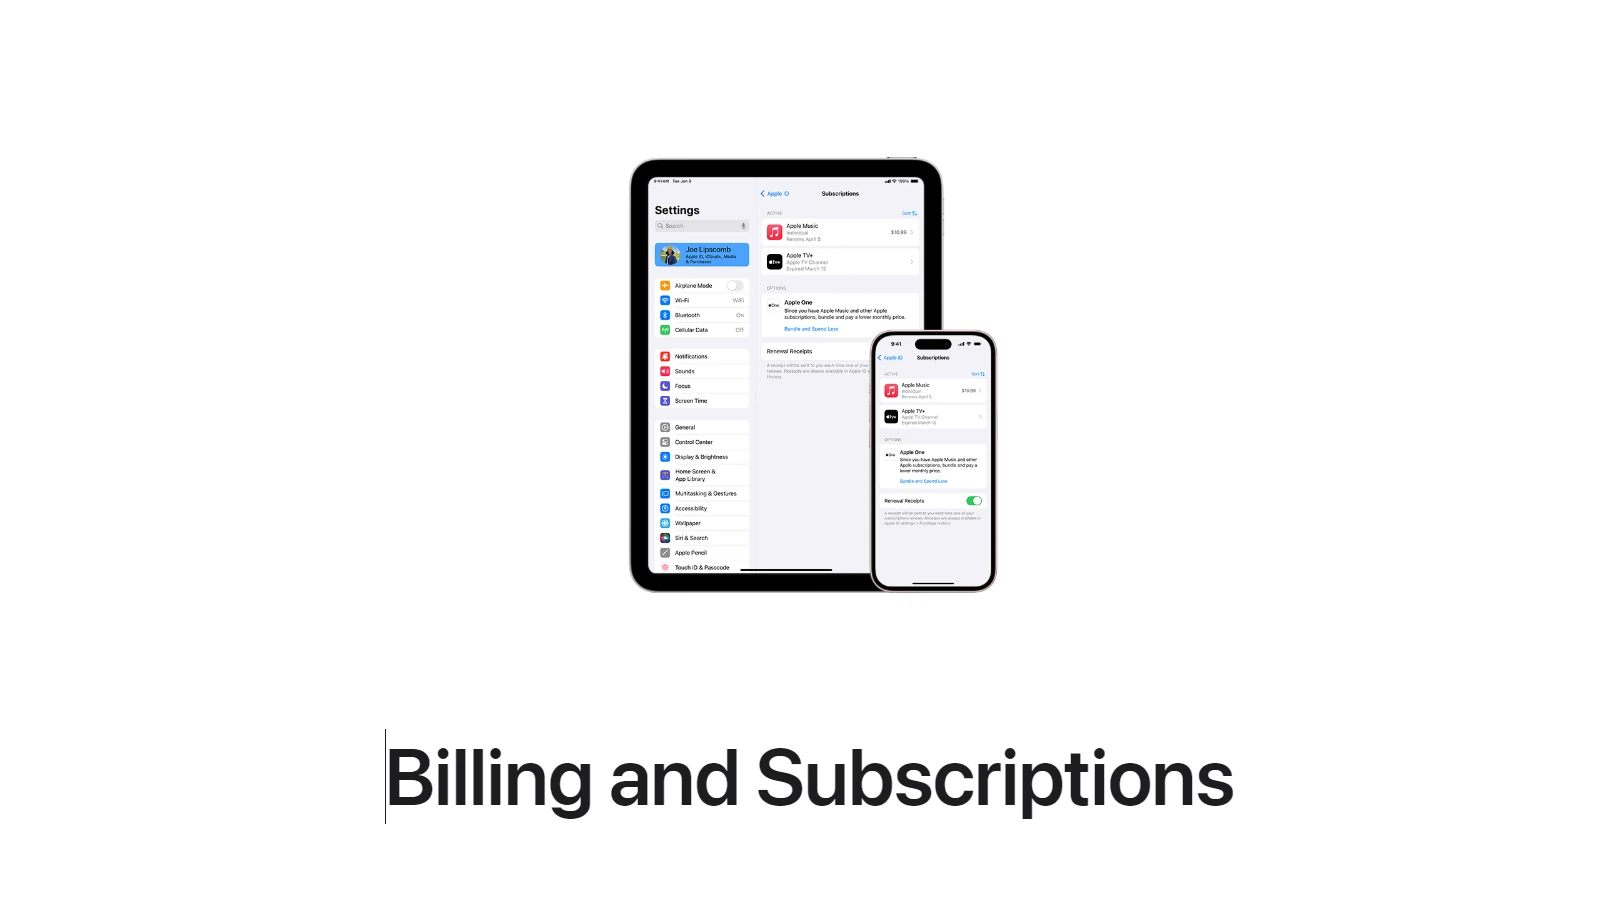
You’ll now see a list of all your active and expired subscriptions. Find the one you want to cancel and tap on it.
Step 5: Tap “Cancel Subscription”
At the bottom of the subscription details page, you’ll find the “Cancel Subscription” button. Tap on it.
Step 6: Confirm Cancellation
A confirmation pop-up will appear. If you’re sure you want to cancel, tap “Confirm”.
Additional Notes
- If you don’t see the “Cancel Subscription” button, it means the subscription is already canceled or set to expire soon. You can check the expiration date on the subscription details page.
- You can also manage your subscriptions through the App Store app or on your computer via iTunes.
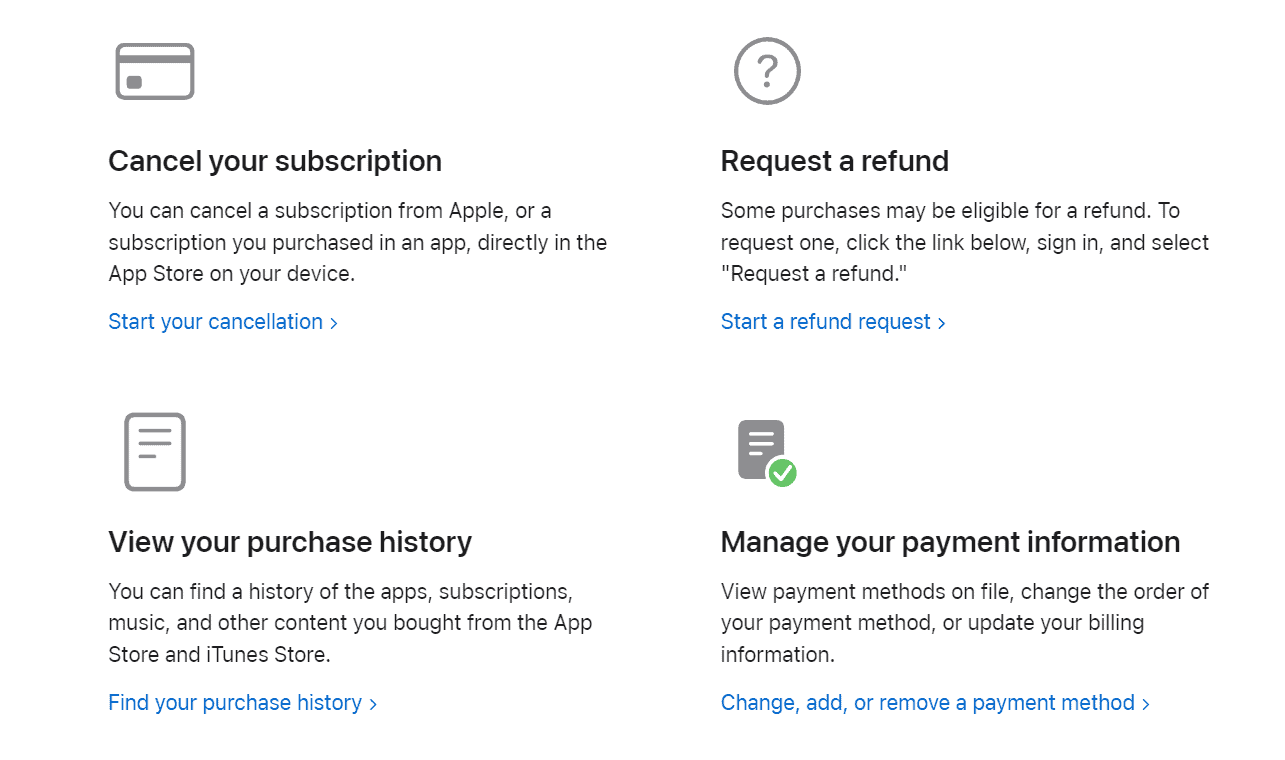
- If you’re having trouble canceling a subscription or need a refund, contact Apple Support directly.
Key Takeaways
- Users can manage iPhone subscriptions in the Settings app.
- Removing unwanted subscriptions can help save money.
- The process to cancel is user-friendly and effective.
Understanding Subscriptions on iPhone
iPhone users can subscribe to various services. Knowing how to manage these is important.
Different Types of Subscriptions
There are many subscriptions available on the iPhone. Some are for music and video streaming services. Others may be for cloud storage or app memberships. Subscriptions are tied to an Apple ID and are billed regularly.
Locating Your Subscriptions
You can find subscriptions in the Settings app on your iPhone. Click your name and select ‘Subscriptions’. This will show a list of all active and inactive subscriptions linked to your Apple ID.
iOS 17 Subscription Management
With iOS 17 on the iPhone 15, you manage subscriptions in the Settings app. The process is designed to be user-friendly. You use Face ID or Touch ID to authenticate changes for added security.
Steps to Remove a Subscription
Managing subscriptions on Apple devices is straightforward. Users can cancel their subscriptions, whether from an iPhone, iPad, Mac, Apple TV, or even a PC with just a few steps.

How to Cancel via iPhone Settings
To cancel a subscription on your iPhone, open the Settings app and tap your name. From there, select Subscriptions and tap on the subscription you want to cancel. Choose Cancel Subscription to end it. The subscription will stop at the end of the current billing period.
Cancellation via App Store
If you’d like to cancel a subscription through the App Store, open the App Store app. Tap on your profile icon at the top of the screen. Then tap Subscriptions, select the subscription you want to cancel, and press Cancel Subscription. Confirm your choice if prompted.
Canceling on Apple TV or Other Apple Devices
To cancel subscriptions on an Apple TV or other Apple devices, navigate to Settings and then select Users & Accounts. Look for your account and select Subscriptions. Pick the subscription to cancel and select Cancel Subscription. On other Apple devices, the steps are similar, you might just need to find the Subscriptions setting under your account.
Handling Subscriptions on a Mac or PC
For Mac users, open the App Store and click on your account name at the bottom of the sidebar. Click View Information at the top of the window and sign in if asked. Scroll to the Subscriptions section and click Manage. To handle subscriptions on a PC, open iTunes, go to Account > View My Account, sign in, and scroll to the Settings section. Find Subscriptions and click Manage, then choose the subscription you want to edit and click Cancel Subscription.
Through these steps, managing the subscriptions for services like Apple Music, Apple TV+, or apps like Netflix is simple and lets you stay in control of what you’re paying for. Always confirm the changed status of your subscriptions to ensure they’ve been canceled.


