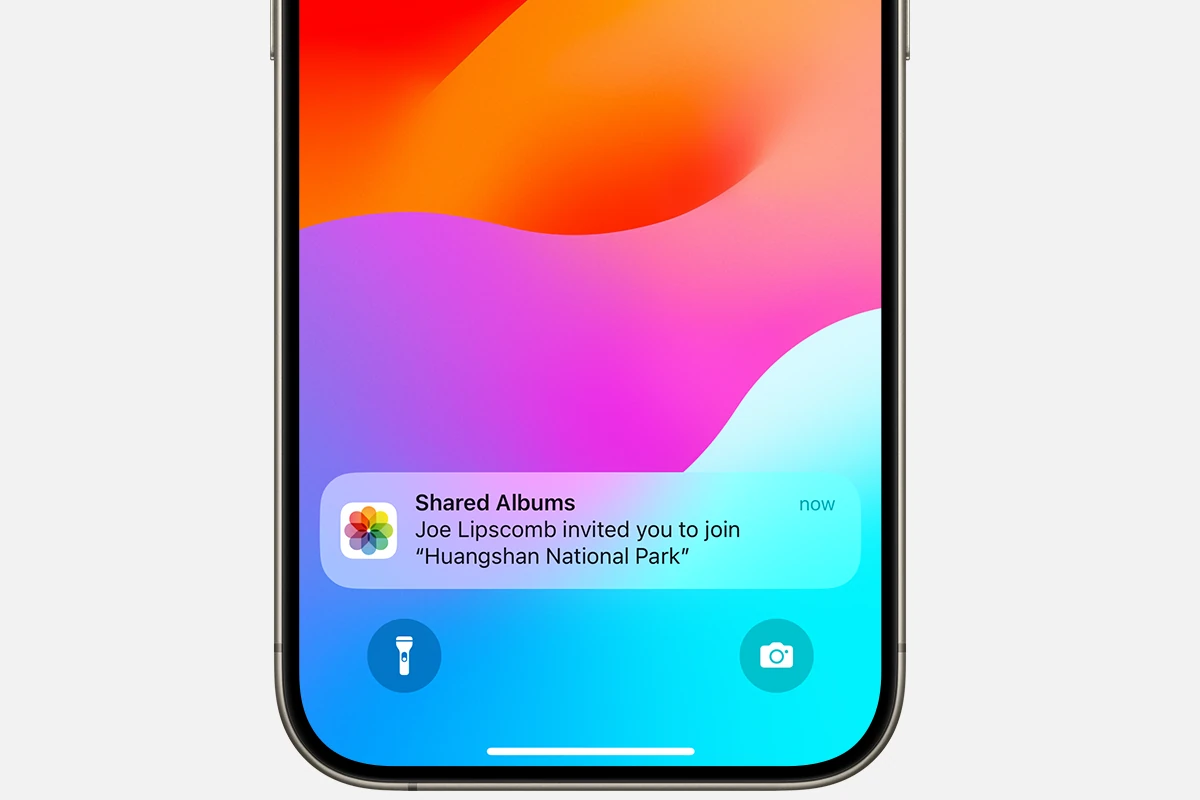
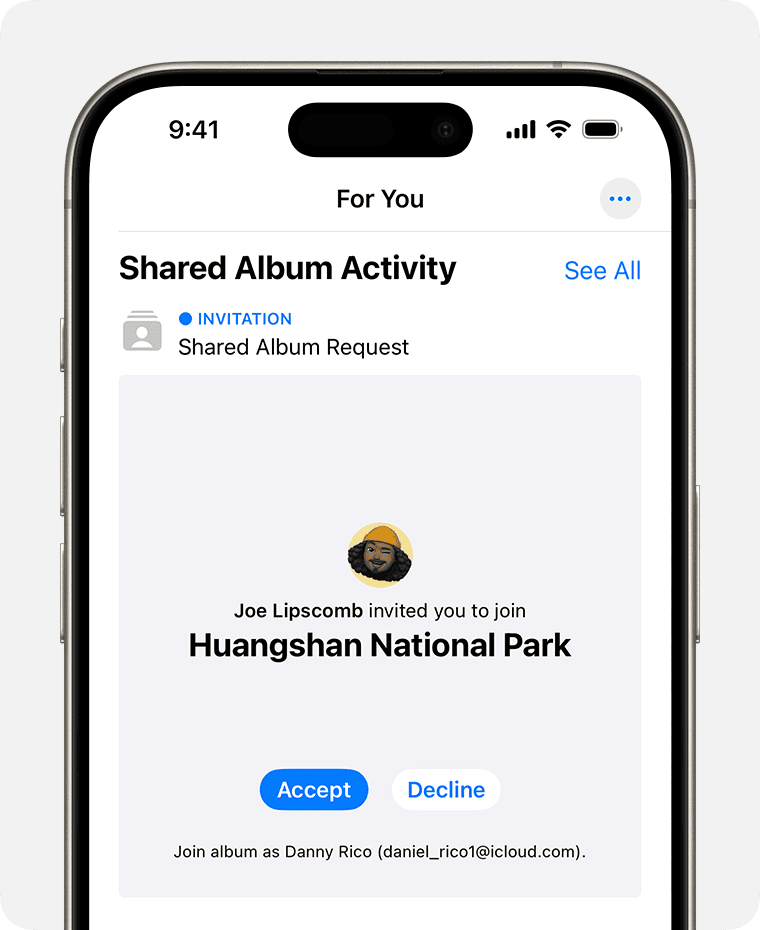
Sharing photos with friends and family is easy with shared albums on iPhones. These albums let you show off your best shots and keep loved ones in the loop. To accept a shared album invite, open the Photos app and tap the For You tab. You’ll see the invite there. Just tap Accept to join the album.
Once you accept, you can view all the photos in the shared album. You can also add your own pics and videos. This makes it simple to gather photos from a group trip or event in one place. Everyone with access can see and enjoy the memories.
Shared albums work across Apple devices. You can use them on your iPhone, iPad, or Mac. They sync through iCloud, so you always have the latest version of the album. This feature brings people together through photos no matter where they are.
To accept a shared album on your iPhone, follow these steps:
- Open the Photos app on your iPhone.
- Tap on the For You tab at the bottom of the screen.
- In the Shared Albums section, you’ll see any pending invitations. Tap on the shared album you want to accept.
- Tap on the Accept button.
- The shared album will now appear in your Albums tab, and you’ll be able to view and interact with its content.
Additional Tips
- If you don’t see the shared album invitation, make sure you’re signed in to the Photos app with the same Apple ID that the invitation was sent to.
- You can also accept shared album invitations from the email notification you receive. Just tap on the View Shared Album button in the email.
Key Takeaways
- Open the Photos app and tap For You to find shared album invites
- Tap Accept to join a shared album and view its contents
- Use shared albums on iPhone, iPad, and Mac to share memories with others
Getting Started with Shared Albums
Shared Albums let you share photos and videos with others. They work on iPhone, iPad, and Mac. You can make albums private or public.
Understanding Shared Albums
Shared Albums are a great way to share pictures with friends and family. You can add photos and videos from your device. Others can see and comment on them. You can also let people add their own photos.
Shared Albums are private by default. Only people you invite can see them. But you can make them public if you want. Public albums get a website that anyone can view.
You need to turn on Shared Albums in your settings to use them. Go to the Photos settings and switch it on.
Creating a Shared Album
To make a new Shared Album, open the Photos app. Tap the plus sign and pick “New Shared Album.” Give your album a name.
Choose who to share with. You can add people by their email or phone number. You can also add them from your contacts list.
Pick the photos and videos you want to share. You can add more later too. When you’re done, tap “Create” to finish.
Inviting Subscribers to a Shared Album
To invite people to your album, open it and tap the “People” button. Then tap “Invite People.” Type in their email or phone number.
You can also share a link to let others join. Tap “Share Link” to get it. Send this link to anyone you want in the album.
When someone gets an invite, they’ll see a notice. They can tap “Accept” to join. If they miss it, they can find it in the Photos app under “For You.”
Interacting with Shared Albums
Once you’re in a Shared Album, you can do lots of things. You can like photos by tapping the heart icon. Leave comments to chat about pictures.
To add new photos, tap the plus sign. You can pick from your library or take new ones. Others can add photos too if you let them.
You can save photos from Shared Albums to your own library. Just tap the share icon and pick “Save Image.” To remove a photo you added, tap it and hit “Delete.”
Frequently Asked Questions
Shared albums on iPhones can be tricky. Here are some common questions and answers to help you use this feature.
How do I accept an invitation to a shared album on an iPhone?
Open the Photos app. Tap the For You tab. Look for Shared Album Activity. Tap Accept on the invite. If you don’t see it there check your Notification Center. You can also ask the sender to resend the invite.
What steps should I follow if I am not receiving invitations to Shared Albums?
Check if Shared Albums is on. Go to Settings > Photos. Turn on Shared Albums if it’s off. Ask the sender to resend the invite. Make sure your Apple ID is correct. Check your internet connection too.
How can I find or restore a missing shared album invite?
Look in the Photos app For You tab. Check Shared Album Activity. Search your Notification Center. Ask the sender to resend the invite if you can’t find it. They may need to remove you and add you again.
Why might the Shared Albums function not work on my iPhone?
It could be off in Settings. Your iOS might need an update. Check your internet connection. Sign out and back into your Apple ID. Restart your iPhone. If nothing works contact Apple Support.
How can I enable Shared Albums on an iOS device?
Go to Settings on your iPhone. Tap Photos. Find Shared Albums and turn it on. Make sure you’re signed in with your Apple ID. Restart your device after turning it on.
What methods are available for accessing a shared album once invited?
Open the Photos app. Go to the Albums tab. Look for Shared Albums. Tap on the album you want to view. You can also access it from the For You tab or a notification if it’s new.