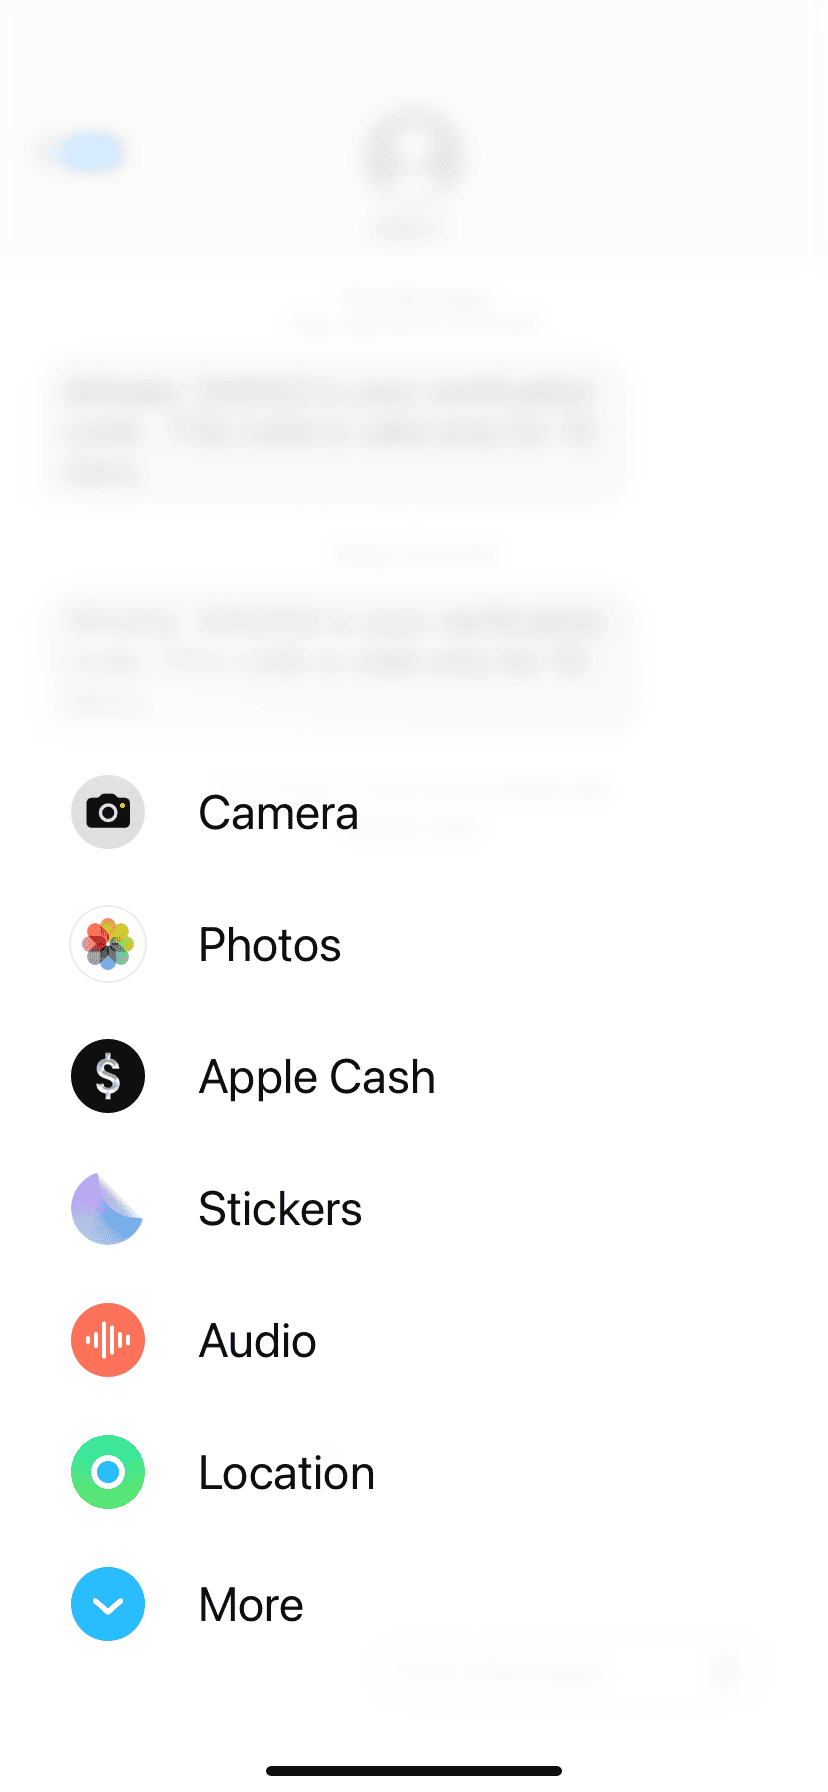
Voice messages on iPhone make talking easier by giving you an option outside of typing or calling – you just speak and send. To send a voice message, open the Messages app, tap the plus sign, and choose Audio. This starts recording right away. When you’re done, swipe up to send it.
Voice messages are great for busy times as you can say more in less time than typing. They also add a personal touch. The other person hears your voice and tone. This can help avoid mix-ups that sometimes happen with text.
iPhone voice messages are simple to use and you’re always given the option of previewing them before sending. If you make a mistake, you can cancel and try again. The messages delete after a while to save space. But you can keep ones you want to save.
A Guide to Sending Voice Messages on iPhone
Want to add a personal touch to your messages? Voice messages offer a convenient way to express yourself, share quick updates, or simply convey emotion more effectively than text alone. iPhones make it easy to send voice messages through various apps. Let’s explore the different methods and discover some helpful tips for effective voice messaging.
Method 1: Using The Audio Option in iMessage (iOS 17+)

With iOS 17, Apple introduced a slightly different way to send audio messages in iMessage. Here’s how it works:
- Open the Messages app and select the conversation where you want to send a voice message.
- Tap the plus button (+) to the left of the text input field. This will open a menu of options.
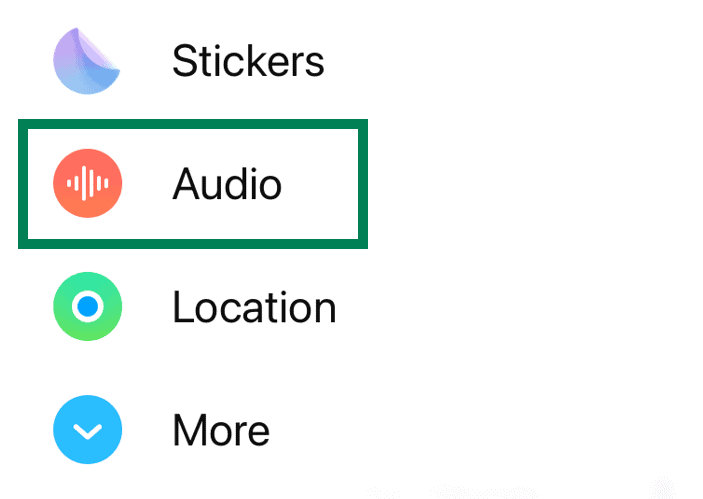
- Select “Audio.” This will open the audio message interface.
- Tap and hold the red record button to start recording your message.
- Release the button to stop recording. You can then tap the play button to preview your message.
- Tap the blue send arrow to send your audio message.

This new interface provides a more visual and intuitive way to record and send audio messages in iMessage. It also offers additional features, such as the ability to pause and resume recording, and to discard a recording before sending it.
Method 2: Using iMessage (Dictation Off, iOS 16 or Older)
iMessage, Apple’s built-in messaging app, offers a seamless way to send voice messages to other iPhone users. Here’s how:
- Open the Messages app and select the conversation where you want to send a voice message.
- Tap and hold the voice message icon next to the text input field. It should look like 5 red lines

- Begin speaking your message. You can slide your finger up to lock the recording if you need to use your other hand.
- To send the message, release your finger from the microphone icon. To cancel the recording, slide your finger to the left.
Method 3: Using Third-Party Apps
Many popular messaging apps, such as WhatsApp, Facebook Messenger, and Telegram, also support voice messaging. The process is generally similar to iMessage:
- Open the messaging app and select the conversation.
- Look for a microphone icon within the text input area.
- Tap and hold the microphone icon to start recording your message.
- Release the icon to send or slide to cancel.
Tips for Effective Voice Messaging
- Keep it concise: Voice messages are ideal for short and quick updates. Avoid sending long, rambling messages that might be tedious for the recipient to listen to.
- Speak clearly: Enunciate your words clearly and speak at a moderate pace. Background noise can interfere with the clarity of your message, so try to record in a quiet environment.
- Consider the context: Voice messages are great for conveying emotion or adding a personal touch, but they might not be suitable for all situations. Use your judgment to determine if a voice message is appropriate for the context.
- Preview before sending: Most messaging apps allow you to preview your voice message before sending it. This gives you a chance to check the quality and make sure you’re happy with the message.
- Use headphones: If you’re recording in a noisy environment or want to ensure privacy, use headphones with a built-in microphone.
Unique Insights: Beyond the Basics
- Accessibility: Voice messages can be a valuable tool for people with disabilities that might hinder typing or texting.
- Emotion and Tone: Voice messages allow you to convey emotion and tone more effectively than text alone, making your communication more engaging and personal.
- Efficiency: In some cases, sending a quick voice message can be faster and more efficient than typing out a long text.
Sending Voice Messages on iPhone: A Quick Guide
| App | Steps |
|---|---|
| iMessage | Open the Messages app, tap and hold the microphone icon, speak your message, and release to send. |
| Third-Party Apps | Open the messaging app, locate the microphone icon, tap and hold to record, and release to send. |
Key Takeaways
- Open Messages, tap plus, select Audio to record
- Speak your message, then swipe up to send
- Listen before sending or cancel to re-record
Creating and Sending Voice Messages
Voice messages on iPhone are quick and easy to make. You can record and send audio right from the Messages app.
Accessing the Messages App
Open the Messages app on your iPhone. It’s a green icon with a white speech bubble. Tap it to start. Find the chat where you want to send a voice message. You can pick an old chat or start a new one. To make a new chat, tap the pencil icon in the top right corner. Type the name or number of the person you want to message.
Recording Your Voice Message
Look for the audio icon next to the text box. It looks like a microphone. Press and hold this icon to start recording. Speak clearly into your phone. The red recording indicator will show that it’s working. Let go of the icon when you’re done talking. You can listen to your message before sending it. Tap the play button to hear it. If you don’t like it, tap the “x” to delete and try again.
Sending the Voice Message
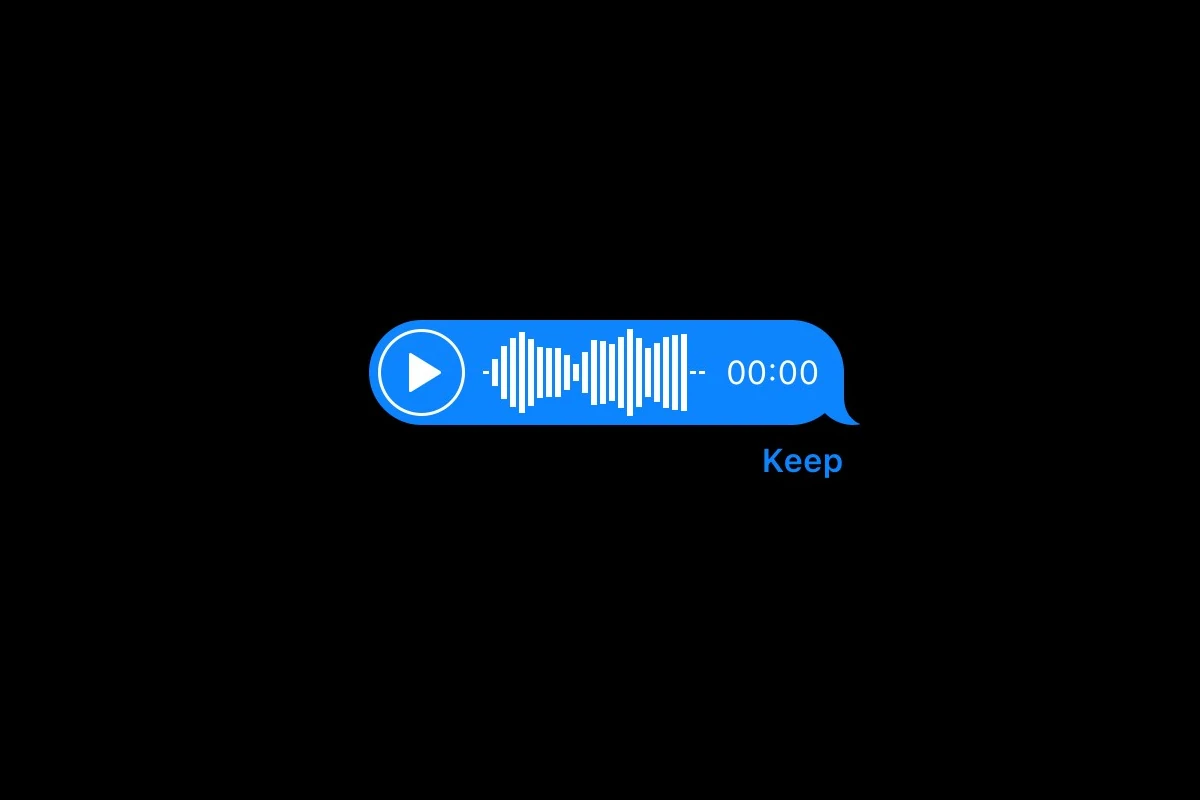
When you’re happy with your recording, it’s time to send it. Swipe up on the audio icon to send right away. Or tap the blue arrow next to your message. The voice message will appear in the chat as a waveform. The other person can tap it to listen. Voice messages usually delete after two minutes. But you can keep them longer. Just tap “Keep” under the message to save it.
Frequently Asked Questions
Voice messaging on iPhone is easy and convenient. You can send audio clips through iMessage or other apps. Here are answers to common questions about this feature.
How can you enable voice messaging on an iPhone?
Voice messaging is on by default in iMessage. No setup is needed. Just open a chat and tap the microphone icon to start. Other apps may need to be installed first.
What are the steps to record a voice message on iPhone using iMessage?
Open Messages and pick a chat. Tap and hold the mic icon next to the text box. Speak your message. Let go to stop recording. Swipe up to send or tap to play it back first.
What is the method to send voice messages through text on an iPhone?
Voice messages go through texts in iMessage. Open a chat and tap the mic. Record and send like a regular voice message. The audio clip shows up in the text thread.
How do you send a voice message using the latest iOS version?
The steps are the same in new iOS versions. Open Messages. Tap a chat. Press and hold the mic icon. Talk and release to stop. Swipe up to send right away.
Why might a voice message disappear on iPhone, and how can it be retrieved?
Voice messages vanish after two minutes by default. Change this in Settings > Messages > Audio Messages. Pick “Never” to keep them. Deleted messages can’t be retrieved.
What are the differences between sending a voice message on iPhone versus Android?
iPhones use iMessage for voice clips. Android phones need separate apps like WhatsApp. iMessage is only for Apple devices. Android apps work across different phone brands.
Is There a Way to make Voice Recording the Default Button for All iMessages?
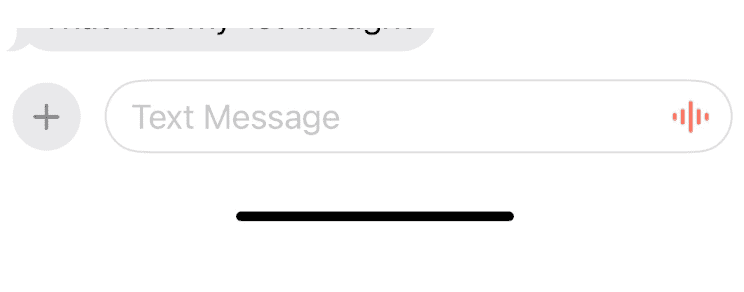
There’s no direct way to do this, but you can indirectly get it done by disabling Dictation in your keyboard settings. Go to Settings > General > Keyboards > Enable Dictation and turn that feature off. When you go back to iMessage you should see the voice message option as the default now.

