Backing up your iPhone is very important to protect your data. You can use iCloud or your computer to make sure your photos, messages, and settings are safe. Regularly backing up your iPhone means you can easily get your information back if you lose your device or get a new one. This is the best way to avoid losing your data if your phone gets stolen, damaged, or has software issues. Regularly backing up your iPhone will give you peace of mind, knowing that your precious memories, messages, and settings are safe.
You can choose to use iCloud, which automatically backs up your iPhone over Wi-Fi, or use a computer with iTunes or Finder, which gives you more control. Both methods are effective and simple to do. Understanding these options can help you keep your information secure. Each method has its benefits, so choose the one that works best for you. Regular backups mean peace of mind, knowing that your data will always be there when you need it.
Your iPhone Data: Safe and Sound
Backing Up with iCloud
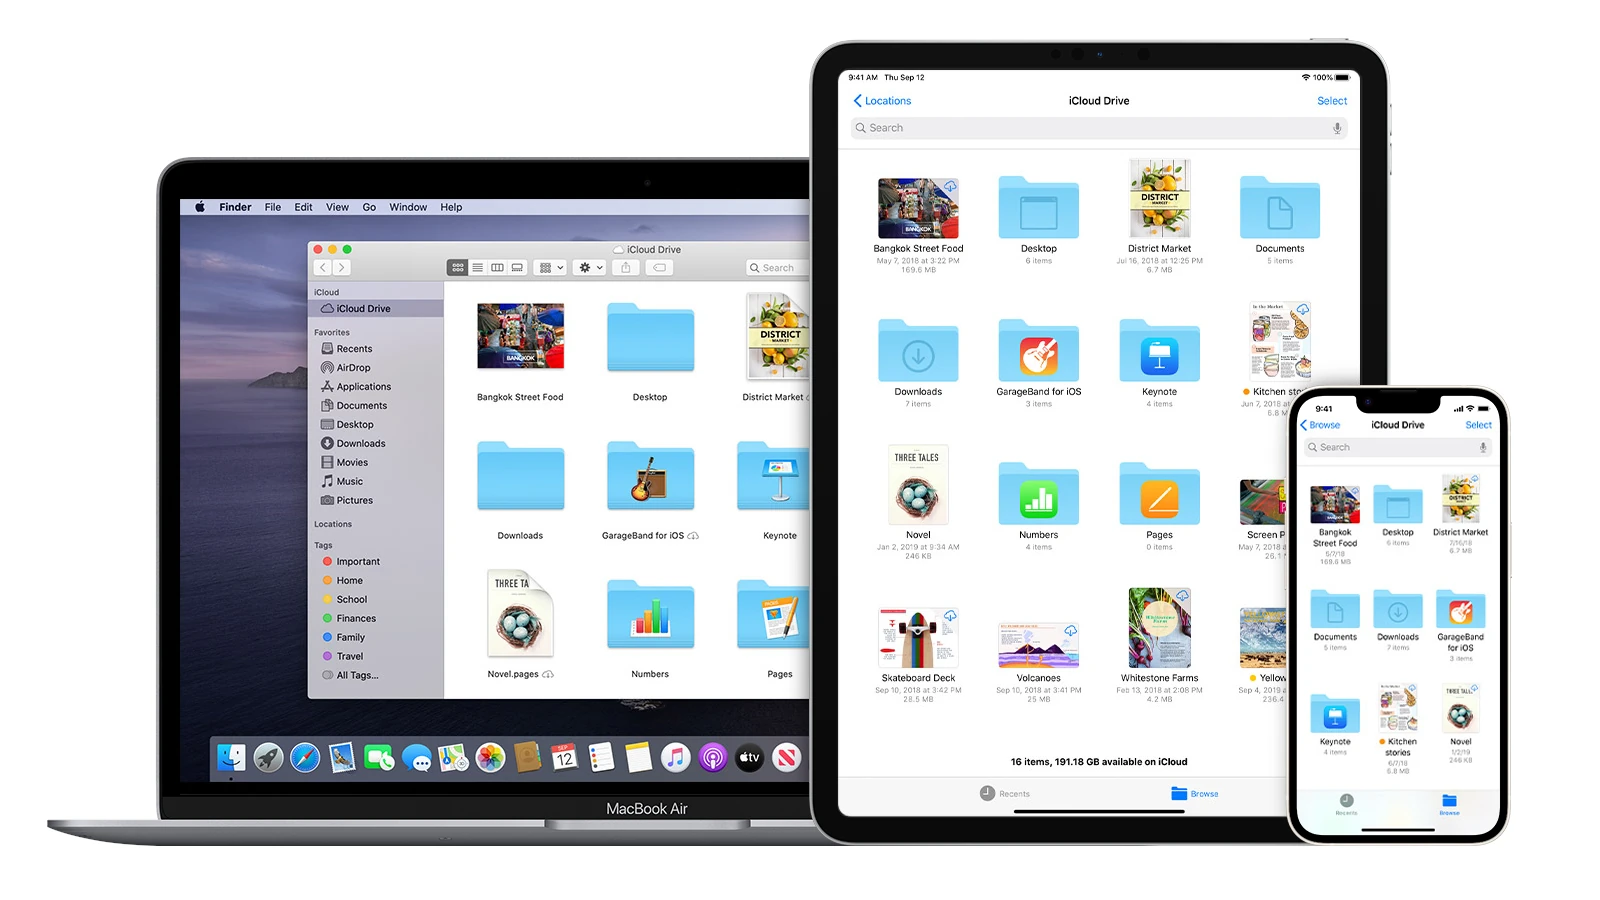
iCloud is Apple’s cloud storage service and offers a seamless way to back up your iPhone. It automatically backs up your data when your phone is connected to Wi-Fi, plugged in, and locked. You get 5GB of free storage, and you can buy more if you need it.
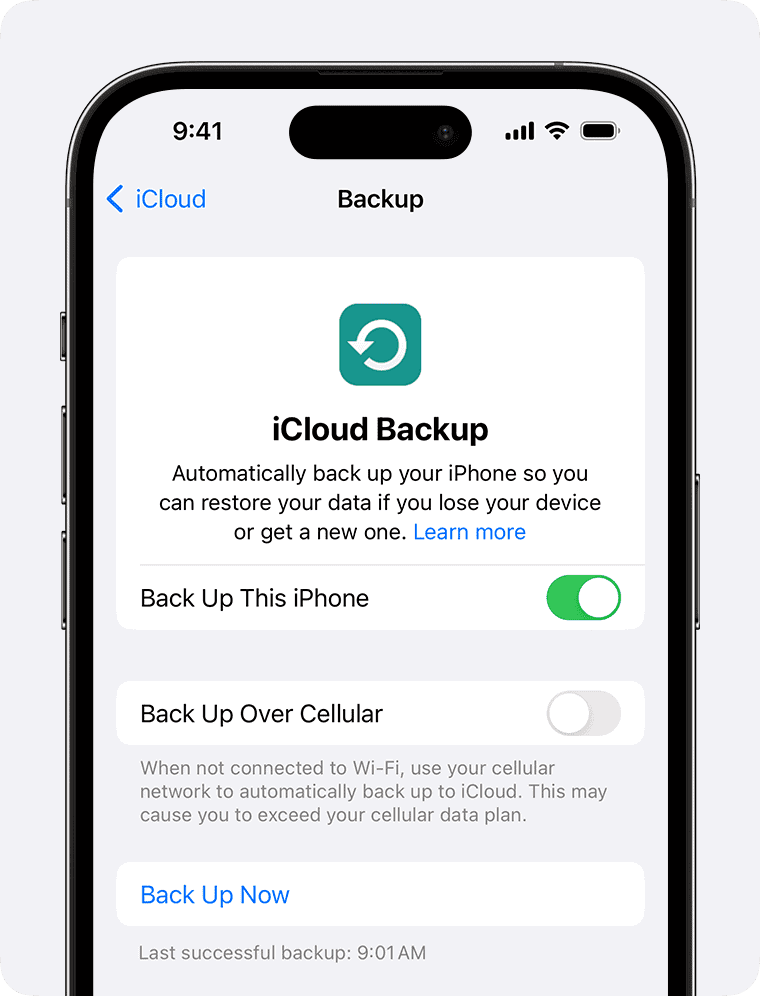
To enable iCloud Backup:
- Go to Settings > [Your Name] > iCloud > iCloud Backup.
- Toggle iCloud Backup on.
- Tap Back Up Now to start a backup immediately.
Backing Up with Your Computer
You can also use a Mac or PC to back up your iPhone. This gives you more control over the backup process and doesn’t require internet access.
For Mac (macOS Catalina or later):
- Connect your iPhone to your Mac using a cable.
- Open Finder, and select your iPhone in the sidebar.
- Click General, then Back Up Now.
For Mac (macOS Mojave or earlier) or PC:
- Connect your iPhone to your computer using a cable.
- Open iTunes.
- Click the iPhone button near the top left of the iTunes window.
- Click Summary, then Back Up Now.
What Gets Backed Up?
Both iCloud and computer backups include most of your important data, such as:
- Photos and videos
- App data
- Messages
- Settings
- Device settings
- Home screen and app organization
Comparison Table: iCloud vs. Computer Backup
| Feature | iCloud Backup | Computer Backup |
|---|---|---|
| Convenience | Automatic when conditions are met | Manual, but more control |
| Storage | Limited free storage (5GB), paid plans available | Depends on your computer’s storage space |
| Speed | Can be slower, depends on internet speed | Usually faster, especially with a wired connection |
| Accessibility | Accessible from any device with internet access | Accessible only from the computer where the backup was made |
Key Takeaways
- Regular backups protect important data.
- Choose between iCloud and computer backup.
- Decide based on convenience and control.
Preparing Your iPhone for Backup
Before backing up your iPhone, it’s important to know the types of backups available, make space for new backups, and ensure a stable network and power connection. These steps help make the backup process smooth and efficient.
Understanding iCloud and Local Backup Options
iCloud and local backup options serve different needs. iCloud Backup saves data to Apple’s cloud servers. You need an Apple ID and enough storage in your iCloud account. You can check storage by going to Settings > [your name] > iCloud > Manage Account Storage.
Local backups are stored on your computer. Connect your iPhone to your Mac or PC using a USB cable. Open Finder on macOS Catalina or later, or iTunes on Windows or earlier macOS versions. Local backups do not require internet and can store more data.
Optimizing Storage Space Before Backup
Before you back up, make sure you have enough space. On iCloud, go to Settings > [your name] > iCloud > Manage Account Storage to see what’s taking up space. You can delete old backups or files you no longer need.
For local backups, check your computer’s free space. Delete old files or move them to an external drive if needed. This ensures your iPhone can back up properly and all important data will be saved.
Ensuring Network and Power Source Availability
A stable Wi-Fi connection is necessary for iCloud backups. Cellular networks, like 5G, do not support large backups because of data limits. Connect to a reliable Wi-Fi network. Go to Settings > Wi-Fi and select your network.
Your iPhone should be connected to a power source. This prevents interruptions. Go to Settings > Battery to turn on Low Power Mode if the battery is low. This mode helps save battery life during the backup process.
Frequently Asked Questions
Backing up an iPhone ensures your data stays safe and you can easily restore it if needed. Below are answers to common questions about different ways to back up your iPhone.
How to back up an iPhone to a PC?
To back up an iPhone to a PC, connect your iPhone to the computer using a USB cable. Open iTunes and select your iPhone when it appears. Click on “Summary,” then choose “Back Up Now.” Make sure to select “Encrypt local backup” and set a password if you want to encrypt the backup.
What are the steps to back up an iPhone to iCloud?
To back up to iCloud, go to Settings on your iPhone. Tap on your name at the top, then select “iCloud.” Scroll down and tap “iCloud Backup.” Make sure iCloud Backup is turned on, then tap “Back Up Now.” Your iPhone will back up to iCloud whenever it is connected to Wi-Fi and charging.
Can you explain how to back up an iPhone to a Mac?
Connect your iPhone to your Mac using a USB cable. Open Finder, and select your iPhone from the list of locations. Click on “General,” then click on “Back Up Now.” You can choose to encrypt the backup by selecting “Encrypt local backup,” setting a password, and then proceeding with the backup.
What is the process to back up an iPhone without using iCloud?
To back up without iCloud, you need a computer. Connect your iPhone to a PC or Mac with a USB cable. Open iTunes on a PC or Finder on a Mac. Select your iPhone and click “Back Up Now.” You also have the option to encrypt the backup for added security.
How do I transfer all data from an old iPhone to a new iPhone?
Turn on your new iPhone and place it near your old device. Follow the on-screen instructions to start Quick Start. Wait for an animation to appear on your new iPhone. Use your old iPhone to capture the animation. Follow the prompts to transfer your data using iCloud or a wired connection.
Does backing up an iPhone include all the data and settings?
Yes, backing up an iPhone includes most data and settings. This comprises app data, messages, call history, photos, and device settings. Some items, like Touch ID settings and Apple Pay information, are not included for security reasons.