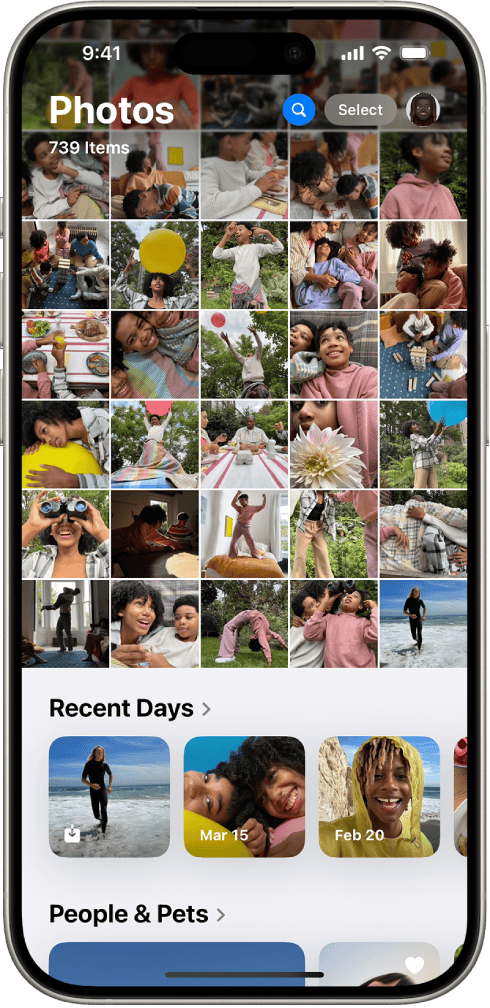
Saving images on your iPhone is a breeze, but finding them later can sometimes be tricky. Your saved photos typically go to the Camera Roll in the Photos app. This central location makes it easy to view and manage all your pictures in one place.
But what if you can’t find a photo you just saved? Don’t worry. The Photos app has a handy Recently Saved collection that shows your latest additions. This feature helps you quickly locate images you’ve just downloaded or saved from other apps.
Sometimes, you might choose to save images to the Files app instead. In this case, you’ll need to open the Files app to find your downloads. Knowing where to look can save you time and frustration when searching for your saved images.
| Storage Location | Pros | Cons |
|---|---|---|
| Photos App | Easy access, auto-backup | Limited organization |
| Files App | More control, folder options | Separate from camera photos |

How to Access and Manage Saved Images in Your iPhone Photo Library
Your iPhone’s Photo Library is where all your captured photos and saved images live. Knowing how to navigate and manage this library is key to keeping your photos organized and accessible. Here’s a guide:
Accessing Your Photo Library
The main way to access your photos is through the Photos app:
- Locate the Photos app icon (a multicolored pinwheel) on your iPhone’s Home Screen.
- Tap the icon to open the app.
Once inside, you’ll see different tabs at the bottom:
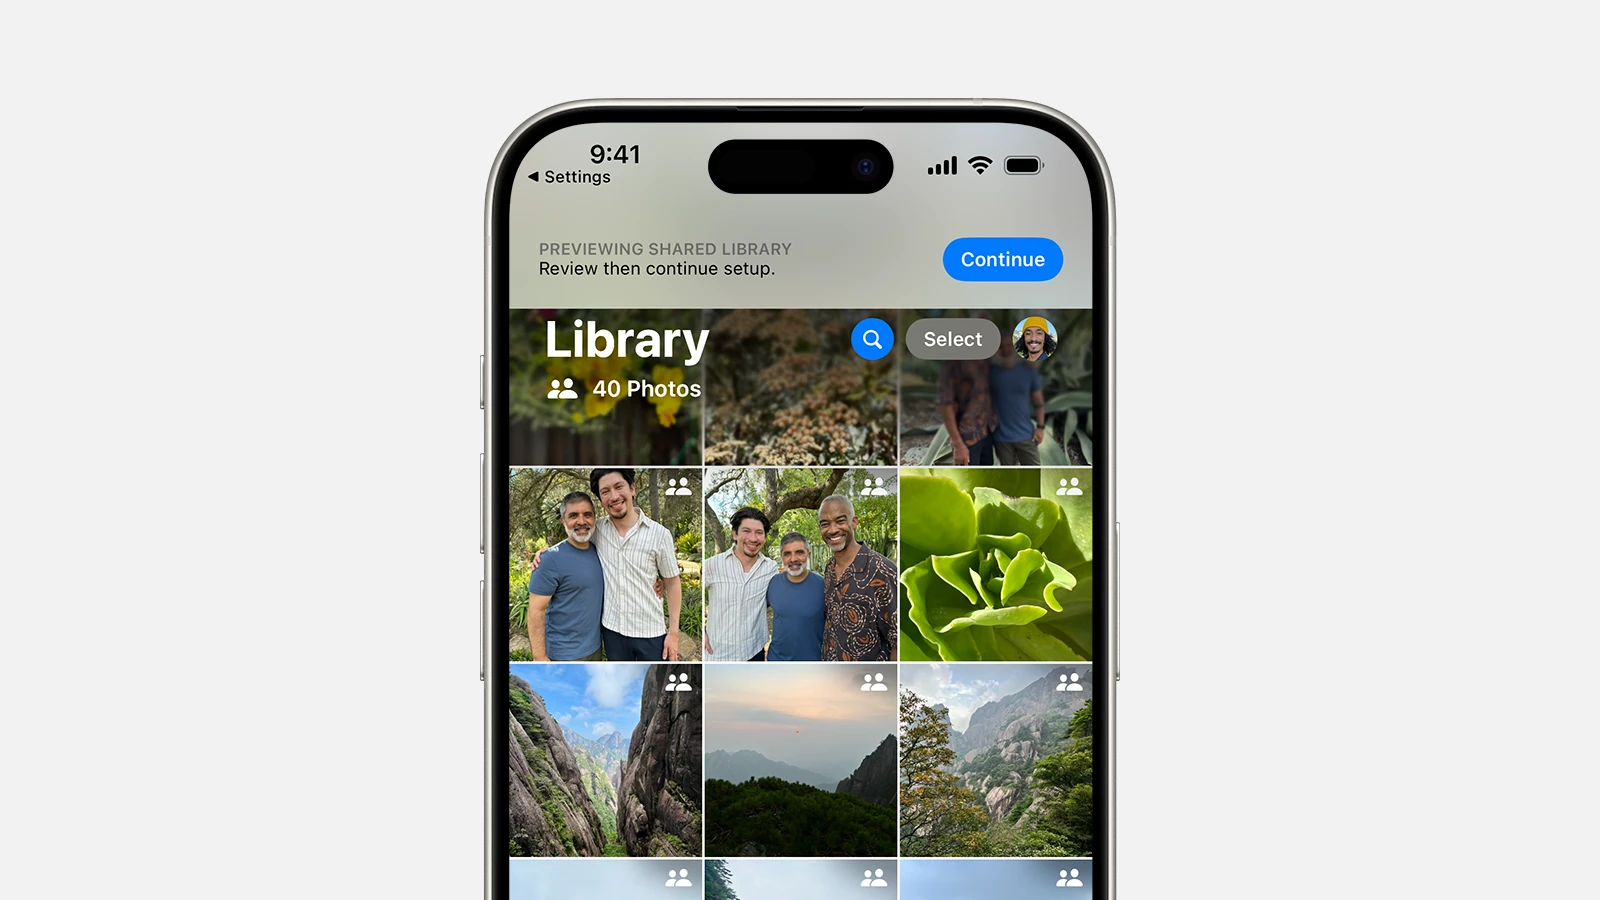
- Library: This is the main view, showing all your photos and videos organized by date.
- For You: This tab offers personalized selections of your photos, including Memories, Shared Albums, and more.
- Albums: This section organizes your photos into albums you’ve created, as well as automatic albums like “People & Places,” “Media Types,” and “Imports.”
- Search: This allows you to search for photos based on people, places, dates, or even objects.
Managing Saved Images
Here are some common ways to manage your saved images:

1. Creating Albums
Albums help you group photos together by theme, event, or any other criteria.
- In the Photos app, tap the Albums tab.
- Tap the + button in the top-left corner.
- Select New Album.
- Give your album a name and tap Save.
- Select the photos you want to add to the album and tap Done.
2. Deleting Photos
Removing unwanted photos helps free up storage space.
- Open the photo you want to delete.
- Tap the trash can icon.
- Confirm the deletion.
Deleted photos are moved to the “Recently Deleted” album. They are permanently deleted after 30 days. You can also manually delete them from this album to free up space immediately.
3. Sharing Photos
Sharing allows you to send photos to others via Messages, Mail, social media, and more.
- Open the photo you want to share.
- Tap the share icon (a square with an upward arrow).
- Choose how you want to share the photo.
4. Hiding Photos
Hiding photos removes them from the main Library view but keeps them in a hidden album.
- Select the photo(s) you want to hide.
- Tap the share icon.
- Scroll down and select Hide.
To view hidden photos, go to the Albums tab and scroll down to the “Utilities” section. Tap “Hidden.”
5. Using iCloud Photos
iCloud Photos syncs your photo library across all your Apple devices. It also helps save storage space on your iPhone by storing full-resolution photos in iCloud and keeping smaller, optimized versions on your device.
To enable iCloud Photos:
- Go to Settings > [Your Name] > iCloud > Photos.
- Turn on iCloud Photos.
By understanding these basic management techniques, you can keep your iPhone Photo Library organized, accessible, and optimized for storage.

Understanding iPhone’s Photos App
The Photos app on iPhone offers powerful tools for organizing and syncing your images. It provides a central hub for managing your photo library and accessing pictures across devices.
Organizing with Albums and Camera Roll
The Photos app lets you organize images in various ways. Your Camera Roll displays all photos chronologically. You can create custom albums to group related pictures. To make a new album, tap the “+” icon in the Albums tab and give it a name.
Smart Albums automatically sort photos by criteria like people, places, and media types. These include Selfies, Videos, and Panoramas. The app uses facial recognition to group pictures of the same person together.
You can view details about saved images like date, location, and which app they came from. This helps track photo origins and organize your library.
Leveraging iCloud Photos for Backup and Sync
iCloud Photos keeps your entire library in sync across devices. When enabled, it uploads full-resolution photos and videos to iCloud. You can access them from any device signed in to your Apple ID.
To turn on iCloud Photos, go to Settings > [Your Name] > iCloud > Photos. Toggle on “iCloud Photos”. Choose between optimizing iPhone storage or keeping originals on your device.
With iCloud Photos, edits sync automatically. Changes made on one device appear on all others. You can also share albums with friends and family. This allows collaborative photo collections.
| Feature | Description |
|---|---|
| iCloud Photos | Syncs library across devices |
| Shared Albums | Collaborate on photo collections |
| Smart Albums | Auto-sort by criteria |
| Custom Albums | Manually group related photos |

Managing Saved Images on Your iPhone
Your iPhone offers various tools to organize and manage saved photos efficiently. These features help you find specific images quickly and free up storage space when needed.
Finding and Accessing Downloaded Photos
The Photos app is your main hub for saved images on your iPhone. To locate recently saved photos, open the Photos app and tap “Recently Saved” in the Pinned Collections. You can also swipe down on the grid and tap the sort icon to arrange by “Recently Added.”
For a more targeted search, use the Search tab in the Photos app. Type keywords related to your image, such as “beach” or “sunset.” The app uses AI to categorize your photos, making it easier to find specific content.
You can also use Spotlight Search to find downloaded files:
- Swipe down on your home screen
- Type the file name or related keywords
- Look for results under “Files” or “Photos”
Removing Unwanted Images to Free Up Storage
Regularly deleting unnecessary photos helps manage your iPhone storage. Here’s a simple process to remove unwanted images:
- Open the Photos app
- Tap “Select” in the top right corner
- Choose the photos you want to delete
- Tap the trash icon at the bottom right
| Storage-Saving Tips | Description |
|---|---|
| Use iCloud Photos | Optimize iPhone storage by keeping full-res photos in iCloud |
| Delete duplicates | Remove identical or similar photos to save space |
| Clear “Recently Deleted” | Permanently remove deleted photos after 30 days |
Remember to check your “Recently Deleted” album and empty it to free up space immediately. You can also use the iPhone’s built-in storage recommendations to identify large photo attachments or videos that are taking up significant space.
Transferring Images Between Devices
Moving photos between Apple devices is quick and easy. You can use AirDrop for instant transfers or iCloud Photos to keep images in sync across your devices.
Using AirDrop With Other Apple Devices
AirDrop lets you wirelessly send photos to nearby Apple devices. To use it, turn on WiFi and Bluetooth on both devices. Open the Photos app and select the images you want to share. Tap the Share button and choose AirDrop. Select the recipient device from the list.
Make sure the receiving device is unlocked and has AirDrop enabled. When the transfer request pops up, tap Accept. The photos will appear in the recipient’s Photos app.
AirDrop works between iPhones, iPads, and Macs. It’s great for quick transfers without using data or cables. Photos keep their original quality and EXIF data when sent via AirDrop.
Syncing Photos Across iPhone, iPad, and Mac
iCloud Photos keeps your entire photo library in sync across devices. To set it up, go to Settings > [Your Name] > iCloud > Photos. Turn on iCloud Photos.
Once enabled, any photo you take or import on one device appears on all others. Edits sync too. You can access your full library from any device, saving storage space.
| Feature | AirDrop | iCloud Photos |
|---|---|---|
| Speed | Fast | Gradual |
| Range | Nearby | Anywhere |
| Storage | None | iCloud space |
iCloud Photos uses your iCloud storage. The free 5GB may fill up quickly. You can buy more space or use Optimize iPhone Storage to save space.
File Management and Sharing Options
The Files app and Downloads folder on your iPhone provide powerful tools for managing and sharing saved images. You can easily organize files and send them to other apps or services.
Utilizing the Files and Downloads Folder
The Files app acts as a central hub for file management on your iPhone. To access downloaded images:
- Open the Files app
- Tap “Browse” at the bottom
- Select “Downloads” in the sidebar
You can create folders to organize images by tapping the folder icon and naming your new folder. To move files:
- Tap and hold an image
- Select “Move”
- Choose the destination folder
The Downloads folder automatically stores files from Safari and Mail. You can also save images directly to Files from other apps using the Share menu.
Sharing with External Apps and Services
Your iPhone offers multiple ways to share saved images:
• AirDrop: Send files wirelessly to nearby Apple devices
• Messages: Text images to contacts
• Mail: Email files as attachments
• Cloud services: Upload to iCloud, Google Drive, Dropbox, etc.
To share from the Files app:
- Tap and hold the image
- Select “Share”
- Choose your desired sharing method
Many apps integrate with Files, allowing you to import saved images directly. This seamless sharing makes it easy to use your saved images in various projects and workflows.
| Sharing Method | Best For |
|---|---|
| AirDrop | Quick local transfers |
| Messages | Casual sharing with friends |
| Professional communication | |
| Cloud Services | Backup and cross-device access |
Frequently Asked Questions
Managing saved images on your iPhone can sometimes be confusing. These common questions address key issues about locating, accessing, and securing your photos across different apps and scenarios.
How can I locate saved images on my iPhone that I can’t seem to find?
Check your Recently Saved album in the Photos app. It shows images you’ve saved in the last 30 days.
Look in specific albums like Screenshots or Downloads. These folders automatically sort certain types of saved images.
Use the search function in Photos. Type keywords, locations, or dates to find specific images.
What steps do I follow to access recently saved photos on my iPhone?
Open the Photos app on your iPhone. Tap the “Albums” tab at the bottom.
Scroll down to find the “Recently Added” album. This displays your most recent photos and videos.
You can also swipe down on the main Photos grid and tap the sort icon to view by “Recently Added”.
Where are images saved from Google Chrome stored on my iPhone?
Images saved from Chrome typically go to your main Camera Roll in the Photos app.
You can find them mixed with your other photos or in the “Recently Added” album.
Check your Downloads folder in the Files app if you can’t locate the image in Photos.
How can I view saved files on my iPhone, including images?
Use the Files app to browse saved documents and some images. Look in the “Downloads” folder for web-saved files.
The Photos app manages most of your images. Check albums like “Camera Roll” and “Recently Added”.
Some apps create their own folders in Files. Look for app-specific folders if you saved images from a particular app.
Is there a specific location where saved images from email attachments are stored on an iPhone?
Email attachments you save typically go to your main Camera Roll in the Photos app.
Look in the “Recently Added” album if you just saved the image.
Some email apps might save to a specific album. Check for folders named after your email app in Photos.
How can I ensure that my photos have been securely saved on my iPhone?
Turn on iCloud Photos to automatically back up your images to the cloud.
Enable automatic backups to your computer through iTunes or Finder.
Use a third-party cloud storage app for additional backup options.
Regularly check your Recently Added album to confirm new photos are saving correctly.
| Storage Option | Pros | Cons |
|---|---|---|
| iCloud Photos | Automatic, syncs across devices | Requires paid storage for large libraries |
| Local Backup | Free, full control | Manual process, risk of device loss |
| Third-party Cloud | Additional storage, features | May have privacy concerns, extra cost |


