
Adding a signature to your emails is a simple yet effective way to leave a lasting impression on your recipients. With just a few taps on your iPhone, you can personalize your emails and provide essential contact information in a professional and concise manner. No matter if you use email for personal or professional reasons, a well-crafted signature can make a big difference.
Adding / Editing / Removing Email Signature On iPhone
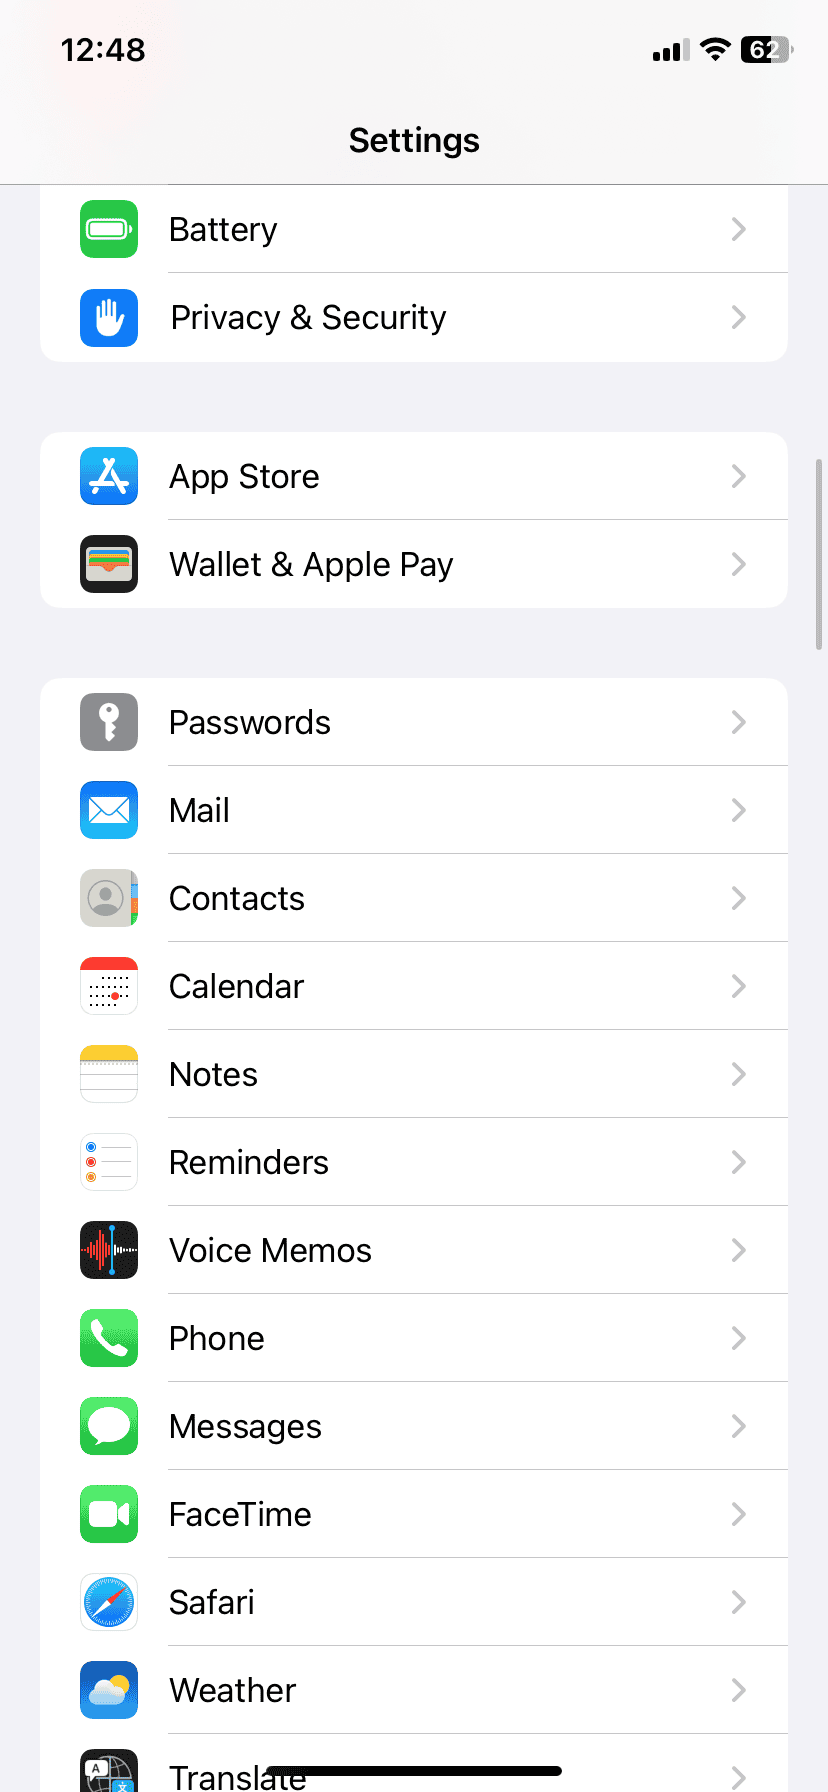
Step 1: Open Up iPhone Settings
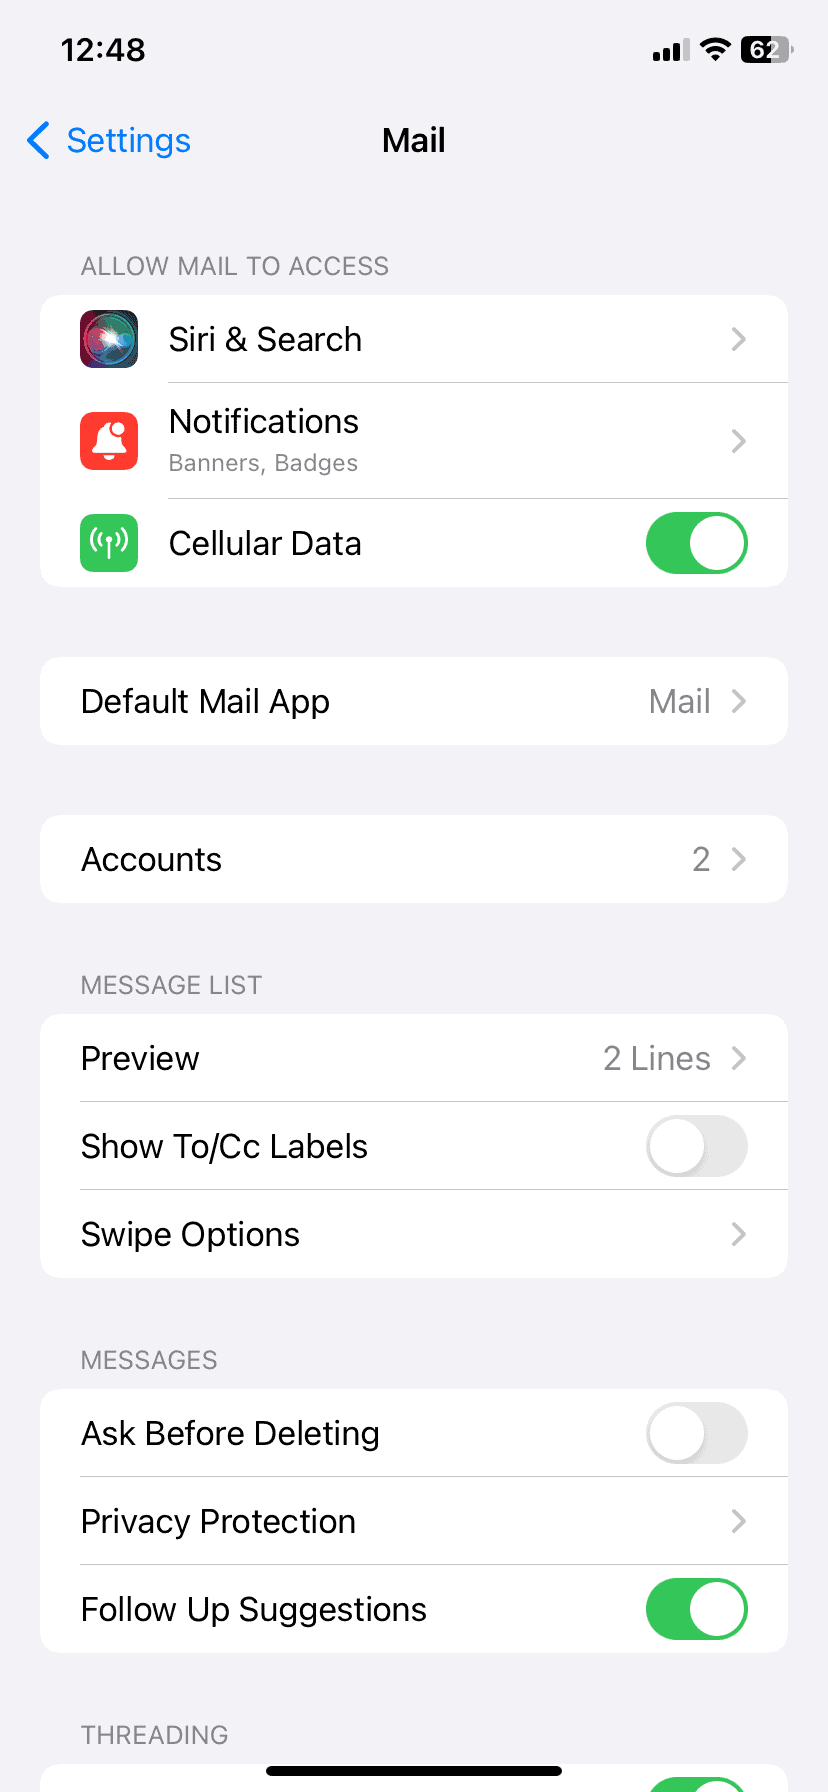
Step 2: Go Into Mail Settings
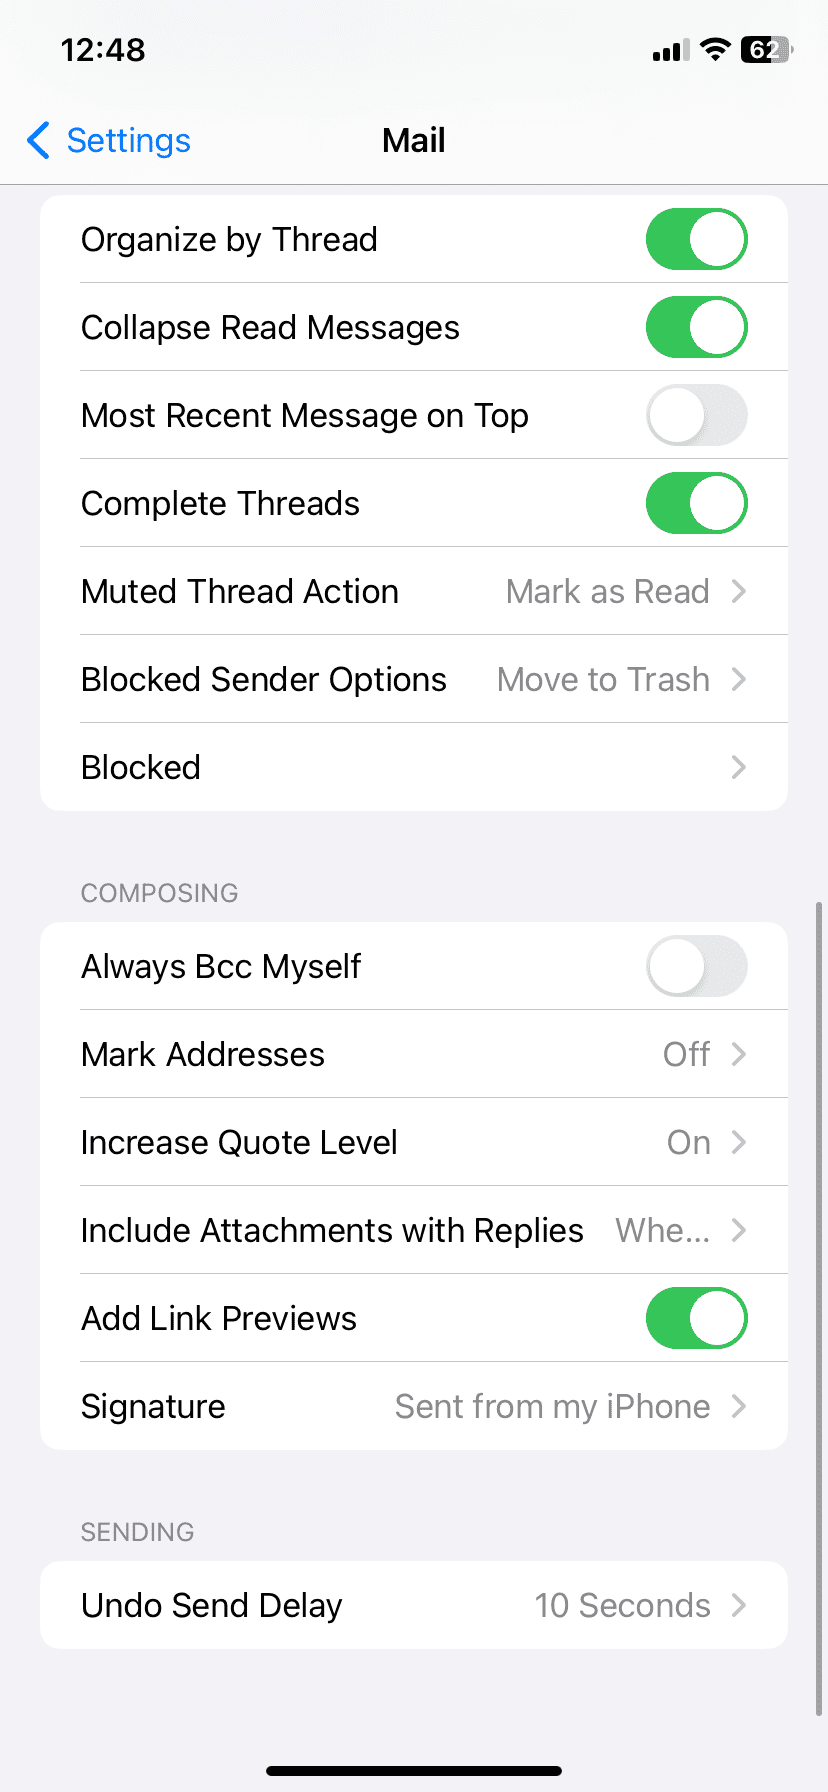
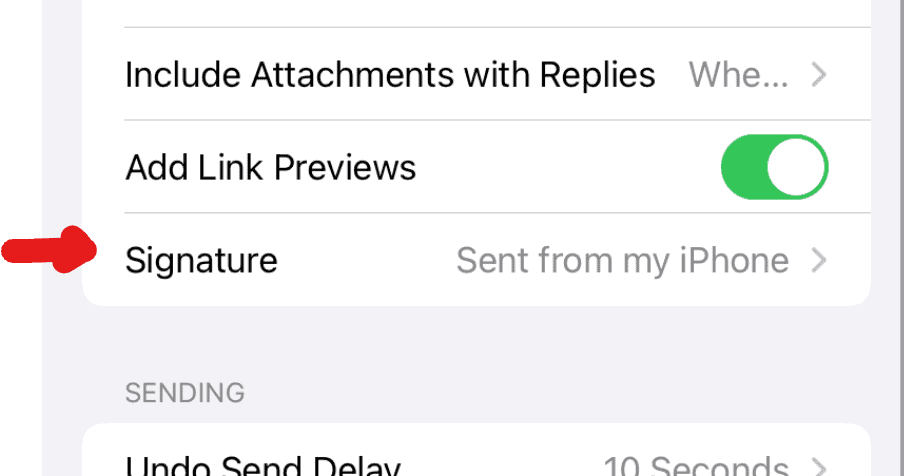
Step 3: In Mail Settings Scroll Down To Signature
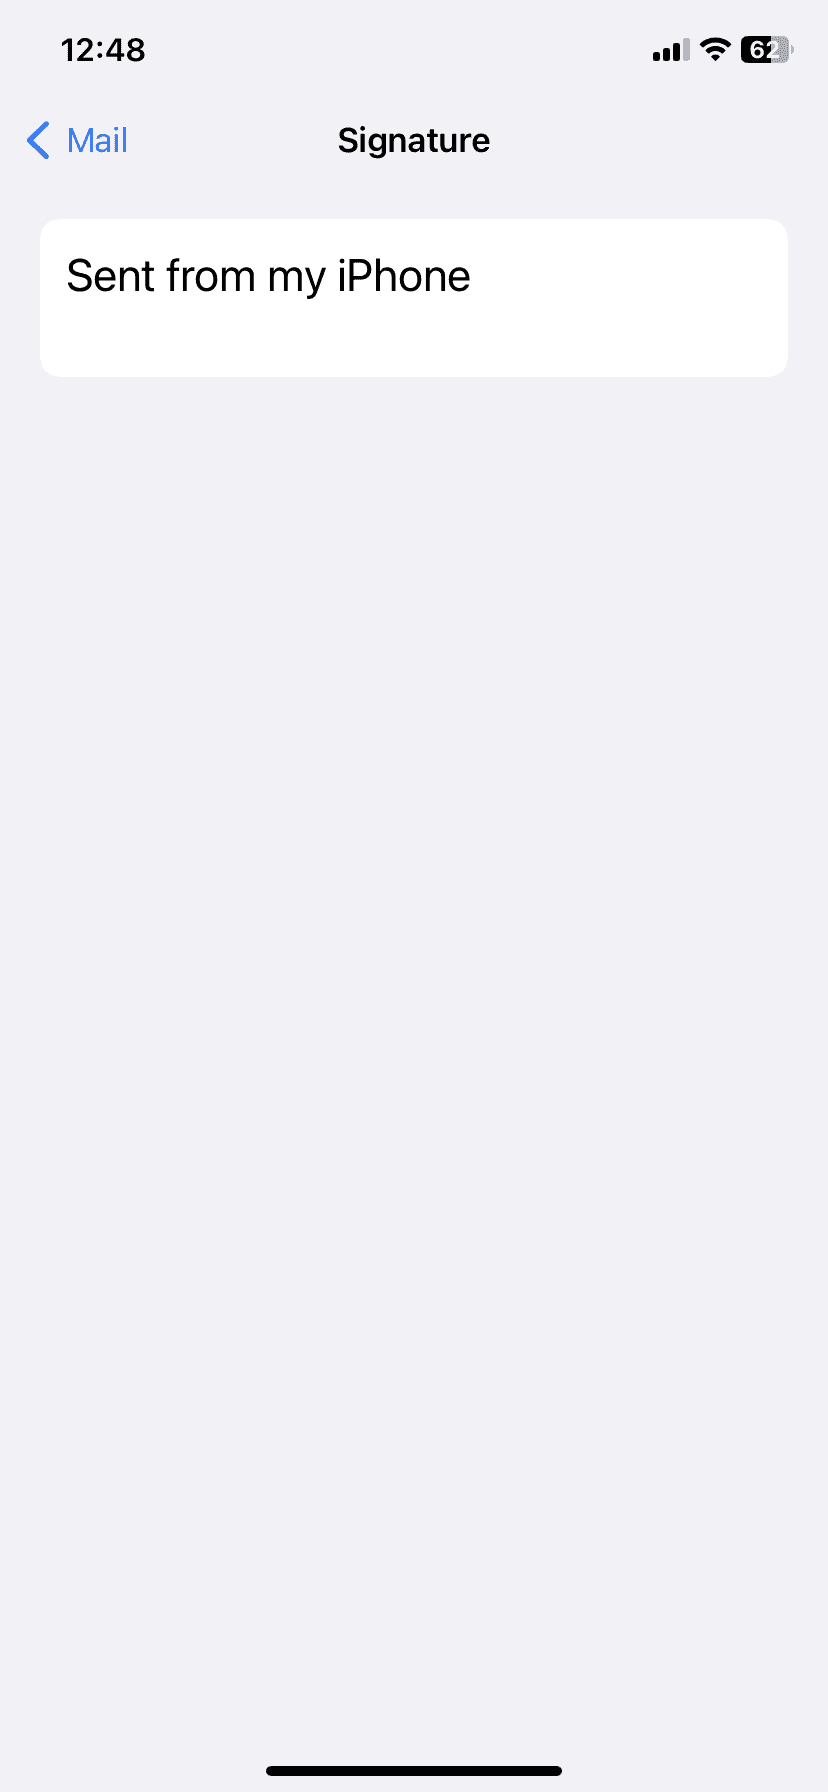
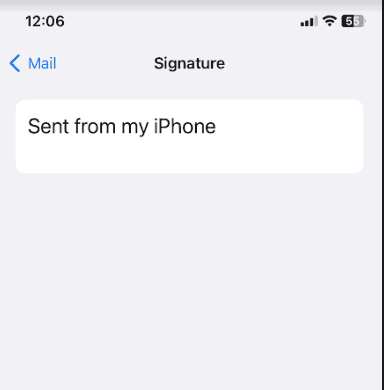
Step 4: Edit Your Email Signature Or Erase It Completely
Your Email Signature On iPhone
Creating a personal or professional email signature on your iPhone adds a unique touch to each email you send. It’s quite straightforward to set up a signature that will automatically appear at the end of your emails.
Easy Steps for a Personalized Touch
- Open Settings: Locate the gear icon on your home screen and tap it.
- Find “Mail”: Scroll down until you see the “Mail” option and tap it.
- Select “Signature”: Within the Mail settings, look for “Signature” (it’s usually near the bottom) and tap it.
- Choose Your Preference: You’ll see two options: “All Accounts” or “Per Account.”
- “All Accounts” applies the same signature to all your email accounts on your iPhone.
- “Per Account” allows you to create different signatures for each email account. Choose the option that suits your needs.
- Edit Your Signature: Tap the text field to edit or create your signature. You can add your name, title, company, contact information, website, or a favorite quote. However, keep in mind that only text is supported; you cannot add images or links.
- Save Your Changes: Once you’re happy with your signature, simply tap “Mail” in the top left corner to save it.
Tips for a Great Email Signature
- Keep It Concise: Aim for a signature that’s no more than four to five lines long.
- Include Essential Information: Your name, title, and contact details are a must.
- Maintain Professionalism: Use a clear and easy-to-read font. Avoid excessive formatting or colors.
- Consider a Call to Action: If you’re using your email for business, a call to action (like “Visit my website”) can be helpful.
Troubleshooting
- Signature Not Appearing: If your signature isn’t showing up in new emails, make sure it’s enabled in the “Signature” settings. Also, check if you’re sending the email from the correct account (if you’ve set up per-account signatures).
- Can’t Delete “Sent from my iPhone”: This is a default text that appears at the end of emails sent from your iPhone. To remove it, simply delete it from the signature field.
Adding a signature to your iPhone emails is a quick and easy way to personalize your messages and provide recipients with your essential contact information.
Setting Up Your iPhone Email Signature
Firstly, tap the Settings icon on your iPhone’s home screen. Scroll down and find the Mail section. Once you’re in Mail settings, look toward the bottom and tap on Signature. Here you can craft a signature that suits your style. Whether it’s your contact information, a professional title, a personal motto, or even your social media profiles, the choice is yours.
- Professional Tip: For a more formal look, include your full name, title, company, and contact details.
- Personal Touch: You might add a favorite quote or personal contact information for friends and family.
You’ll see two options: All Accounts and Per Account. All Accounts will apply your signature to all email accounts linked to your Mail app. Per Account allows you to create different signatures for each email account, perfect for maintaining separate identities for work and personal life.
Adding a Signature:
- Open Settings, scroll to and tap Mail.
- Scroll to Signature and tap it.
- Tap inside the text box and create your signature.
Once you’ve entered your desired text, there’s no need to save – your iPhone will automatically apply the new settings. Say bye to the default iPhone email signature and hello to one that’s all your own.
Customizing Your Email Signature
Customizing an email signature on an iPhone or an iPad helps to give a personal or professional touch to every email one sends. One can tailor their signature with text formatting styles, images, and even links to make it stand out.
Formatting Your Signature
Users can easily adjust the text formatting right from their Apple device’s native Mail settings. When configuring a signature in Settings > Mail > Signature, one has the basic options to make their text bold, italic, or underlined using the BIU button. For those seeking more advanced formatting, such as different fonts and colors, the creation of the signature in HTML on a Mac and then pasting it into the email signature settings on iOS is an effective method.
Adding Images and Links
While the default text field in the Mail app on iOS does not directly support adding images, users can still include a picture or logo by creating the signature with the desired image on a Mac or a web-based email service like Gmail. Once crafted, they simply copy and paste this signature, complete with the image, into the Signature settings on their iPhone or iPad. Links can be incorporated by typing them out in full (http://www.example.com), and the iOS Mail app will automatically detect and convert them into clickable hyperlinks.
Managing Multiple Email Signatures
When one has several email accounts on an iPhone, it’s crucial to be able to craft a unique signature for each. This maintains a professional and organized presence across various platforms, from personal to work-related correspondence.
Per Account Signature Setup
To set up customized signatures for each email account within the Apple Mail app, one must follow these steps:
- Open the Settings app on the iPhone.
- Scroll and find Mail; select it. In the case of Outlook or another default mail app, navigate to the respective settings within the app.
- Within Mail settings, tap on Signature. This area of the settings is dedicated to composing elements.
For Apple Mail app users:
- Tap Per Account if it’s not already selected, to create distinctive signatures.
- Below the Per Account option, one will see a list of all email accounts currently set up on the device.
- Select an account and enter the preferred signature for it in the provided space.
For those using Outlook or other mail apps, the steps might be slightly different:
- The option to add different signatures might be located in the account settings or the signature settings of the respective email app.
- Follow the app’s specific instructions to reach the signature editing section.
It’s that straightforward. Once these individual signatures are entered, they will automatically attach to the composed messages of their respective accounts, eliminating the need to constantly switch signatures manually.
Frequently Asked Questions
Setting up an email signature on your iPhone can give your messages a personal touch and add professionalism. This section covers the essentials for customizing your signatures in the iPhone Mail app.
What steps are needed to set up an email signature on the iPhone Mail app?
First, open the Settings app on your iPhone and scroll down to “Mail.” Tap on it, then scroll to “Signature” and enter your desired text. You’ll have the option to apply the signature to all accounts or per account, depending on your preference.
How can I change my existing email signature on my iPhone?
Changing your signature is as simple as going to the Mail settings again. Once there, tap on “Signature,” and you’ll be able to edit or delete your current signature text and replace it with a new one straight away.
What is the process to insert an image into my iPhone’s email signature?
To include an image, like a logo, you’ll need to first create the signature with the image on a computer, then email it to yourself. Open the email on your iPhone, copy the signature, and then paste it into the Signature setting in your Mail app’s settings.
Can I create a custom email signature for Outlook on my iPhone?
Yes, if you’re using the Outlook app on your iPhone, you can set a custom signature for your emails. Simply open the Outlook app, go to Settings > Mail > Signature, and you can create or modify your signature there.
Is it possible to display my logo in the email signature on my iPhone?
Displaying your logo in your signature follows the same process as inserting any image. Remember to first create the signature on a computer, with the logo included, send it to yourself, and then copy and paste it into your iPhone’s Mail settings under “Signature.”
How can I manage multiple email signatures on my iPhone for different accounts?
Managing multiple signatures is straightforward on your iPhone. In the Signature settings, select the “Per Account” option. This allows you to set different signatures for each email account you have set up in the Mail app. Just tap on the account and enter the signature you want to use for that specific email address.