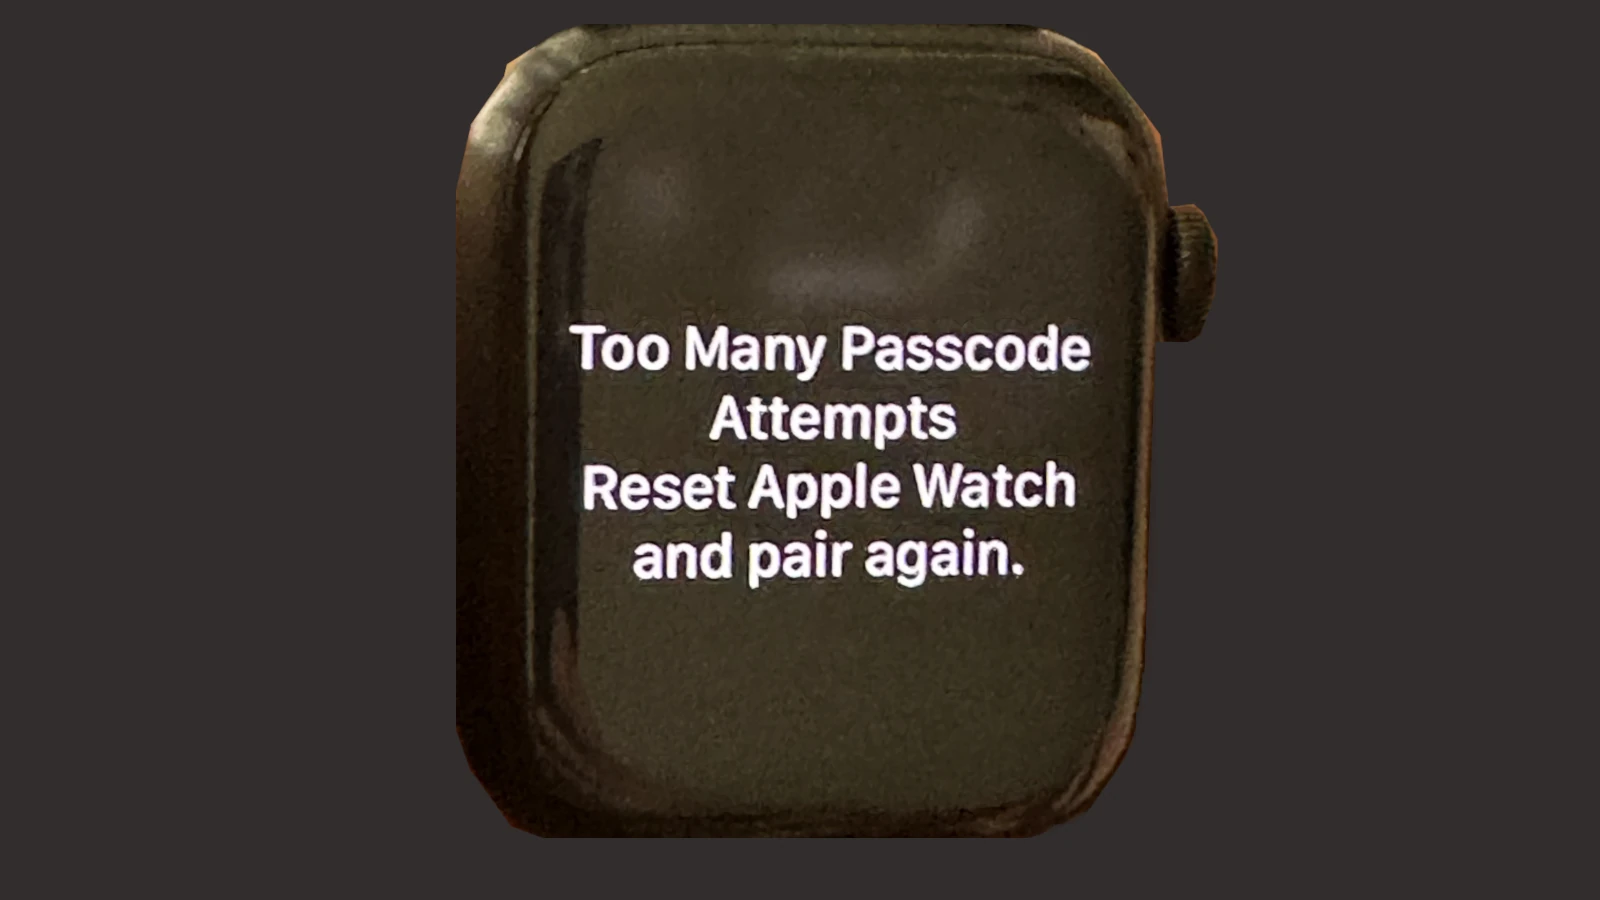
When an Apple Watch locks after too many incorrect passcode entries, there is a straightforward process to reset it. This is a security feature to protect the user’s data, but it requires the owner to perform a full reset of the device. Resetting the watch not only clears the passcode but also erases all content and settings, restoring the device to its original state. It is crucial to know that all data on the watch becomes inaccessible after this reset, so it is wise to have a recent backup.
Resetting the watch involves using the paired iPhone or the Apple Watch itself. Owners should ensure the device is placed on its charger throughout the process to avoid interruptions. After the reset, users will need to pair the Apple Watch with their iPhone again. It is similar to setting up a new Apple Watch, requiring the owner to follow the onscreen instructions to restore functionality and data.
Oops, Locked Out: How to Reset Your Apple Watch
Mistyping your Apple Watch passcode too many times can be a minor inconvenience, but don’t worry, there’s an easy fix. Here’s what to do if your Apple Watch displays the dreaded “Too many passcode attempts” message.
Understanding Apple Watch Security
Your Apple Watch is designed to protect your data, and the passcode is a key part of that. After several incorrect passcode attempts, your watch locks you out temporarily. After too many failed tries, it requires a reset and re-pairing with your iPhone.
Resetting Your Apple Watch
Here’s a step-by-step guide to resetting your watch:
- Charge it Up: Connect your Apple Watch to its charger.
- Hold the Side Button: Press and hold the side button until “Power Off” appears.
- Reset Time: Firmly press and hold the Digital Crown.
- Tap “Reset”: Once you see the option to erase content and settings, tap “Reset.” Tap it again to confirm.
Re-Pairing with Your iPhone
After your watch resets, you’ll need to pair it again with your iPhone:
- Open the Watch App: Launch the Watch app on your iPhone.
- Start Pairing: Follow the instructions to start the pairing process.
- Choose Restore or Set Up as New: You can restore from a backup if available or set up your watch as new.
Passcode Tips for the Future
Here are some tips to avoid this in the future:
- Double-Check: Pay close attention when entering your passcode.
- Choose a Memorable Code: Pick a passcode you won’t easily forget.
- Wrist Detection: Enable wrist detection in the Watch app to automatically lock your watch when you take it off.
- Erase Data: You can set your watch to automatically erase data after 10 failed passcode attempts.
Additional Help
| Issue | Solution |
|---|---|
| Watch Won’t Turn On | Make sure your Apple Watch is charged. If it still won’t turn on, try forcing a restart by pressing and holding the side button and Digital Crown simultaneously for 10 seconds. |
| Can’t Pair with iPhone | Ensure your iPhone has Bluetooth turned on and is running the latest iOS version. If you still have issues, try restarting both devices. |
Remember, resetting your Apple Watch will erase all its data, so having a backup is recommended.
Key Takeaways
- A locked Apple Watch can be unlocked by performing a full reset.
- The reset process clears all content and requires re-pairing with an iPhone.
- Users should have their device on the charger and follow onscreen instructions to complete the setup.
Preparing to Reset Your Apple Watch
Before resetting your Apple Watch due to too many failed passcode attempts, it’s crucial to understand the process’s effects, ensure that data is backed up, and check the device’s readiness.
Understanding the Consequences of a Reset
Resetting an Apple Watch will erase all content and settings. It returns the watch to its original state. This means any data not backed up to iPhone or iCloud will be permanently lost. One must be aware that after the reset, setting up the watch as a new device or restoring from a backup is necessary.
Ensuring a Successful Backup
To avoid data loss, one must make sure a recent backup of the Apple Watch is available. This can be done by ensuring the paired iPhone is performing backups automatically to iCloud or manually initiating a backup in the iPhone’s settings. Data linked to Apple ID and stored in iCloud, such as messages and health information, will typically be included in the backup.
Checking Apple Watch Battery and Connectivity
The Apple Watch should be charged and placed on its charger during the reset process to prevent interruptions. Additionally, confirmed connectivity between the Apple Watch and its paired iPhone is vital to facilitate a smooth reset procedure. The iPhone should be within reach to access the settings app for a successful reset.
Resetting and Pairing the Apple Watch
Resetting an Apple Watch and pairing it again with an iPhone involves a few specific steps. This process is important when the Apple Watch is locked due to too many incorrect passcode attempts or when you want to pair it with a new iPhone.
Performing the Reset Process
If the Apple Watch passcode is forgotten, the device needs resetting. First, place the Apple Watch on its charger. Press and hold the side button until the power off screen appears. Press and hold the Digital Crown until the reset prompt displays. Confirm the action by tapping ‘Reset’. This erases all content and settings.
Pairing the Apple Watch with an iPhone
To pair the watch again, keep the iPhone close to the Apple Watch. Open the Apple Watch app on the iPhone and tap Start Pairing. Follow the onscreen instructions to capture the Apple Watch face in the iPhone’s viewfinder. Once paired, you can set up as a new watch or restore from a backup.
Finalizing Setup and Restoration
After pairing, customize settings and choose a passcode. If you have a GPS + Cellular model, you can set up a cellular plan during the process. Sign in with your Apple ID password and agree to terms and conditions. Decide which settings and apps to sync, and wait for the restoration to finish. If ‘Unlock with iPhone’ is selected in the Apple Watch app, it will also unlock the Apple Watch when the paired iPhone is unlocked, offering ease and added security.


