Apple Watch owners have the flexibility to customize their devices to suit their personal taste or match their outfits by changing the watch band. With a range of styles and colors available, switching bands can give the watch a fresh look and ensure it fits perfectly for everyday use. It’s important to know how to properly install and remove watch bands to maintain the integrity and functionality of the watch.
Fortunately, Apple Watch bands are designed for easy installation and removal and come with a simple mechanism that allows for a quick change without the need for any tools. This makes it convenient for users to switch bands on the go, whether it’s for a formal event or a regular day at work. Having the expertise to change your Apple Watch band enhances the experience of owning this versatile accessory.
A Guide to Changing Your Apple Watch Band
Switching your Apple Watch band is a simple way to personalize your style or match your outfit. With countless band options available, swapping them out is a breeze. Here’s a step-by-step guide on how to change your Apple Watch band:
Step 1: Gather Your Supplies
You’ll need:
- Your Apple Watch
- The new band you want to attach
Step 2: Prepare Your Watch
- Place your Apple Watch face down on a soft, clean surface to avoid scratching the display.
Step 3: Remove the Old Band
- Locate the band release buttons: On the back of your Apple Watch, you’ll find two small, oblong buttons near where the band connects to the watch case.
- Press and hold a button: Use your fingernail or a similar tool to press and hold one of the buttons.
- Slide the band out: While holding the button, slide the band to the side to release it. Repeat the process for the other side.
Step 4: Attach the New Band
- Align the band: Slide the new band into the slot until you hear and feel a click. Ensure the text on the band faces you.
- Repeat: Do the same for the other side of the watch.
- Double-check: Give each side of the band a gentle tug to make sure it’s securely attached.
Tips for a Smooth Swap
| Tips |
|---|
| Orient the band correctly: Ensure the adapters or pins on the new band are aligned with the slots on the Apple Watch case. |
| Use a firm but gentle touch: Don’t apply excessive force when removing or attaching bands, as you could damage the watch or the band. |
| Link Bracelet Tips: If you have a Link Bracelet, press the quick release button on a link to separate it into two pieces before removal. |
With these simple steps, you can easily change your Apple Watch band to match your mood, outfit, or activity. Enjoy customizing your Apple Watch and expressing your style!
Key Takeaways
- Changing the band on an Apple Watch personalizes and enhances the device.
- Apple designs bands for tool-free installation and easy removal.
- Knowing how to change the band maximizes the Apple Watch’s versatility.
Understanding Apple Watch Bands
Selecting the right band for your Apple Watch enhances both comfort and style. It’s essential to know your watch model and band size before purchasing a new band. Apple offers a variety of watch bands, each with a distinct look and feel.
Identifying Your Apple Watch Model and Band Size
To find the perfect band, start by identifying your Apple Watch model. Each model pairs with specific band sizes. Here’s a quick guide to help you match your watch with the right band size:
- Series 1, 2, 3: Choose 38mm or 42mm bands.
- Series 4 and later: These models, including the Apple Watch Ultra, work with 40mm, 41mm, 44mm, 45mm, or 49mm bands, depending on the exact watch size.
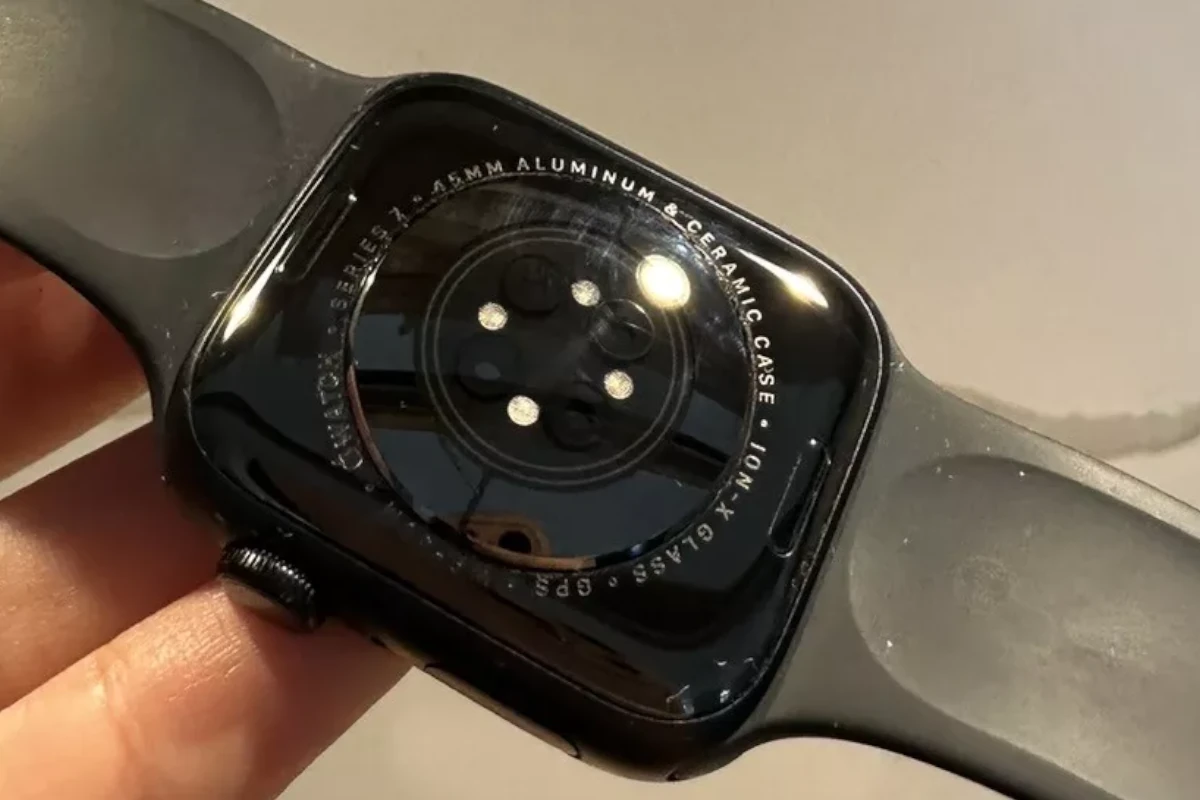
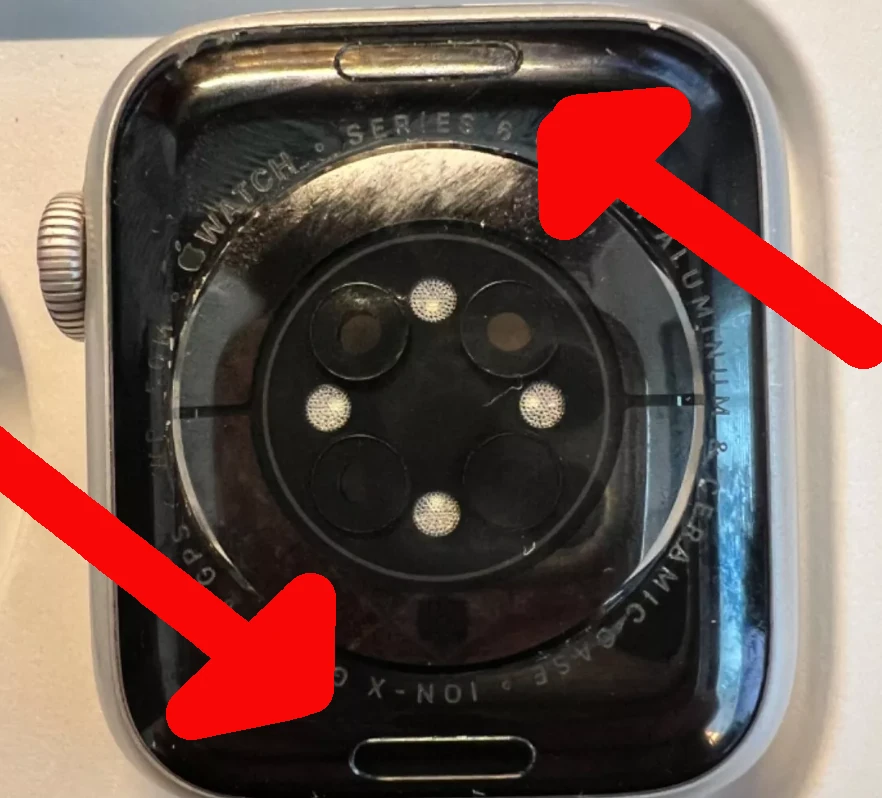
Check the back of your watch for the engraving that lists the case size to ensure you buy the correct size band.
Types of Apple Watch Bands
Apple Watch bands come in different materials and styles. Some popular options include:
- Sport Band: Made of durable fluoroelastomer, suitable for exercise and everyday wear.
- Milanese Loop: A flexible mesh made of stainless steel, giving a comfortable fit with a magnetic closure.
- Modern Buckle: A smooth leather band that includes a large buckle for a classic look.
Each type of band offers a distinct style. Make sure to pick one that matches your personal style and intended use.
Installing and Removing Bands
When installing or removing an Apple Watch band, it’s important to handle the band and watch with care. The right approach ensures that both the band and watch remain undamaged during the process.
Preparing Your Workspace
Place your Apple Watch face down on a clean, soft surface like a microfiber cloth. This setup helps protect the screen and keeps the device steady. Make sure your workspace is well-lit so you can see the small parts of the watch clearly.
Installing a New Apple Watch Band
First, check your new band for size and make sure it matches your Apple Watch model. To install, hold your Apple Watch face down. Find the band release button on the back of the watch and hold it down. Slide your new band into the slot until you feel and hear a click. This indicates the band is securely attached.
Removing an Existing Band
To remove a band, hold your Apple Watch on its back. Press the band release button and slide the band out of the slot. If your band is a link bracelet, you may need to press a button on a link to separate the band into two pieces before sliding it out.
Caring for Your Apple Watch Bands
Keep your bands clean and dry. For most, a wipe with a non-abrasive, lint-free cloth will do. If you have a leather band, avoid water to prevent damage. For specialty bands like Milanese Loop or Link Bracelet, follow Apple’s care instructions to maintain their appearance.