Apple Pay is a simple and secure way to handle digital transactions. To send or receive money on Apple Pay, you’ll need an Apple device with the Wallet app setup, an Apple ID, and a linked debit card. When someone sends you money, it’s automatically added to your Apple Cash card, which you can then use for purchases or transfer to your bank account.
The process of receiving payments happens primarily through the Messages app on your iPhone. When someone wants to pay you, they’ll select the Apple Pay icon in your conversation, enter an amount, and send it directly to you. You can also request specific amounts by tapping the Apple Pay icon in Messages, entering the desired sum, and sending the request.
Apple Pay’s person-to-person payment system eliminates the hassle of cash exchanges or bank transfers while maintaining high security standards. The service is integrated across Apple’s ecosystem, making it convenient for iPhone, iPad, and Apple Watch users to exchange money without downloading additional apps or setting up new accounts.
Steps to Send Or Receive Money on Apple Pay
Here’s a simple, step-by-step guide on how to send or receive money using Apple Pay through Apple Cash in the Messages app or Wallet app.
✅ How to Send Money with Apple Pay
You can send money to friends or family through Messages or the Wallet app. Here’s how:
📲 Using Messages:
- Open the Messages app and start a conversation with the person you want to pay.
- Tap the Apple Pay button (it looks like a black Apple logo with “Pay”).
- If you don’t see it, tap the App Store icon, then select Apple Pay.
- Enter the amount you want to send.
- Tap Pay, then Send.
- Authenticate the payment with Face ID, Touch ID, or your passcode.
📲 Using Wallet:
- Open the Wallet app.
- Tap your Apple Cash card.
- Tap Send or Request.
- Enter the recipient’s email or phone number.
- Enter the amount.
- Tap Send, then authenticate the payment.
✅ How to Receive Money with Apple Pay
When someone sends you money, it automatically goes to your Apple Cash card in Wallet.
To Accept Money Automatically (default setting):
- Payments are auto-accepted and go directly to your Apple Cash balance.
To Manually Accept Payments:
- Go to Settings > Wallet & Apple Pay > Apple Cash.
- Tap Manually Accept Payments.
- When someone sends you money, tap Accept in the Messages conversation.
✅ Things to Know:
- You need to be at least 18 years old and live in the U.S. (some exceptions for teens with Family Sharing).
- You must have an Apple ID signed in to iCloud.
- Both sender and recipient need an eligible Apple device (iPhone, iPad, or Apple Watch).
- You’ll need to verify your identity if you plan to transfer money to your bank.
✅ Transfer Apple Cash to Your Bank
- Open the Wallet app, tap your Apple Cash card.
- Tap Transfer to Bank.
- Enter an amount, then tap Next.
- Choose Instant Transfer (fee applies) or 1-3 Business Days (free).
- Confirm with Face ID, Touch ID, or passcode.
Key Takeaways
- Apple Pay requires an Apple device, Apple ID, and linked debit card to receive payments through the Messages app.
- Received money is stored on your Apple Cash card in the Wallet app for immediate use or bank transfers.
- You can request specific payment amounts by using the Apple Pay icon in Messages conversations.
Setting Up Apple Pay
Before receiving money through Apple Pay, you need to set up the service on your device. This process involves creating an Apple ID, linking your financial accounts, and completing identity verification for Apple Cash.
Creating an Apple ID
An Apple ID serves as the foundation for all Apple services, including Apple Pay. To create one, go to Settings on your iOS device and tap “Sign in to your iPhone.” If you don’t have an account, select “Don’t have an Apple ID?” and follow the on-screen instructions.
Make sure to set up two-factor authentication for added security. This feature is required for Apple Pay and helps protect your financial information.
Your Apple ID will be associated with your Apple Pay account, so use an email address you check regularly. Remember that you’ll need to verify this email address as part of the setup process.
Eligible devices for Apple Pay include iPhone 6 and newer, Apple Watch, iPad, and Mac with Touch ID.
Linking a Bank Account or Debit Card
To receive money through Apple Pay, you’ll need to connect a debit card or bank account. Open the Wallet app on your iPhone and tap the “+” button in the upper right corner.
Follow the prompts to add your card details. You can either:
- Scan your card using the camera
- Enter the details manually
Your bank may require additional verification steps via text message, email, or their banking app. This process usually takes just a few minutes.
For Apple Cash specifically, you must link a debit card to transfer received money to your bank account. Credit cards work for payments but not for receiving funds.
Most major banks and card issuers in the US support Apple Pay, but it’s worth checking your bank’s compatibility first.
Verifying Your Identity for Apple Cash
To receive and use Apple Cash (person-to-person payments), you need to verify your identity. Open the Wallet app, tap your Apple Cash card, then tap the “More” button (three dots).
Select “Verify Identity” and provide the required information:
- Full legal name
- Date of birth
- Last four digits of your Social Security Number
- Address
The verification process typically completes in minutes but may take up to three business days in some cases. This step is required by financial regulations to prevent fraud.
Once verified, you can receive up to $20,000 per transaction or within a 7-day period. Unverified accounts have lower transaction limits.
Your personal information is encrypted and securely stored according to Apple’s privacy standards.
Understanding Apple Cash
Apple Cash serves as a digital payment service integrated with Apple Pay that lets users send, receive, and store money directly on their Apple devices. It functions like a virtual card in the Wallet app, making peer-to-peer transactions simple and secure.
Configuring Apple Cash Card
Setting up an Apple Cash card requires a few simple steps. Users need to open the Wallet app on their iPhone and tap the Apple Cash card. If it’s not visible, they can add it through the “+” icon.
The card must be linked to a debit card or bank account to add funds. Users can manually add money by selecting the Apple Cash card, tapping the three dots, and choosing “Add Money.”
Auto Reload is a helpful feature that automatically transfers money to Apple Cash when the balance falls below a specified amount. This ensures users always have funds available for transactions.
To check their balance, users simply look at their Apple Cash card in the Wallet app. Transaction history is also available, showing all money sent, received, and transferred.
Apple Cash Family Features
Apple Cash Family allows parents to provide children and teens with a controlled way to make purchases and send money. The family organizer can set up Apple Cash for family members under 18 years old.
Parents maintain visibility and control over their children’s spending. They can view transaction history and receive notifications when purchases are made.
Spending limits can be established to help teach responsible money management. Parents can also instantly transfer money to their child’s Apple Cash when needed.
For security, parents can lock their child’s Apple Cash card remotely if needed. This feature is particularly useful for teaching financial responsibility while maintaining parental oversight.
Apple Cash Family requires Family Sharing to be set up with the organizer being at least 18 years old and a U.S. resident.
FDIC Insurance on Apple Cash
Apple Cash balances are protected by FDIC insurance, providing security similar to traditional bank accounts. This means funds stored in Apple Cash are insured up to $250,000 per depositor.
The FDIC insurance comes through Apple’s partnership with Green Dot Bank, which is the banking institution behind the service. This protection applies automatically to all Apple Cash users.
If Green Dot Bank were to fail, users’ Apple Cash balances would be protected up to the insurance limit. This adds a significant layer of security for those who store substantial amounts in their Apple Cash accounts.
This insurance only applies to the funds in Apple Cash, not to transactions in progress. Once money is sent, it’s considered the recipient’s property and covered under their protection.
For users concerned about security, this FDIC insurance makes Apple Cash a more trustworthy option compared to some other digital payment platforms that may not offer the same protection.
How to Receive Money
Receiving money on Apple Pay is a straightforward process that involves a few simple steps. Users can collect payments through the Messages app, view and manage their funds in the Wallet app, or proactively request money from friends and family.
Receiving Money in Messages App
When someone sends money through Apple Pay, the recipient will get a notification in their Messages app. The payment appears as a message bubble showing the amount sent. To accept the money, the recipient simply taps on the payment notification and then taps “Accept.”
The funds transfer directly to the Apple Cash card in the Wallet app. This virtual card stores all received payments until the user decides to transfer them elsewhere.
For first-time users, the system will guide them through setting up Apple Cash. This one-time setup requires an Apple ID and a compatible debit card linked to the account.
Users can view their transaction history by opening the Messages conversation where the payment was received. The payment details show the amount, date, and sender information.
Using the Wallet App to Accept Payments
The Wallet app serves as the central hub for managing all Apple Pay transactions. To check received payments, users open the Wallet app and tap on the Apple Cash card.
All recent transactions appear in a chronological list. Each entry shows the payment amount, sender’s name, and transaction date.
Users have several options for their received funds:
- Keep money in Apple Cash for future Apple Pay transactions
- Transfer to a linked bank account (1-3 business days)
- Use Instant Transfer to a debit card (small fee applies)
To transfer money from Apple Cash, users tap the card in Wallet, select the transfer option, and choose their preferred destination. The money typically reaches bank accounts within 1-3 business days, while instant transfers to debit cards complete within minutes.
Request Money via iMessage
Apple Pay makes requesting money simple through the Messages app. Users can initiate a payment request directly in a conversation by tapping the Apple Pay icon in the app drawer.
To request a specific amount:
- Enter the desired sum
- Add a note describing what the payment is for
- Tap “Request”
The recipient sees a payment request they can fulfill with a single tap. This feature works especially well for splitting bills, collecting group contributions, or requesting repayment.
Apple Watch owners can also request and receive money without their iPhone. The process works similarly using the Messages app on the watch, making it convenient for on-the-go transactions.
If someone hasn’t paid a request, users can send a gentle reminder by tapping on the pending request in Messages and selecting “Remind.”
Managing Received Payments
After receiving money through Apple Pay, users have several options for managing those funds. The money stays in Apple Cash until the user decides to transfer it to a bank account or use it for purchases.
Viewing Transaction History
Users can easily check their Apple Pay transaction history through the Wallet app. To view past transactions, open the Wallet app and tap on the Apple Cash card. The complete list of payments received and sent will appear in chronological order.
Each transaction shows the date, amount, and the name of the person who sent or received the payment. Users can tap on any individual transaction to see more details, including the status of the payment and any notes attached to it.
For better organization, transactions can be filtered by date range. This helps track payments over specific periods. The transaction history also includes any fees charged for instant transfers to a bank account.
Transferring Money to Bank Account
Apple Pay offers two methods to transfer Apple Cash to a bank account. The first option is Instant Transfer, which sends money to a linked debit card within minutes but charges a small fee (usually 1.5% of the transfer amount).
The second option is a standard bank transfer, which is free but takes 1-3 business days to complete. To initiate either transfer:
- Open the Wallet app
- Select the Apple Cash card
- Tap the “More” button (three dots)
- Select “Transfer to Bank”
- Enter the amount to transfer
- Choose transfer speed (instant or 1-3 days)
- Confirm with Face ID, Touch ID, or passcode
Users must have a verified identity and a linked bank account or debit card before transferring funds. First-time users will be guided through the process of adding these details.
Using Apple Cash for Purchases
The money received through Apple Pay remains in Apple Cash and can be used directly for purchases without transferring to a bank account. Apple Cash works at any merchant that accepts Apple Pay.
To use Apple Cash for a purchase:
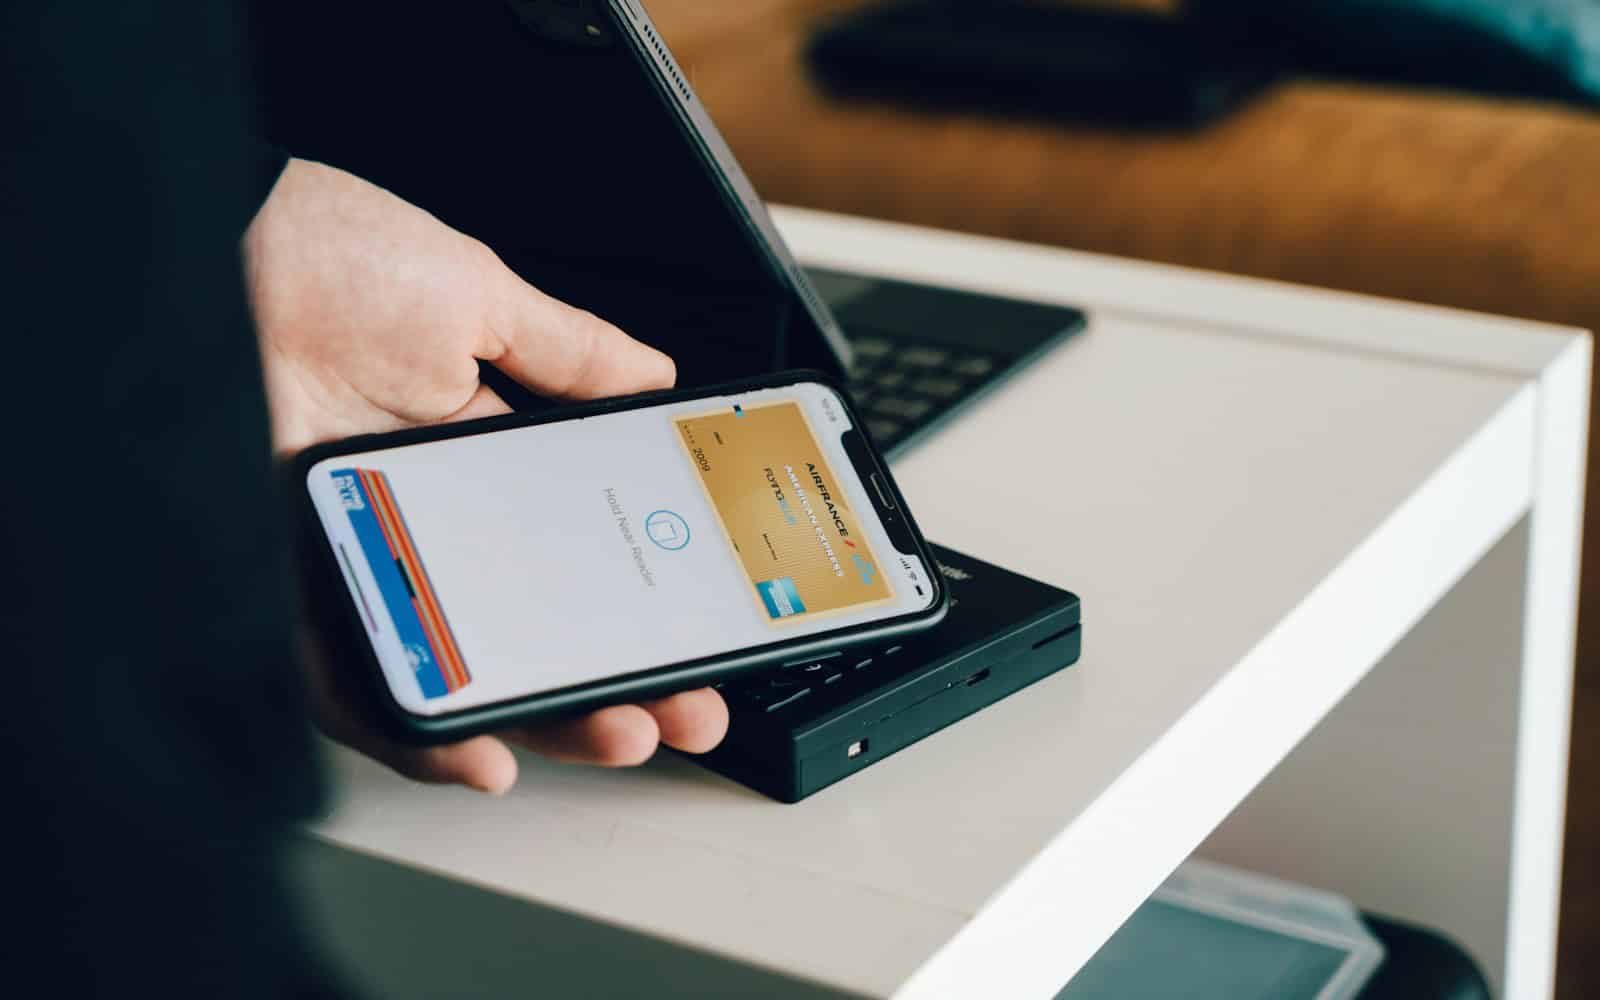
- In stores: Double-click the side button on iPhone or Apple Watch, authenticate, and hold near the payment terminal
- Online: Select Apple Pay at checkout and choose Apple Cash as the payment method
- In apps: Tap the Apple Pay button and select Apple Cash when prompted
Apple Cash can also be used to send money to friends and family through the Messages app. Users can set Apple Cash as the default payment method for all Apple Pay transactions by adjusting settings in the Wallet app.
The service works seamlessly across eligible Apple devices including iPhone, iPad, and Apple Watch. All transactions are encrypted and secure, making Apple Cash a convenient digital wallet for everyday spending.
Troubleshooting Common Issues
When receiving money through Apple Pay doesn’t go as planned, several common problems can occur. Users may encounter payment failures, need to cancel transactions, or face verification hurdles that prevent money from being securely received.
What to Do When Payments Fail
If payments aren’t coming through on Apple Pay, start with basic troubleshooting steps. First, restart the device to clear temporary glitches that might be blocking transactions.
Check the Apple System Status page to confirm Apple Pay services are operational. A green dot indicates the system is working properly.
Verify the Apple ID is functioning correctly. Sometimes signing out and signing back in can refresh Wallet settings and resolve connection issues.
Make sure all requirements for receiving money are met. The recipient must have:
- A compatible device with the latest iOS
- Apple Pay set up with a valid payment method
- An active Apple Cash card in the Wallet app
If there’s an “Accept” button in the message, tap it to manually receive the pending payment. Some payments require explicit acceptance.
Canceling a Payment or Request
To cancel a payment sent by mistake, open the Messages app and find the conversation containing the payment. Tap on the payment and select “Cancel Payment” if it hasn’t been accepted yet.
Note: Once a payment has been accepted, it cannot be canceled through Apple Pay.
For payment requests, open the Messages conversation, tap on the pending request, and select “Cancel Request.” This removes the payment request immediately.
If the recipient reports not seeing the payment, check if the transaction appears in the payment history. Payments typically process instantly but may occasionally be delayed.
Contact Apple Support if a payment appears stuck in a “pending” status for more than 24 hours.
Resolving Identity Verification Problems
Identity verification issues frequently prevent users from receiving money. Apple requires verification for security and regulatory compliance purposes.
To verify identity:
- Open the Wallet app
- Select Apple Cash card
- Tap the “More” button
- Choose “Verify Identity”
- Follow the instructions to provide required information
Verification typically requires providing personal details such as:
- Full legal name
- Date of birth
- Address
- Last four digits of Social Security Number
If verification fails, double-check all entered information for accuracy. Common errors include mismatched addresses or incorrect date formats.
For persistent verification problems, contact Apple Support directly for assistance with the specific error message received.
Apple Pay Security Features
Apple Pay incorporates robust security features built into both device hardware and software to protect user transactions. To use Apple Pay, you must set up a passcode on your device, which serves as the first layer of protection.
Face ID, Touch ID, or Optic ID (on Apple Vision Pro) add an extra security dimension, ensuring only authorized users can make payments. These biometric authentication methods verify your identity before any transaction is processed.
Your financial information is never stored directly on your device or Apple’s servers. Instead, Apple Pay uses a device-specific number and unique transaction codes, keeping your card numbers private.
When you receive money through Apple Pay, the funds are securely transferred to your Apple Cash card in the Wallet app. This virtual card employs encryption technology to safeguard your balance.
Key Security Features:
- Passcode protection requirement
- Biometric authentication (Face ID/Touch ID/Optic ID)
- Tokenization of payment information
- End-to-end encrypted transactions
- Secure Element chip storage
Two-factor authentication adds another security layer when setting up Apple Pay on a new device. This requires verification through both your Apple ID password and a code sent to your trusted devices.
If your device is lost or stolen, you can use Find My iPhone to put it in Lost Mode or erase it remotely. This prevents unauthorized access to your Apple Pay and Apple Cash.
Maximizing Apple Pay Benefits
Apple Pay offers several features that can enhance your financial management and simplify transactions. Users can leverage these benefits to streamline payment processes and ensure smooth money transfers.
Setting up Recurring Payments
Recurring payments through Apple Pay can save time and prevent missed bills. To set up this feature, users need to access their Apple Wallet and select the card they wish to use for regular payments.
The process begins by opening the Wallet app and tapping on the desired payment card. Next, users should locate the “Recurring Payments” option in the card settings menu. Apple Pay allows scheduling payments for utilities, subscriptions, and other regular expenses.
Users can specify payment dates, amounts, and frequency (weekly, monthly, or custom intervals). The system stores these preferences securely within the Apple ecosystem. For verification purposes, Face ID or Touch ID may be required when establishing recurring payments.
Apple sends notifications before each scheduled transaction, allowing users to verify or modify details if needed. This feature works with most major service providers and subscription services that accept Apple Pay.
Following Onscreen Instructions for Optimal Use
Apple Pay’s user interface guides users through each step of the payment process with clear prompts. Following these instructions ensures successful transactions and helps users avoid common errors.
When receiving money, pay attention to verification requests and confirmation screens. The system will display the sender’s information and amount for review before acceptance. Users should verify these details carefully before proceeding.
If additional authentication is needed, Apple Pay will prompt for Face ID, Touch ID, or passcode entry. These security measures protect transactions and should never be skipped.
The onscreen guidance also helps with tracking received payments. Users can view transaction history by tapping the “Latest Transactions” section in the Wallet app. This shows pending and completed transfers with timestamps.
For first-time users, Apple Pay provides tutorial screens that explain each feature. These instructions are worth reviewing to understand all available options.
Frequently Asked Questions
Apple Pay users often need guidance on receiving money through the platform. These FAQs address common questions about accepting payments, transferring funds, and troubleshooting issues that may arise during transactions.
What are the steps to accept payment via Apple Pay on an iPhone?
Receiving money on Apple Pay primarily happens through the Messages app. When someone sends a payment, the recipient will get a notification in their Messages conversation.
To accept the payment, open the message containing the Apple Pay transaction. Tap on the payment notification and then press “Accept” to receive the funds.
Once accepted, the money is added to the Apple Cash card in the Wallet app. New users have seven days to accept money sent to them through Apple Pay.
Is it possible to use Apple Pay to receive funds without linking a bank account?
Yes, users can receive and hold money in their Apple Cash account without linking a bank account. The received funds will be stored on the Apple Cash card within the Wallet app.
These funds can be used immediately to make purchases with Apple Pay or to send money to other Apple Pay users. However, to withdraw the money, a bank account or debit card must eventually be linked.
Apple Cash serves as a virtual card that can hold your balance until you decide to transfer it elsewhere or use it for purchases.
How can I instantly transfer funds from my Apple Pay to my bank account?
To transfer money from Apple Pay to a bank account instantly, open the Wallet app and select the Apple Cash card. Tap the three dots menu, then select “Transfer to Bank.”
Choose “Instant Transfer” to send the money to a linked debit card immediately. This option typically charges a small fee, usually a percentage of the transfer amount.
Alternatively, users can select “Transfer in 1-3 business days” for a free standard bank transfer. This option takes longer but avoids transfer fees.
What is the process for setting up Apple Cash for transactions?
To set up Apple Cash, users need an Apple device running a compatible iOS version and an Apple ID signed into iCloud. Open the Wallet app and tap the Apple Cash card option.
Follow the on-screen instructions to activate Apple Cash. The setup process will require verifying your identity and agreeing to the terms and conditions.
A debit card must be linked to fund Apple Cash and enable transfers. Once setup is complete, users can receive, send, and request money through Messages or the Wallet app.
Can Apple Cash be topped up, and if so, how?
Yes, Apple Cash can be topped up using a debit card linked to your Apple Pay account. Open the Wallet app and select your Apple Cash card.
Tap “Add Money” and enter the amount you wish to add. Confirm the addition using your preferred authentication method, such as Face ID, Touch ID, or your passcode.
The funds will be transferred from your linked debit card to your Apple Cash balance. The transaction usually processes immediately, making the funds available for use right away.
What should be done if a person is unable to receive money through Apple Pay?
If you’re unable to receive money through Apple Pay, first ensure your device is compatible and running the latest iOS version. Check that you have properly set up Apple Cash in the Wallet app.
Verify your Apple ID is in good standing and that you’ve accepted the Apple Cash terms and conditions. If you recently received a payment, remember you have seven days to accept it before it’s returned to the sender.
For persistent issues, check your internet connection or contact Apple Support for assistance. Sometimes, account verification problems or regional restrictions may prevent receiving payments.