Setting up an Apple AirTag is easy. It helps you keep track of your things using the Find My app. You can attach these small, coin-shaped devices to your keys, bags, or anything else you want to keep an eye on. With Apple’s Find My network, you can find your lost items using Bluetooth or through other Apple devices, even if they’re far away. AirTag works smoothly with iPhones, allowing you to play a sound to find a nearby item or use precision finding on newer iPhones with the U1 chip.
To start, just bring the AirTag close to your iPhone, and it will connect automatically. The AirTag is linked to the owner’s Apple ID for privacy and security. Once set up, you can see the AirTag in the Items tab of the Find My app and view its location on a map. You can also change the AirTag’s name or emoji, or set up separation alerts to notify you if you leave an item behind—all directly in the app.
Setting Up Your AirTag
Unboxing and Battery Activation
First, unpack your AirTag. It comes with a battery tab. Pull it out to power up the AirTag. It should make a sound, telling you it’s ready to go.
Pairing with Your Device
Hold the AirTag close to your iPhone or iPad. A pop-up should appear on your screen. Tap “Connect” and follow the steps.
Naming and Personalization
You can give your AirTag a name and choose an emoji. This helps you tell your AirTags apart in the Find My app.
Attaching to Your Item
Put your AirTag in a holder or loop. Then, attach it to the item you want to track, like a keychain or bag.
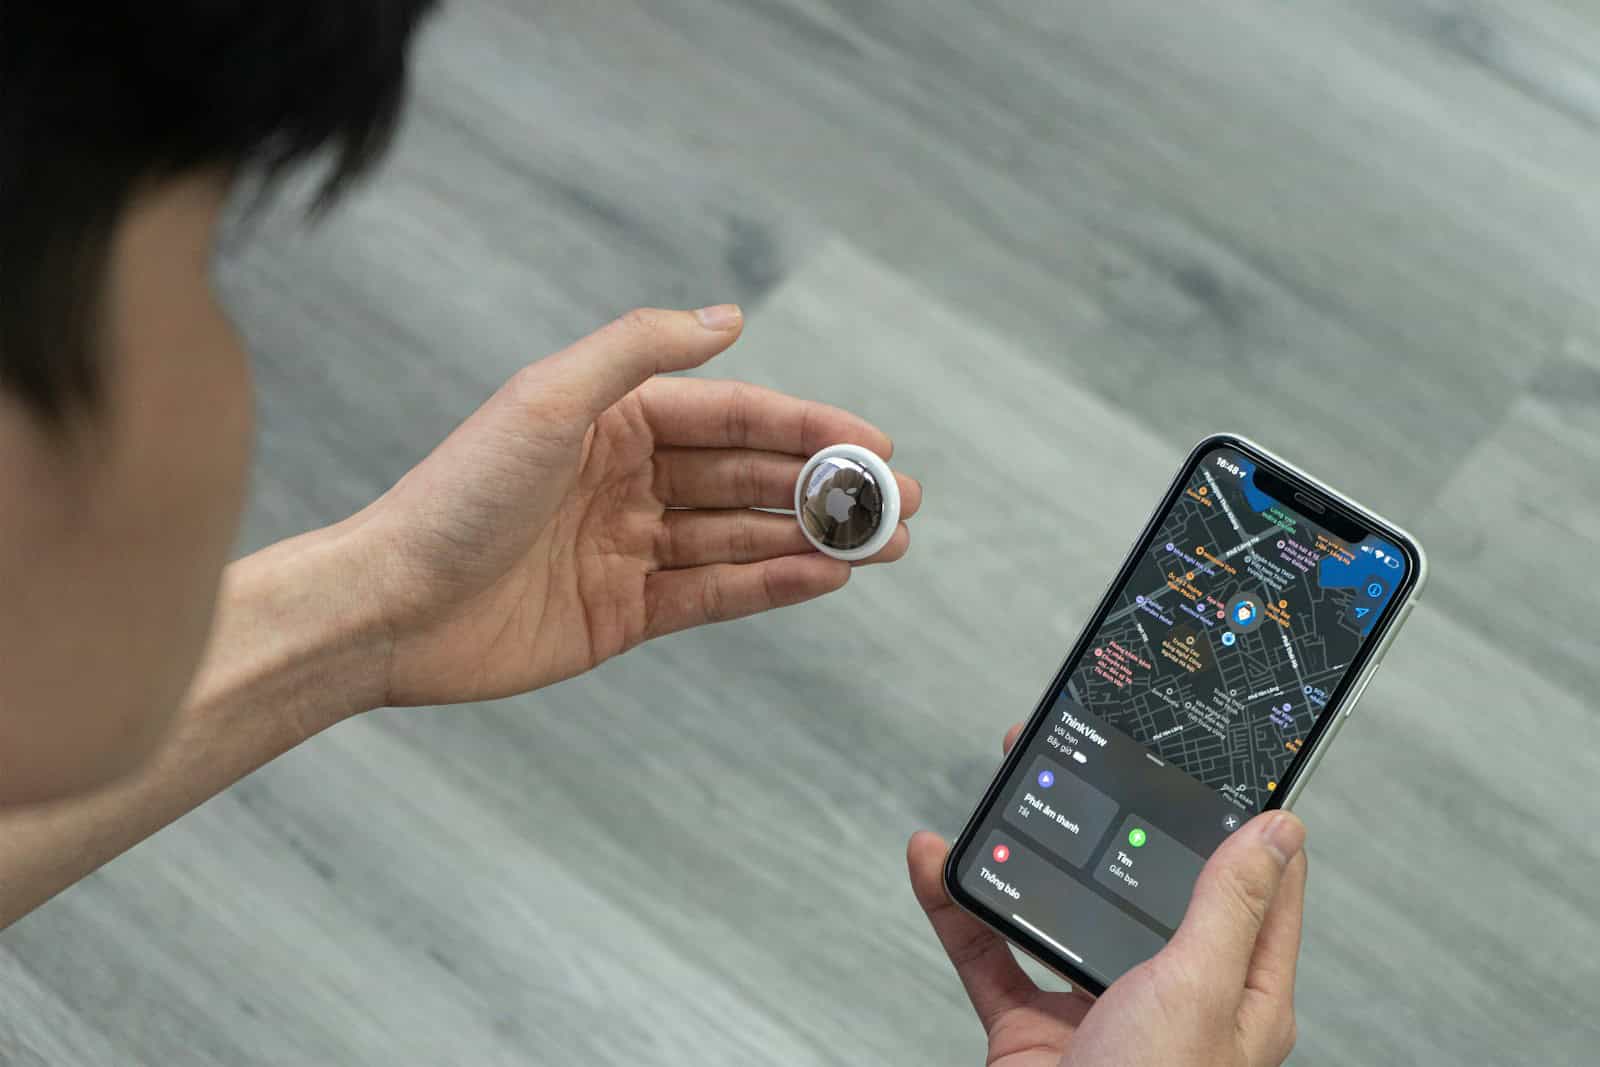
Using the Find My App
Open the Find My app to see your AirTag’s location. You can also play a sound to find it if it’s nearby.
Troubleshooting Tips
If you’re having trouble, make sure Bluetooth is on and your device has the latest software. You can also reset the AirTag if needed.
Key Takeaways
- AirTag is used to keep track of personal items through the Find My app.
- Connecting an AirTag involves bringing it near an iPhone, which starts automatic pairing.
- The Find My app allows users to see their AirTag’s location, customize settings, and receive separation alerts.
Setting Up Your AirTag
Activating your new Apple AirTag involves a straightforward process: unboxing, pairing it with your device, and giving it a personal touch with a custom name or emoji.
Unboxing and Initial Steps
When you receive your Apple AirTag, the first step is to remove it from its packaging. Carefully take off the plastic wrap that secures the item. Then, pull the tab to activate the battery; you’ll hear a sound indicating that the AirTag is on. This is essential before you move on to the next steps.
Pairing with Your Apple Devices
To link your AirTag with an iPhone, iPad, or HomePod, ensure that your device is running at least iOS 14.5, iPadOS 14.5, or later. Then, simply bring the AirTag close to your device and a Connect option will appear on your iPhone or iPad screen. Tap ‘Connect’ to initiate the pairing via Bluetooth. For a pack of four AirTags, pair them one at a time to avoid signal confusion. This step integrates your AirTag with your iCloud account through your Apple ID.
| Device Compatibility |
|---|
| iPhone (various models) |
| iPad |
| Apple Watch |
| HomePod |
Customizing Your AirTag
After pairing, you can custom name your AirTag or select an existing name from a list. You may also assign an emoji or icon to visually distinguish your AirTag. This makes it simpler to recognize the AirTag when viewing it in the Find My app. To rename an AirTag later, access the item’s settings in the app and select a new name or emoji to reflect the attached item or your personal style. Remember, each AirTag should have a unique identity to avoid confusion, especially if you have multiple items you wish to track.
FAQs
AirTag Beeps When Picked Up
AirTags have built-in safety features to prevent unwanted tracking. If an AirTag is separated from its owner for a certain period and then moves, it will start to beep. This is designed to alert people if an unknown AirTag might be tracking them. If your own AirTag is beeping randomly, it could be due to a low battery or a temporary connection issue.
AirTag Found Moving With You
If you receive a notification that an AirTag is found moving with you, it means an AirTag that isn’t registered to you is traveling with you. This is a safety feature designed to prevent stalking. If you find an unknown AirTag, you can use an NFC-capable device to identify it and get instructions on how to disable it.
Someone put an AirTag on my car, What Do I do?
Finding an AirTag in your car that doesn’t belong to you can be concerning. It’s possible someone is trying to track your movements. If you suspect this, contact the authorities. It’s illegal to use an AirTag to track someone without their knowledge or consent.
Can I put an AirTag on my child or in their Backpack?
While it might be tempting to use an AirTag to track your child, it’s important to consider their privacy and consent. It’s generally not recommended to put an AirTag directly on a child, especially without their knowledge. Open communication and other safety measures might be more appropriate. Using an AirTag to track someone without their consent is illegal.
Putting an AirTag in your child’s backpack is pretty standard and acceptable use for the tracker so you won’t have any trouble with that.
Can I put AirTag on my Dog or Cat?
AirTags can be a helpful tool for tracking pets, but it’s crucial to attach them securely to a collar or harness. Make sure the AirTag doesn’t obstruct your pet’s movement or cause any discomfort. Consider the size and temperament of your pet when choosing a tracking device.
Best Place To Hide AirTag in A Car
If you want to discreetly track your car with an AirTag, consider hiding it in an inconspicuous location, like under a seat, in the glove compartment, or in the spare tire well. Ensure the AirTag is securely attached and won’t interfere with any vehicle components.
Can an AirTag be turned off?
You can temporarily disable an AirTag by removing its battery. However, this will also prevent it from being tracked.