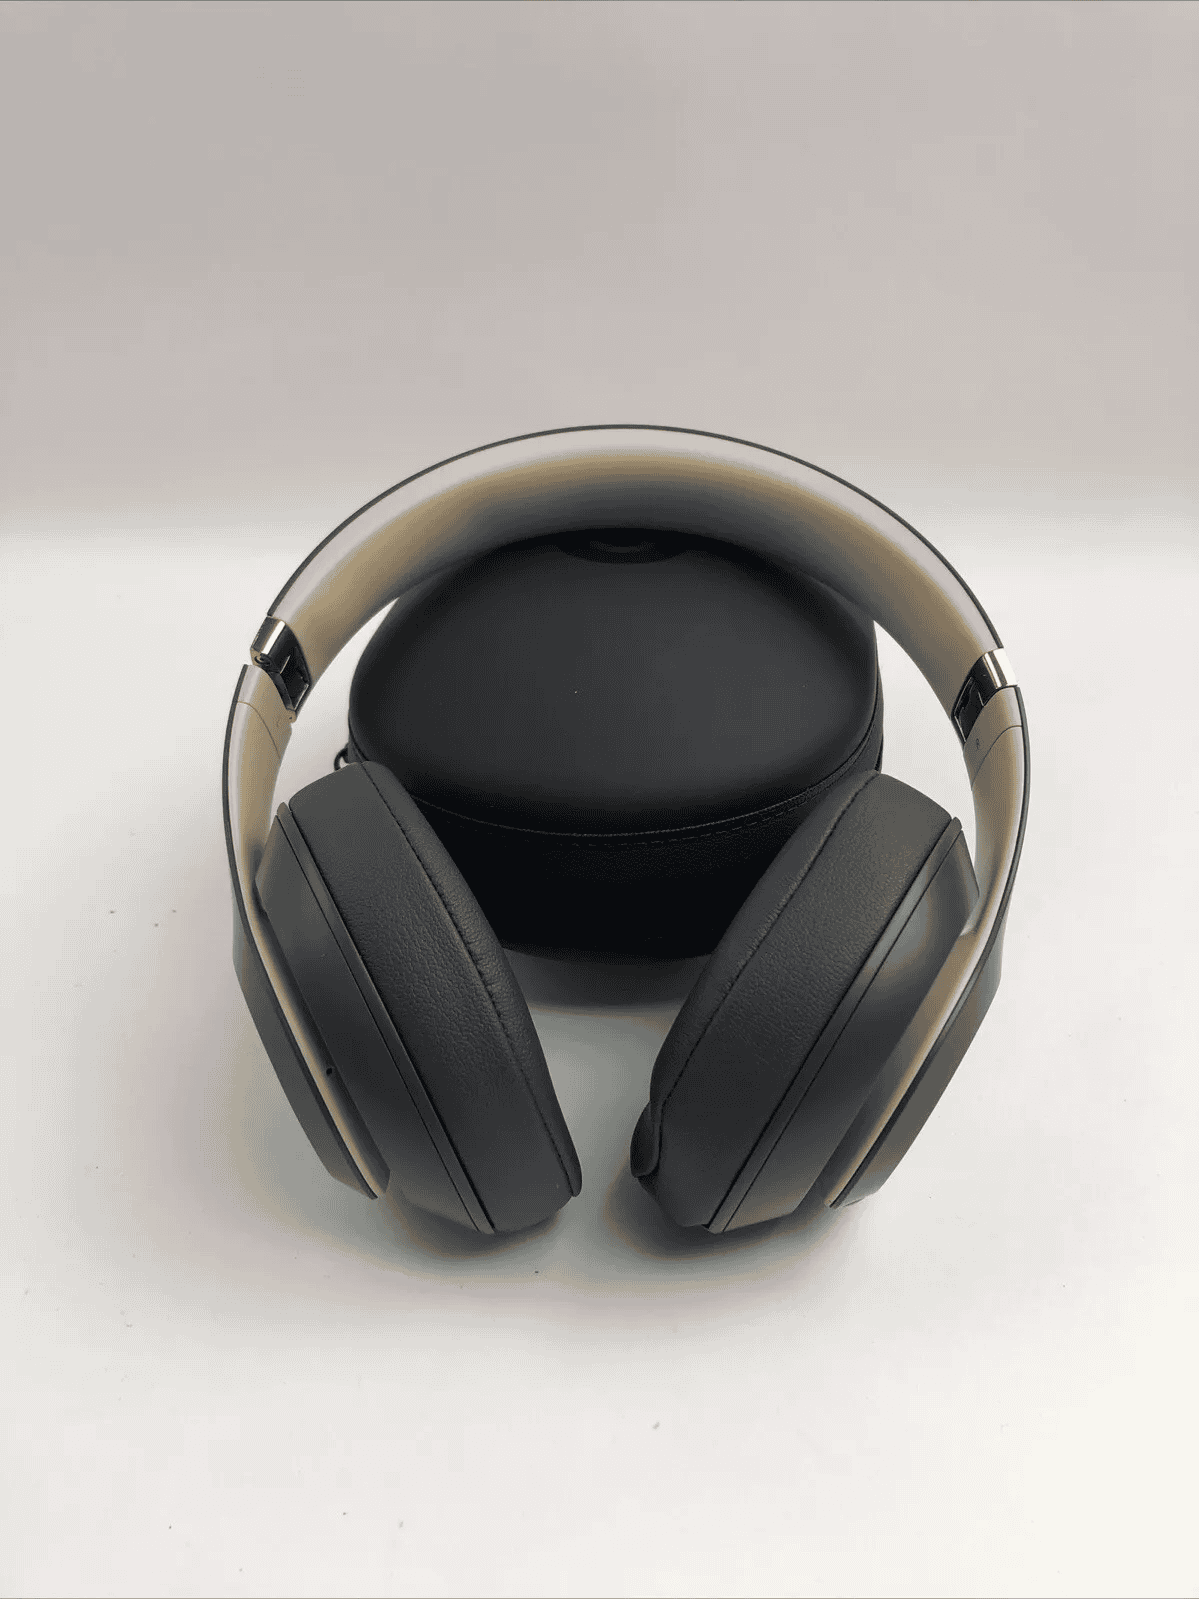
Replacing Beats Studio 3 ear pads can greatly improve your listening comfort. Old ear pads may wear out or get dirty over time. Worn-out ear pads can make even the best headphones feel uncomfortable and compromise sound quality. Luckily, replacing them is a simple DIY project that can breathe new life into your Beats Studio 3. With a little effort, you can restore both comfort and audio fidelity, ensuring your headphones continue to deliver an exceptional listening experience.
The process is simple and takes only a few minutes. You’ll need a new pair of ear pads made for Beats Studio 3 headphones. These can be found online or at some electronics stores. With the right tools and steps, you can easily swap out your old ear pads for fresh ones.
Changing your ear pads can also help keep your headphones clean. This is good for both hygiene and sound quality. Plus, it’s a cost-effective way to extend the life of your Beats Studio 3 headphones without buying a whole new pair.
Breathing New Life into Your Beats: Replacing Studio 3 Ear Pads
Gather Your Tools
- Replacement ear pads (ensure they are compatible with Beats Studio 3)
- A flat-head screwdriver or a plastic pry tool
- A clean microfiber cloth
- Optional: Isopropyl alcohol (for cleaning)
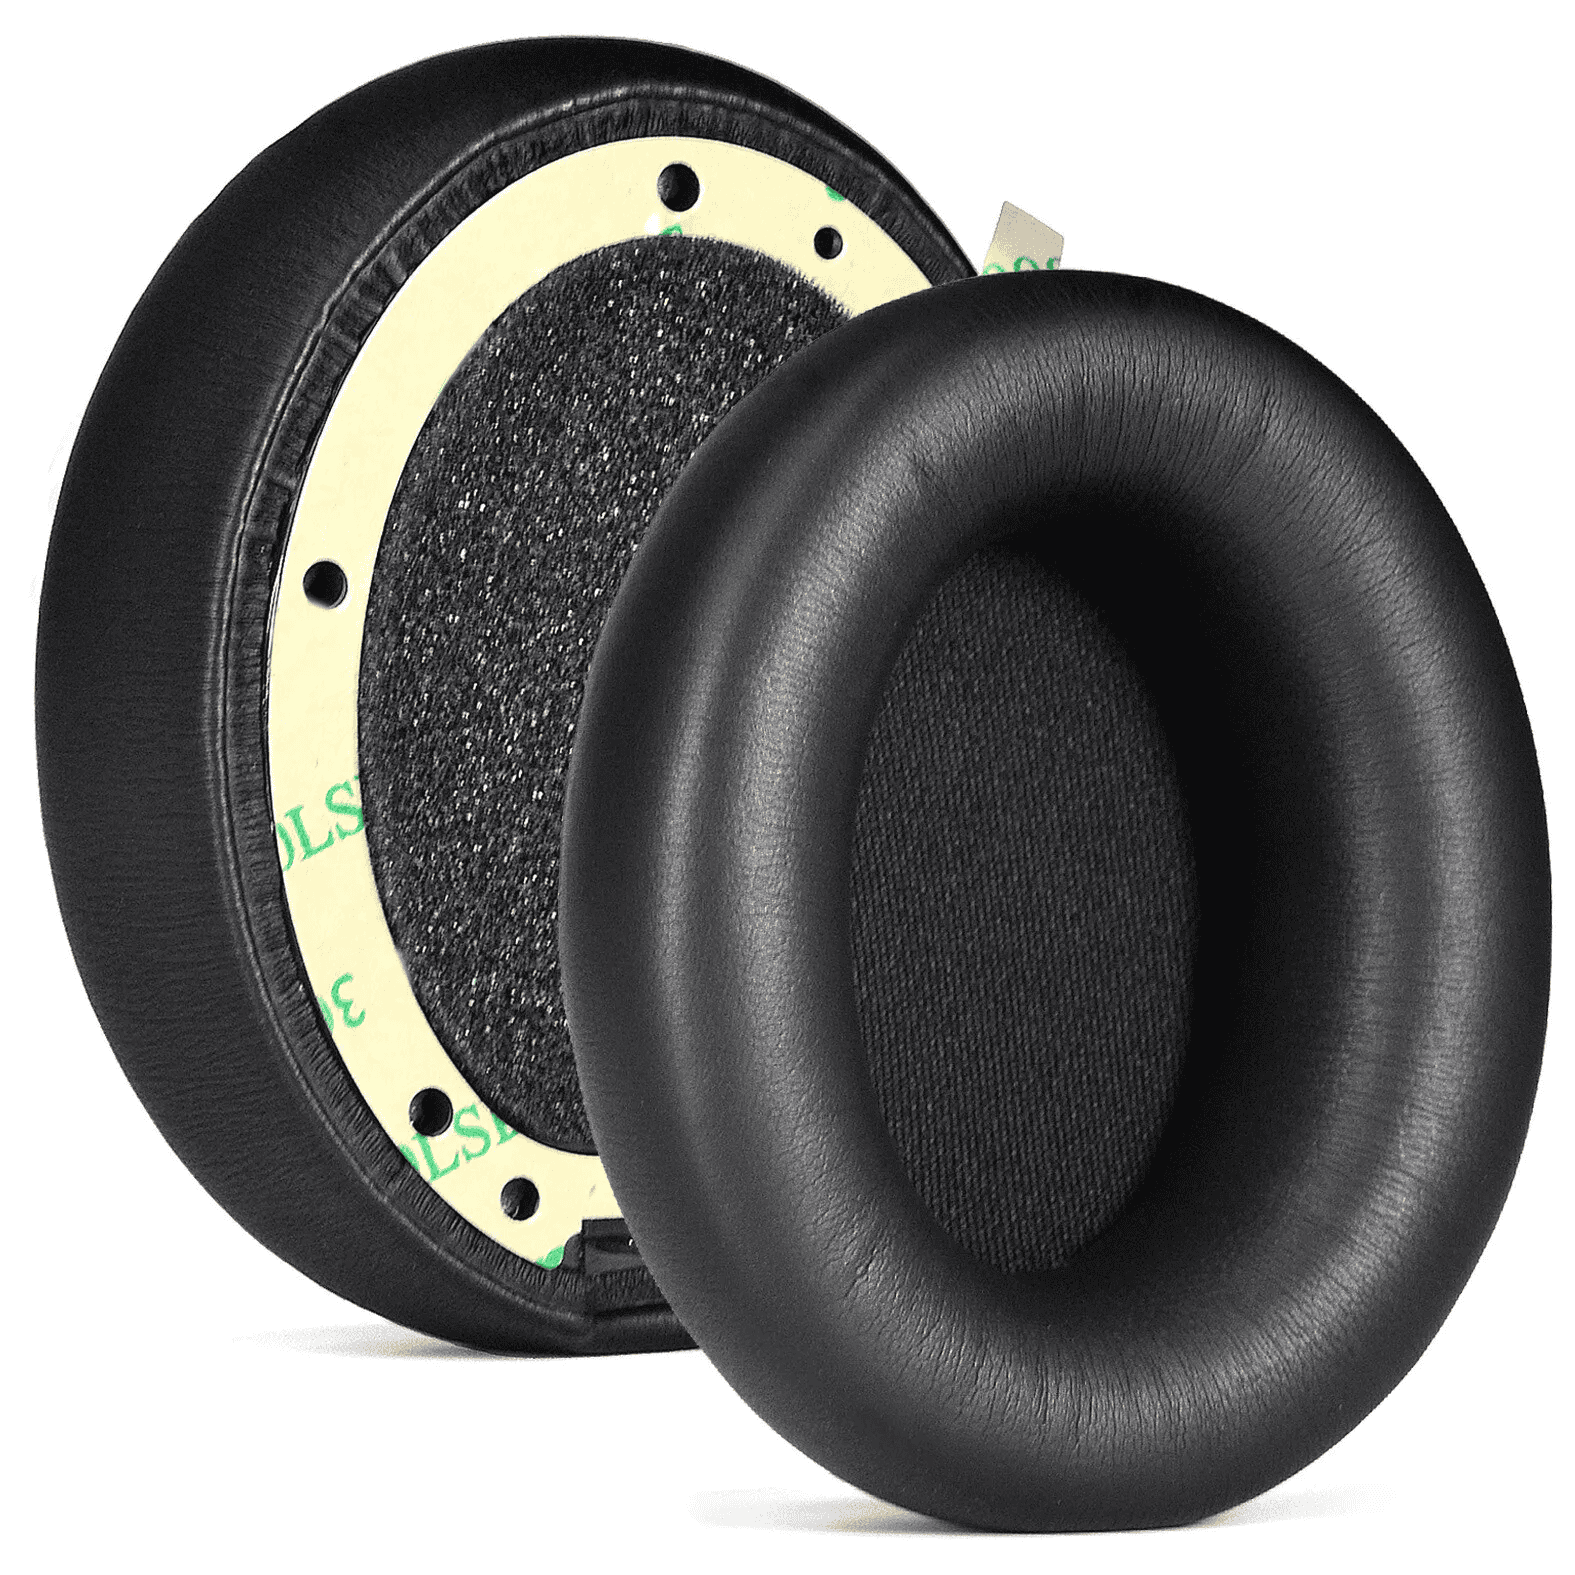
Removal of Old Ear Pads
- Locate the Seam: Gently identify the seam where the ear pad attaches to the earcup.
- Insert the Tool: Carefully insert the flat-head screwdriver or pry tool into the seam.
- Pry Gently: Apply slight pressure to pry the ear pad away from the earcup. Work your way around the entire circumference, releasing the adhesive gradually.
- Clean the Earcups: Use the microfiber cloth to remove any remaining adhesive residue. For stubborn residue, dampen the cloth with a bit of isopropyl alcohol.
Installation of New Ear Pads
- Align the Pads: Match the alignment notches on the new ear pads with the corresponding slots on the earcups.
- Press Firmly: Press the new ear pads onto the earcups, ensuring they are securely attached all the way around.
Tips and Considerations
- Be Patient: The removal process might require some patience, especially if the adhesive is strong. Avoid using excessive force to prevent damage to the headphones.
- Genuine vs. Third-Party: Consider purchasing genuine Beats replacement ear pads for the best fit and quality. If opting for third-party options, check reviews and compatibility carefully.
- Cleaning: Regularly clean your ear pads with a damp microfiber cloth to prevent dirt and grime buildup, which can accelerate wear and tear.
Troubleshooting
- Pads Not Sticking: If the new ear pads don’t stick properly, ensure the earcups are clean and free of any residue. You might need to apply additional adhesive if necessary.
- Uneven Fit: Make sure the alignment notches are correctly positioned during installation. Realign and press firmly if needed.
Table: Popular Replacement Ear Pad Options
| Brand | Material | Features | Price Range |
|---|---|---|---|
| Beats (Official) | Protein leather, memory foam | Designed specifically for Beats Studio 3, comfortable and durable | $$$ |
| Wicked Cushions | Softer PU leather, memory foam | Enhanced comfort, improved noise isolation, comes with installation guide | $$ |
| Geekria | Protein leather, memory foam | Compatible with various Beats models, affordable option | $ |
Replacing worn-out ear pads on your Beats Studio 3 headphones can significantly improve comfort and sound quality. With a few simple tools and some patience, you can easily swap out the old pads for new ones, extending the life of your headphones and revitalizing your listening experience.
Key Takeaways
- New ear pads improve comfort and sound quality
- Replacing ear pads is a quick and easy process
- Regular ear pad changes extend headphone lifespan
Understanding Beats Studio 3 Ear Pad Replacement
Beats Studio 3 ear pads wear out over time. Knowing when and how to replace them keeps your headphones comfy and working well.
Signs You Need New Ear Pads
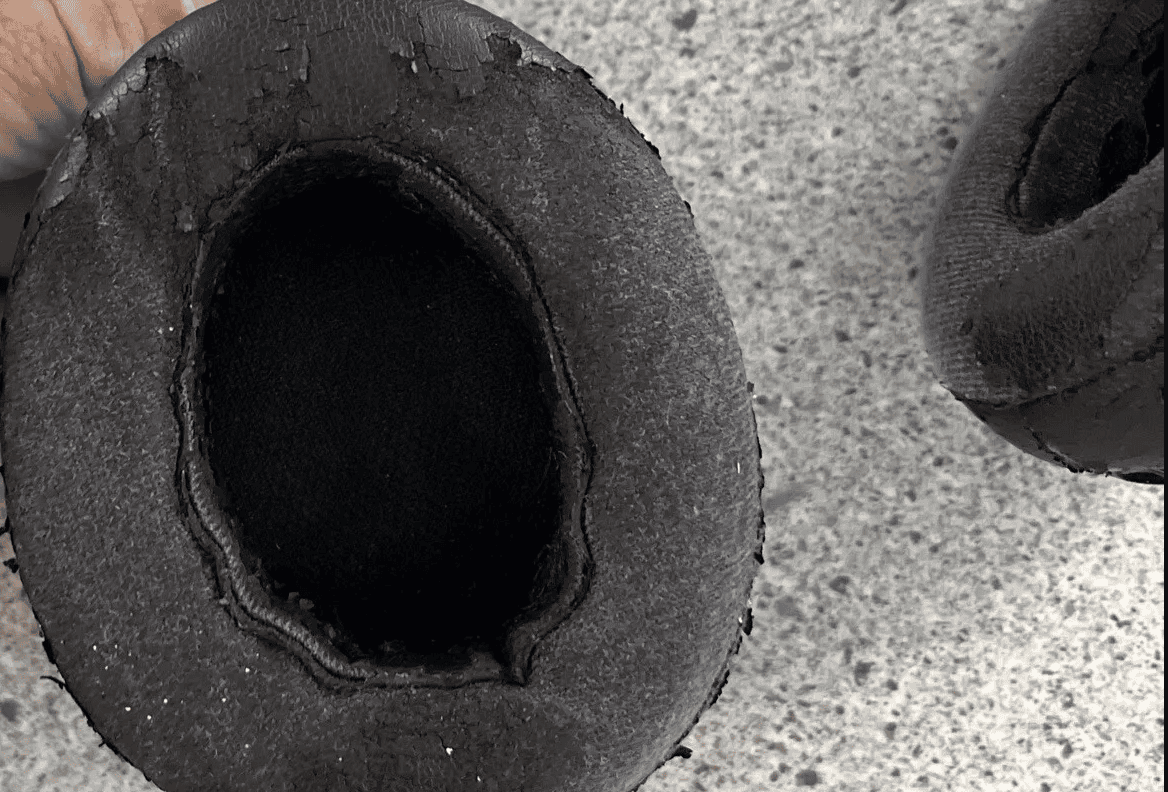
Ear pads on Beats Studio 3 headphones don’t last forever. Look for these signs:
• Cracks or tears in the material
• Flattened or misshapen cushions
• Peeling or flaking surface
• Less comfort when wearing
• Reduced noise cancellation
Sweat and oils from skin break down the pads. Extreme heat or cold can also damage them. If you notice these issues it’s time for new pads.
Selecting the Right Replacement Ear Pads
Choose new ear pads that fit your Beats Studio 3 headphones perfectly. Here’s what to look for:
• Made for Beats Studio 3 Wireless model
• High-quality materials like protein leather or memory foam
• Good reviews from other users
• Proper size and shape to match originals
Beats sells official replacement pads. Third-party options exist too. Compare prices and quality. Cheap pads may not last as long or feel as nice. Pick pads that balance cost and comfort for the best results.
Step-by-Step Ear Pad Installation Process
Changing ear pads on Beats Studio 3 headphones is easy. You can do it at home with a few simple tools. This guide will show you how to remove old pads and put on new ones.
Preparing Your Workspace and Tools
Get ready to replace your ear pads. Find a clean flat surface to work on. Gather these items:
- New ear pads
- Alcohol prep pad
- Dry cloth
- Small screwdriver (optional)
Make sure you have good lighting. Keep your work area free of dust and dirt. This will help the new pads stick better.
Removing the Old Ear Pads
Take off the old ear pads carefully. Start at one edge and gently pull. The pads are held on by adhesive. Go slow to avoid damaging the headphones.
Clean the earcups after removing the old pads. Use the alcohol prep pad to wipe away any dirt or leftover glue. Dry the surface with a clean cloth. This helps the new pads stick well.
Attaching New Ear Cushions
Check your new ear pads. Make sure you have the right and left sides. Most pads have a small mark to show which side is which.
Peel off the backing on the new pads to expose the sticky part. Then, line up the pad with the earcup. The charging port should match the cutout on the pad.
Press the pad onto the earcup. Start at one edge and work your way around. Use firm pressure to make sure it sticks well. Do the same for the other side.
Let the headphones sit for a few hours before using them. This gives the adhesive time to set. Your Beats Studio 3 headphones are now ready to use with fresh ear pads.