Pairing AirPods with a MacBook is a simple process thanks to the seamless integration within Apple’s ecosystem. Users can enjoy wireless audio from their MacBooks with just a few steps. Before attempting to connect, one should ensure that both the AirPods and MacBook are compatible and that macOS is updated to the latest version for optimal performance.
Ensuring Bluetooth is enabled on the MacBook is the first crucial step. This can be done quickly through the System Settings. Once Bluetooth is active, it’s a matter of placing AirPods in their charging case and initiating the pairing process. The ease of connecting AirPods to a MacBook highlights Apple’s dedication to a user-friendly experience across their devices.
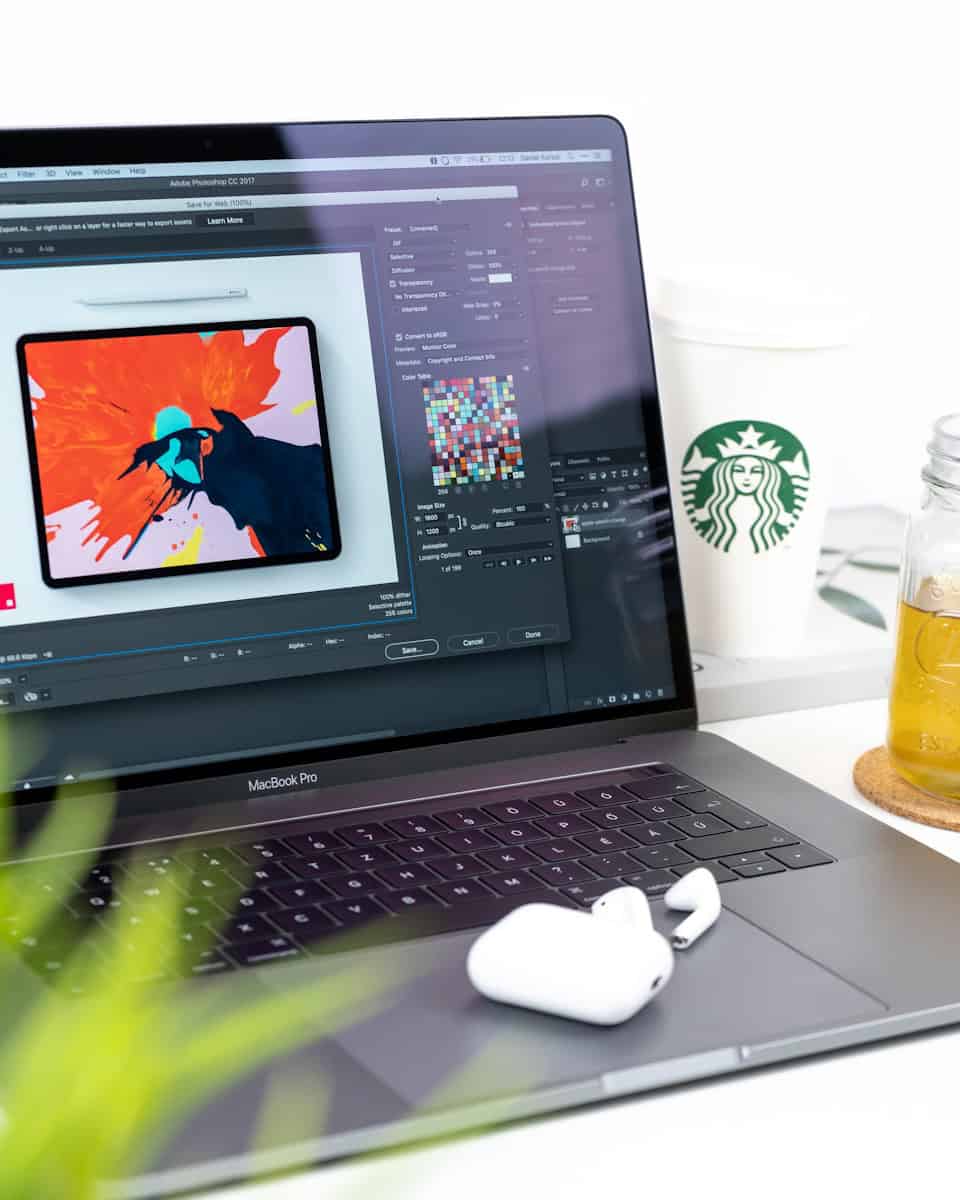
How to Connect AirPods to a MacBook
Option 1: Automatic Pairing Through iCloud
If you’re deep in the Apple ecosystem, this is where things get really smooth. When your AirPods are already paired with your iPhone and both your iPhone and MacBook are signed in to the same Apple ID with iCloud enabled, the AirPods should appear automatically on your Mac. There’s no need to pair them manually again.
Here’s how to connect them instantly:
- Put your AirPods in your ears.
- Click the Control Center in the top-right corner of your Mac’s menu bar.
- Select Bluetooth.
- Look for your AirPods in the list of available devices and click on them.
Once connected, your Mac will remember the AirPods for future sessions, and you can switch between devices seamlessly.
Option 2: Manual Pairing with Any Mac
If your AirPods aren’t showing up automatically—or if you’re using them with a different Apple ID—you can pair them manually with your MacBook. This process is quick and reliable.
Step-by-step instructions:
- Turn on Bluetooth on your Mac:
- Click the Apple menu and go to System Settings.
- Click Bluetooth and toggle it on if it’s off.
- Put your AirPods in pairing mode:
- Place both AirPods in their charging case and open the lid.
- Press and hold the setup button on the back of the case until the status light flashes white.
- Connect from your Mac:
- On your MacBook, your AirPods should now show up under Devices in the Bluetooth settings.
- Click Connect next to your AirPods name.
Once paired, you’ll see a confirmation, and your AirPods will automatically become your default audio output.
Troubleshooting Common Problems
AirPods not appearing in Bluetooth list
- Ensure your AirPods are charged. A low battery can prevent them from broadcasting their signal.
- Restart your MacBook and try again—this often resolves simple connection glitches.
- Reset your AirPods: hold down the setup button until the status light flashes amber, then white.
Audio playing through MacBook instead of AirPods
Even when your AirPods are connected, macOS might still default to the internal speakers. To change this:
- Click the Control Center icon in the menu bar.
- Click Sound and manually select your AirPods as the output device.
Switching Between Devices
AirPods support auto-switching across devices using the same Apple ID—like going from a call on your iPhone to watching a video on your Mac. However, this can be inconsistent at times, especially if you’re actively using multiple Apple devices. If you prefer more control, you can disable auto-switching on a per-device basis by doing the following:
- Open Bluetooth settings on your Mac.
- Click the “i” or Options button next to your AirPods.
- Change the setting for Connect to This Mac to When Last Connected to This Mac.
Using Two Sets of AirPods on One Mac
If you’re watching a movie or listening to music with a friend, you can connect two pairs of AirPods to a single Mac. The easiest way to do this is by using the Audio MIDI Setup tool built into macOS to create a multi-output device.
How to do it:
- Connect both sets of AirPods manually through Bluetooth.
- Open Audio MIDI Setup from the Utilities folder in Applications.
- Click the + button in the bottom-left corner and select Create Multi-Output Device.
- Check both sets of AirPods in the list.
- Go to System Settings > Sound and select your new multi-output device as the output.
Now both people will hear the same audio simultaneously—perfect for shared listening sessions.
Final Tips for a Smooth Experience
- Keep your AirPods firmware updated—Apple doesn’t make this obvious, but firmware updates fix bugs and improve connectivity.
- If you regularly switch between multiple Bluetooth audio devices, consider naming each one uniquely to avoid confusion.
- Use the battery widget on macOS (or click Bluetooth in the menu bar) to monitor your AirPods’ charge level at a glance.
With just a few steps, your AirPods and MacBook can work together in perfect sync—whether you’re working, gaming, watching, or just vibing to music. Once paired, the convenience of wireless audio truly shines on a MacBook.
Key Takeaways
- Connecting AirPods to a MacBook involves a simple setup process.
- Both devices need to be ready and compatible for a successful connection.
- Utilize macOS Bluetooth settings to connect and manage AirPods.
Preparing Your Devices for Connection
Before you connect AirPods to a MacBook, make sure your Mac is up to date and Bluetooth is turned on. Sign in to iCloud with your Apple ID to enable seamless pairing.
Checking MacOS Compatibility
AirPods require a Mac running macOS Mojave (10.14.4) or later. The list includes macOS Catalina and macOS Monterey. To check your version:
- Click Apple menu.
- Select About This Mac.
Ensuring Bluetooth Is On
To use AirPods, your Mac’s Bluetooth must be on.
- Open System Preferences from the Apple menu.
- Click Bluetooth.
- Confirm that Bluetooth is enabled; the status should show On.
Signing In with Apple ID
Pairing AirPods requires an Apple ID. This ID links to iCloud for a smooth connection.
- Open System Preferences.
- Click Apple ID.
- Sign in with your Apple ID and password.
Ensure that the ID you use for iCloud on your Mac is the same one used on your other Apple devices for the best experience.
Connecting and Using AirPods with MacBook
Seamlessly connecting AirPods to a MacBook enhances one’s audio experience. It allows users to enjoy features such as noise cancellation and Siri.
Pairing AirPods to MacBook
To pair AirPods with a MacBook, open the lid of the AirPods charging case without removing the AirPods. Make sure Bluetooth is enabled on the MacBook through the System Preferences. Then, press and hold the setup button at the back of the AirPods case until the status light flashes white. The AirPods should appear in the MacBook’s Bluetooth device list and users can click Connect.
Managing Sound Settings and Output Device
Once connected users can manage AirPods settings from the MacBook. Users should click on the volume icon in the menu bar or open the System Preferences and select Sound. From the Output tab, choose AirPods to direct audio to them. Users can adjust volume controls directly from the MacBook or use Siri for a hands-free experience.
Utilizing AirPods Features
AirPods and AirPods Pro offer several features that a MacBook can utilize. Automatic ear detection plays audio as soon as the AirPods are in the ears and pauses when one AirPod is removed. On AirPods Pro, noise cancellation can be activated via the Control Center on the MacBook. Spatial audio with dynamic head tracking provides an immersive sound experience when watching movies.
Connecting AirPods to a MacBook affords users with advanced sound technology, flexibility and the convenience of wireless audio control. By following the simple steps to pair the devices and manage settings, MacBook users can maximize their AirPods’ capabilities.