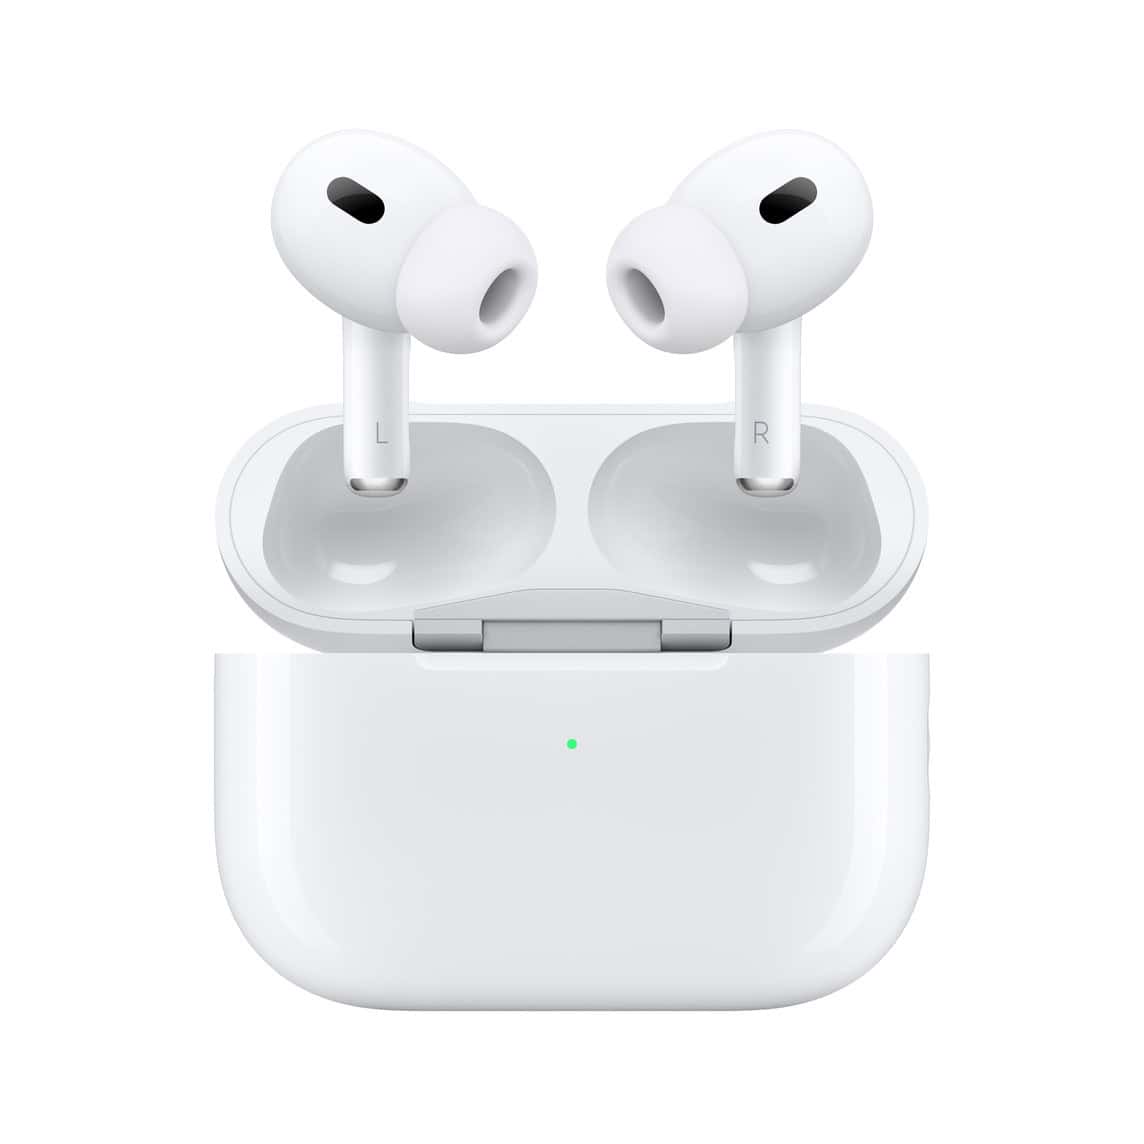
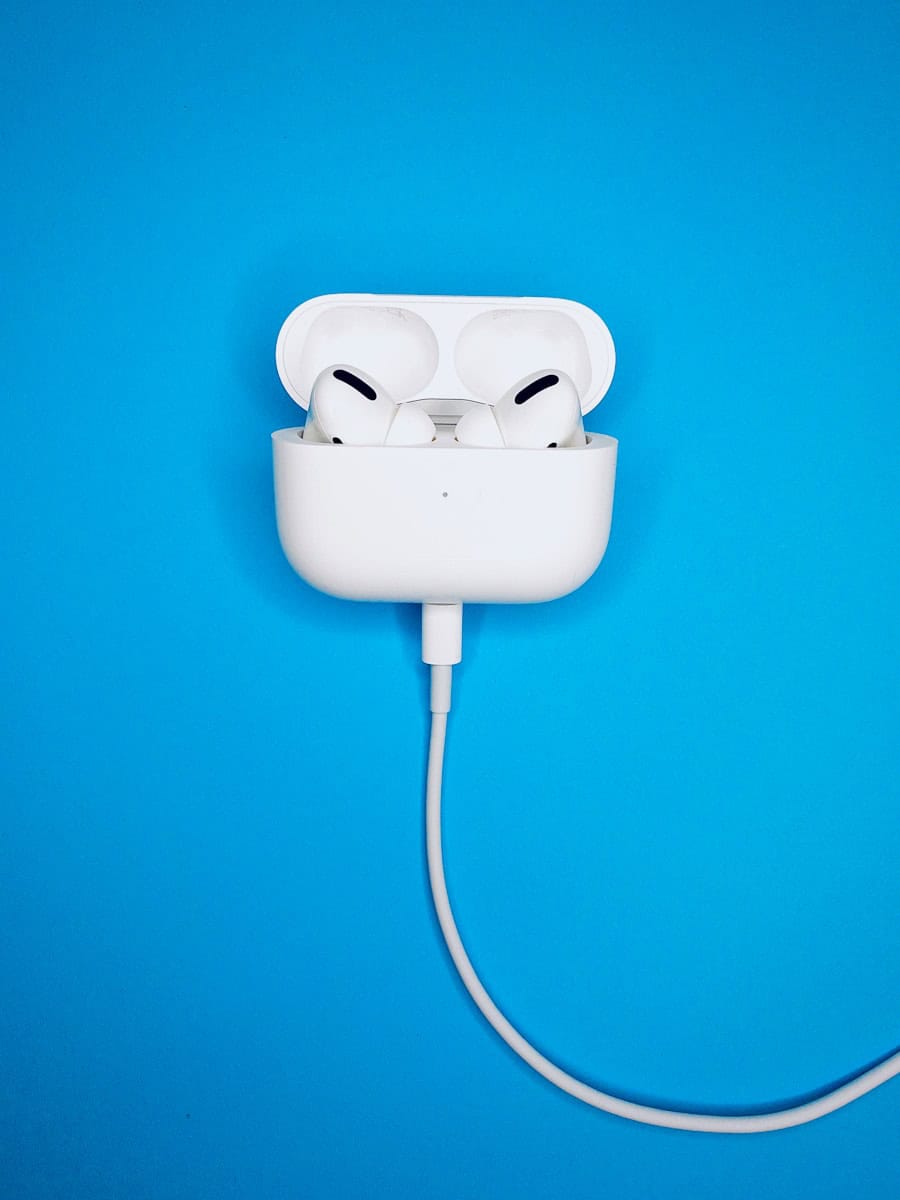
AirPods have made using headphones easier by offering a wireless and compact alternative to traditional models. They come with features that improve the user experience, including the ability to automatically turn off. This helps save battery life and makes AirPods more convenient to use. When you take the AirPods out of your ears, they pause playback and eventually turn off by themselves.
Although AirPods don’t have a traditional power button, they manage power through built-in sensors that detect when they are in use and adjust playback accordingly. If you want to turn them off, simply place them in their case. Users can also customize settings to control how their AirPods interact with Apple devices, adding a personal touch to their usage. Understanding how these automatic power-saving features work is important for making the most of AirPods’ efficiency.
Managing Your AirPods Power
AirPods Pro (All Generations)

AirPods Pro have a smart feature called Automatic Ear Detection. They automatically pause audio when you take one or both out of your ears and resume playing when you put them back in. This helps save battery life by not playing audio when you’re not listening.
You can also manually pause audio playback by pressing the force sensor (1st generation) or Touch control (2nd generation) on the stem of either AirPod.
AirPods (1st, 2nd, 3rd Generation)

The standard AirPods also have Automatic Ear Detection. They’ll pause when taken out of your ears and resume when put back in.
To manually pause audio playback, you can press the force sensor on the stem of either AirPod.

For 1st and 2nd gen Airpods you can pause audio playback manually by double-tapping either AirPod.
When Placed in the Charging Case
Regardless of the model, when you put your AirPods back in their charging case, they disconnect from your device and enter a low-power state to conserve battery.
Important Note
AirPods don’t have a traditional power off button. They are designed to be always ready to use.
The Lowdown on AirPods and Automatic Power Management
AirPods are designed to be ready to use at a moment’s notice. There’s no physical power button. However, that doesn’t mean they drain your battery when you’re not using them. Apple has built in several clever power-saving features to keep your AirPods charged and ready.
Automatic Ear Detection
All AirPods models have a feature called Automatic Ear Detection. This feature uses sensors to detect when an AirPod is in your ear. When you take an AirPod out, it automatically pauses your music or video. When you put it back in, playback resumes. It’s a convenient way to save battery life and avoid missing anything important.
Table: AirPods Models with Automatic Ear Detection
| AirPods Model | Automatic Ear Detection |
|---|---|
| AirPods (1st generation) | Yes |
| AirPods (2nd generation) | Yes |
| AirPods (3rd generation) | Yes |
| AirPods Pro (1st generation) | Yes |
| AirPods Pro (2nd generation) | Yes |
| AirPods Max | Yes |
Charging Case Shuts Down AirPods
Placing your AirPods back in their charging case is the best way to conserve battery. When in the case, they essentially “shut down” and stop using any power. They’ll even charge up using the case’s battery.
No Real “Off” Switch
While you can’t completely power off your AirPods, they use minimal power when not in use or in the case. Apple optimized them to be always ready, so there’s no need to fiddle with power buttons. The combination of Automatic Ear Detection and the charging case’s power management does a great job of conserving battery life.
Other Power-Saving Tips
- Use one AirPod at a time: If you’re just taking calls or listening to podcasts, you can extend the battery life by using only one AirPod and keeping the other in the case to charge.
- Disable features you don’t need: Turn off features like “Hey Siri” or Automatic Switching if you don’t use them often.
- Keep your AirPods firmware up-to-date: Apple periodically releases firmware updates that can improve battery life and overall performance.
While AirPods don’t have a traditional power button, Apple’s intelligent power management and design choices ensure they won’t needlessly drain your battery. You can enjoy the convenience of always-ready AirPods without worrying about constant charging.
Battery Optimization Tips
| Tip | Description |
|---|---|
| Use the charging case | When not in use, always store your AirPods in their case to preserve battery life and keep them safe. |
| Disable Automatic Ear Detection (AirPods Pro only) | If you prefer to control playback manually, you can turn off Automatic Ear Detection in your AirPods settings. |
| Use one AirPod at a time | During calls or when listening to audiobooks, using a single AirPod can extend your listening time. |
| Keep your AirPods firmware up to date | Apple periodically releases firmware updates that can improve battery performance. |
Key Takeaways
- AirPods turn off automatically to conserve battery life when not in use.
- Sensors detect ear placement to manage playback and power functions.
- Users can adjust AirPod settings for a more personalized experience.
Understanding AirPods’ Automatic Functions
AirPods come equipped with smart features to enhance user experience and manage power. These functions help conserve battery life and streamline audio playback.
Automatic Ear Detection Technology
AirPods use sensors for Automatic Ear Detection. This means they can tell when they are in your ears. The audio pauses when you take them out, saving power. They do not turn off but instead go into a low-power mode. For AirPods to turn off, you need to place them in their charging case and close the lid.
AirPods Pro and AirPods Max Features
AirPods Pro and AirPods Max offer more than the standard model. They have Active Noise Cancellation to block unwanted sound. They also have a Transparency mode. This lets you hear your surroundings without taking them off. Remember to put these AirPods back in their case too. It helps to keep their battery from draining when not in use.
Managing AirPods Settings Across Apple Devices
AirPods offer a seamless way to listen to audio across all Apple devices, thanks to integration with iOS, iPadOS, and macOS. Properly setting them up can enhance your listening experience, especially when using features like automatic switching.
Connecting and Settings on iPhone and iPad
To connect AirPods to an iPhone or iPad, open the case near the device and follow the on-screen setup. Once connected, go to Settings then Bluetooth, and tap the info icon next to your AirPods. Here, users may adjust settings like the double-tap function or set AirPods to Connect to This iPhone or iPad when starting audio. This prevents the AirPods from switching to other devices automatically, keeping the connection stable during use.
Integration with Mac and System Preferences
For Mac users, integration is smooth since the release of macOS Big Sur. Connect your AirPods via Bluetooth by clicking the Bluetooth icon in the menu bar and selecting your AirPods. Under System Preferences and Bluetooth, more options are available to customize your experience. Ensure your Mac is updated for the best compatibility and access to the latest features.
Utilizing Control Center and Siri for AirPods
AirPods can also be managed using Siri and the Control Center on your Apple devices. With a simple voice command, Siri can connect or modify AirPod settings without navigating through menus. The Control Center offers a quick way to toggle between noise-control modes, check AirPod battery life, or readjust the connection to your preferred device, all while keeping the user experience cohesive across devices.


