Setting up your Toshiba Canvio hard drive for your Mac is easy! You can format the drive to work seamlessly with your Mac and use it for automatic backups with Time Machine. This guide will take you through the process, troubleshooting tips, and help you choose the best file system format for your needs. Whether you’re new to Macs or a seasoned user, this guide makes it simple to get the most out of your Toshiba Canvio storage.
Simple Guide to Using Toshiba Canvio with Your Mac
Most Toshiba Canvio hard drives come pre-formatted for Windows. To use it with your Mac, you’ll need to reformat it using a format compatible with macOS. Let’s break down the steps to get your Toshiba Canvio working seamlessly with your Mac.
Formatting Your Toshiba Canvio for Mac
- Connect your Toshiba Canvio hard drive: Plug the drive into your Mac using the included USB cable.
- Open Disk Utility: You can find it in the Applications > Utilities folder.
- Select your Toshiba Canvio drive: It should appear in the left sidebar of Disk Utility.
- Erase the drive: Click the “Erase” button. A dialog box will appear.
- Choose a file system format: Select either “APFS” or “Mac OS Extended (Journaled).” APFS is newer and recommended for most users.
- Give your drive a name: Enter a name for your drive (e.g., “Toshiba Backup”).
- Click “Erase”: This will start the formatting process. It may take a few minutes.
- Eject the drive: Once the formatting is complete, click the “Eject” button next to your drive’s name in Disk Utility.
Using Your Toshiba Canvio with Time Machine
Time Machine is Apple’s built-in backup solution. It’s a great way to automatically back up your Mac to your Toshiba Canvio drive. Here’s how to set it up:
- Open Time Machine preferences: Go to the Apple menu > System Settings > Time Machine.
- Select your Toshiba Canvio drive: Click “Select Backup Disk” and choose your Toshiba Canvio drive.
- Turn on Time Machine: Click the switch to turn on automatic backups.
Time Machine will now automatically back up your Mac to your Toshiba Canvio drive. You can also manually start a backup by clicking “Back Up Now.”
Troubleshooting Tips
- Drive not showing up? Make sure it’s securely connected and powered on. Try a different USB port or cable.
- Can’t format the drive? Make sure the drive isn’t being used by any other programs.
- Time Machine backups slow? Try excluding large files or folders you don’t need to back up.
File System Formats for Your Toshiba Canvio
| Format | Description | Ideal For |
|---|---|---|
| APFS (Apple File System) | Apple’s latest file system, optimized for newer Macs. Offers features like snapshots and space sharing. | General use, storing files and backups on your Mac. |
| Mac OS Extended (Journaled) | Older file system, but still widely compatible. Includes journaling for better data integrity. | If you need to share files with older Macs or if you need maximum compatibility. |
| ExFAT | Cross-platform format, compatible with both Mac and Windows. | If you need to share files between your Mac and a Windows PC. |
| NTFS | Windows’ native file system. Macs can read NTFS drives but can’t write to them without additional software. | Not recommended for primary use on a Mac. Only use if you need to read Windows drives. |
Understanding Toshiba Canvio for Mac
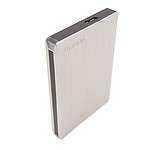
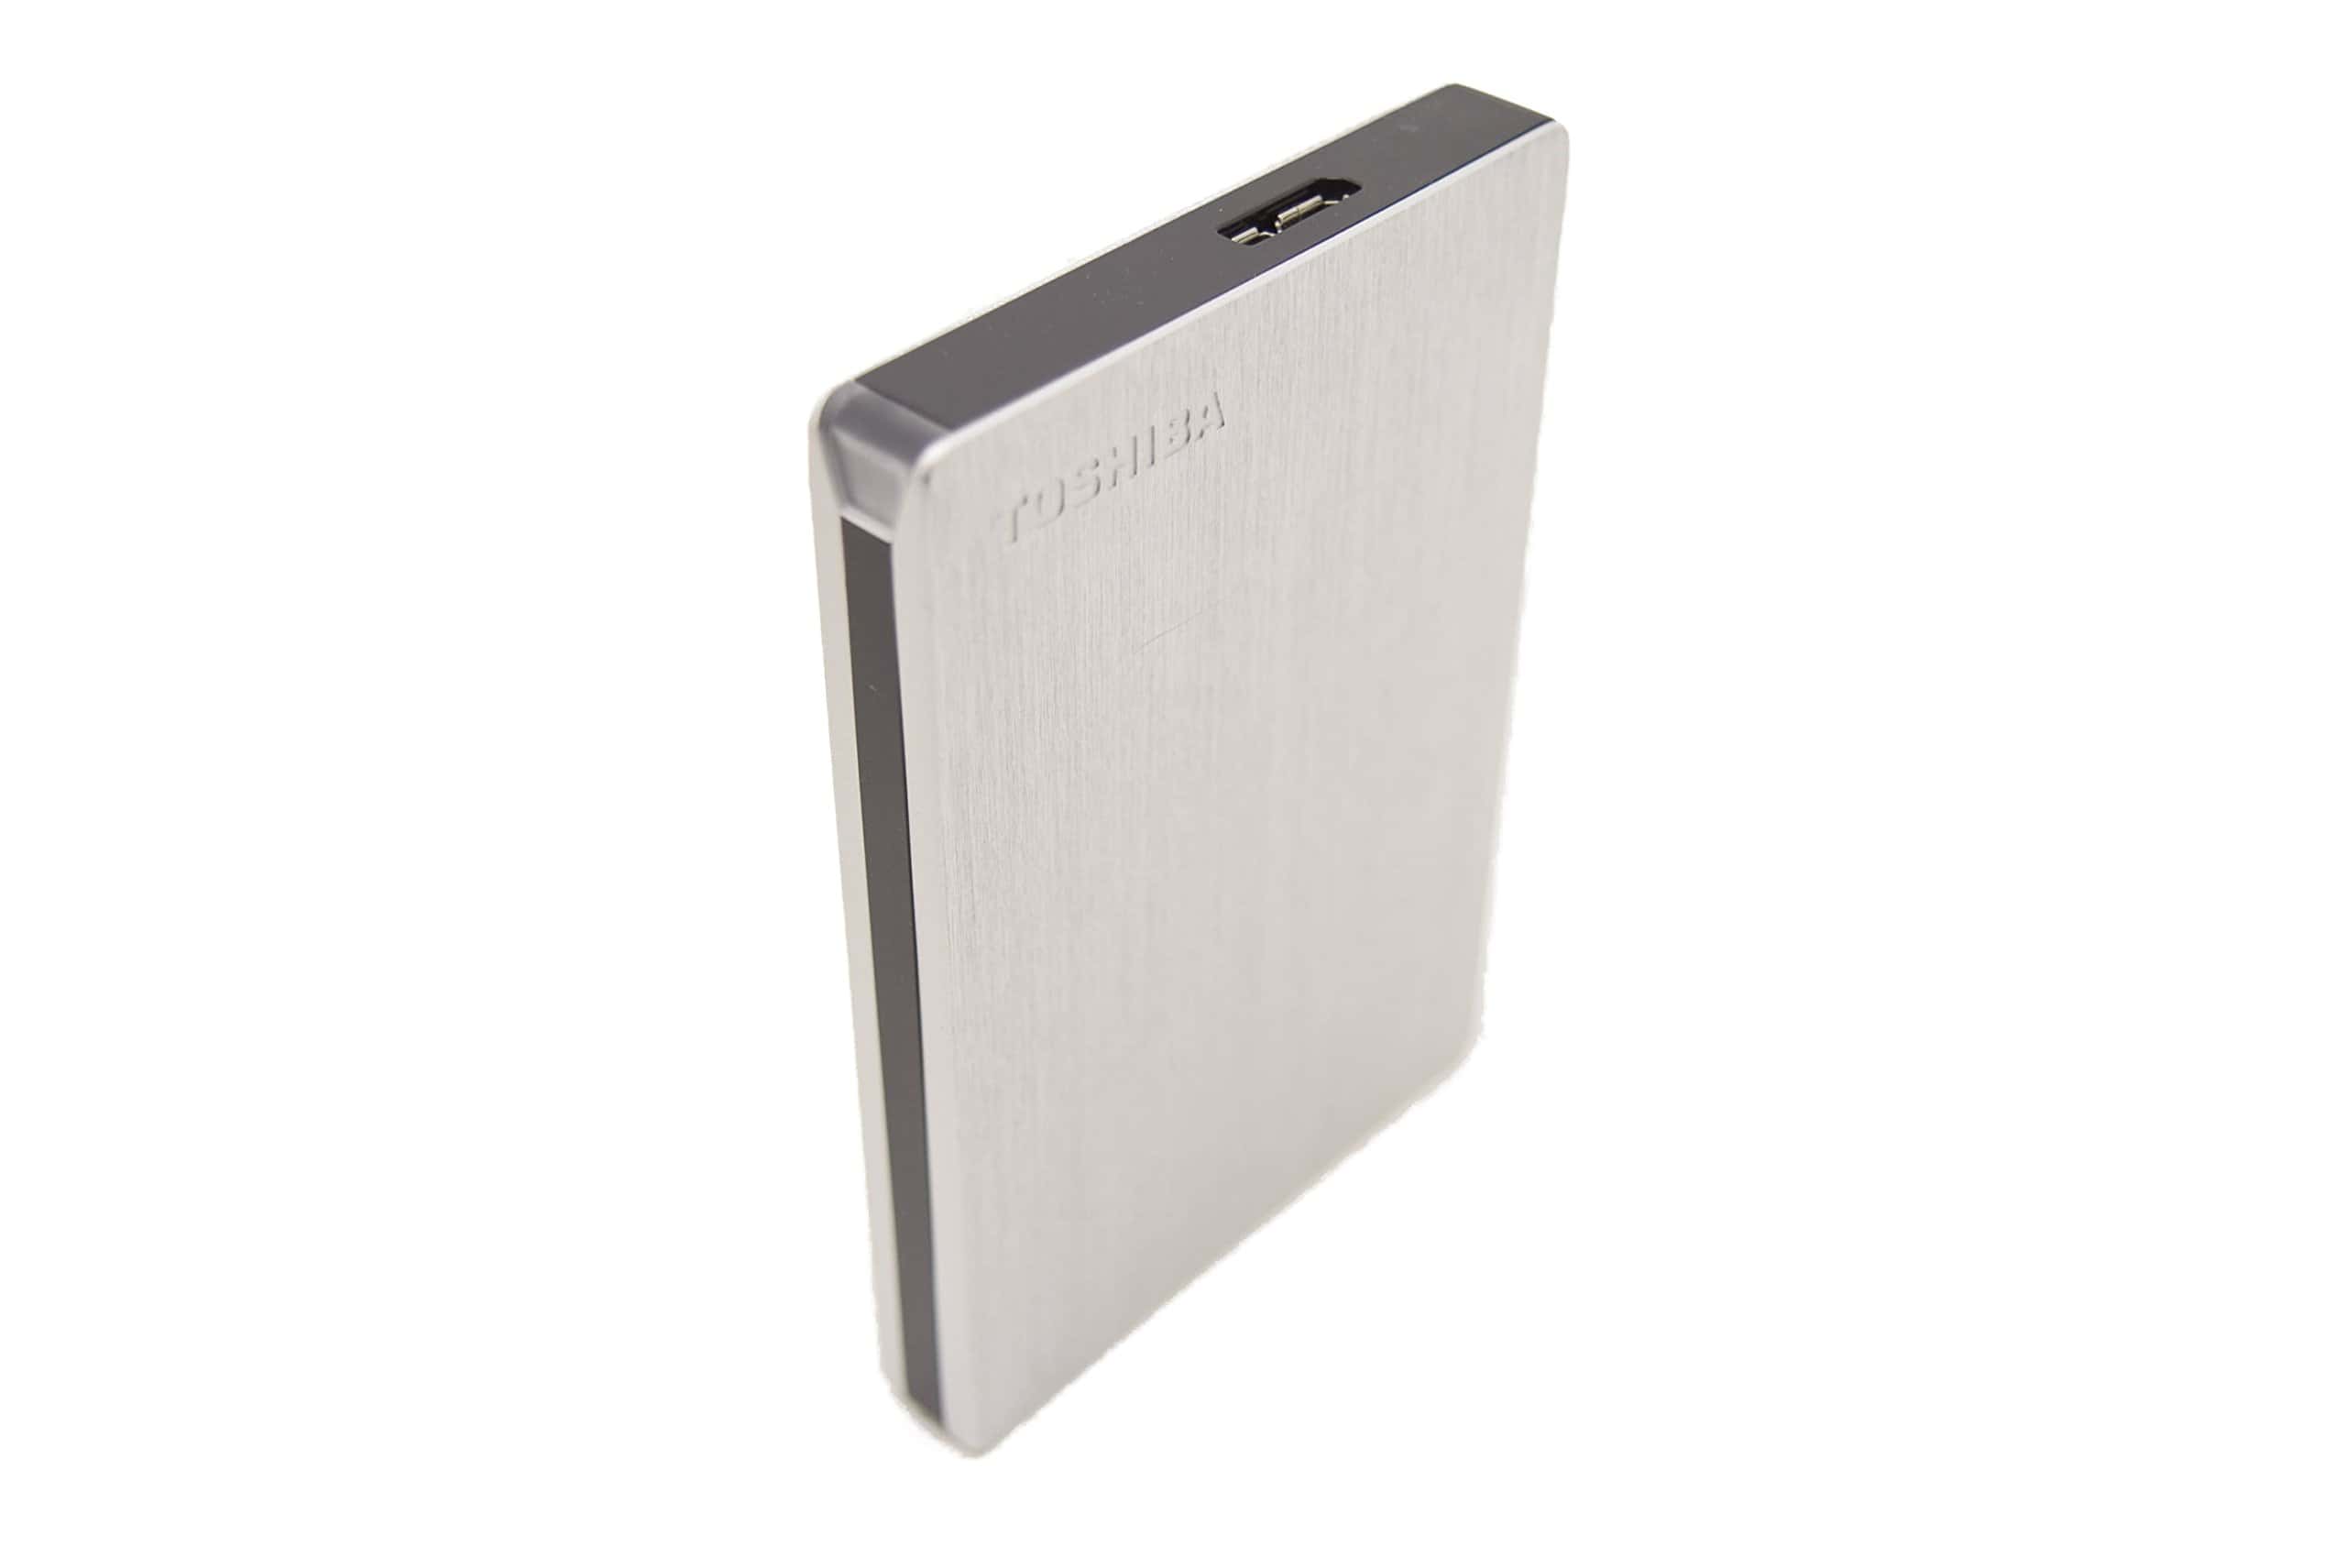
When setting up a Toshiba Canvio external hard drive for use with a Mac, it’s essential to recognize its capabilities and the straightforward process required for Mac compatibility. Toshiba’s Canvio series offers a reliable storage solution for Mac users. Available capacities include 1TB, 2TB, and 4TB, providing ample space for backups, file storage, and media libraries.
First, connect the Toshiba Canvio to your Mac via the USB port. Upon connection, you’ll need to use the native Disk Utility tool to format the drive. Toshiba drives come pre-formatted for Windows, so reformatting is necessary for Mac compatibility.
Here’s a quick rundown of formatting steps:
- Connect your Toshiba Canvio external hard drive to your Mac.
- Open Disk Utility (found within Applications > Utilities).
- Select your Toshiba drive from the list of external drives.
- Click Erase.
- Configure the formatting options:
- Name: Enter a descriptive name for your drive.
- Format: Choose APFS (for macOS High Sierra and later) or Mac OS Extended (for older macOS versions).
- Scheme: Select GUID Partition Map.
- Click Erase again to begin the formatting process.
After these steps, your Toshiba Canvio drive will be ready to use. These drives also come in various colors, providing an aesthetic choice to match your personal style or to easily distinguish between different storage capacities.
By understanding these essential aspects of the Toshiba Canvio for Mac setup, you can quickly start expanding your Mac’s storage capabilities.
Prerequisites for Setup
Before setting up your Toshiba Canvio on a Mac, it’s essential to check a few things. Your Mac should be running a compatible version of the Mac OS; the latest version, Mac OS Ventura, works well, but older versions are also acceptable. Make sure you have a USB port available on your Mac. This could be a universal serial bus 3.0 or a USB-C port, depending on the model of your MacBook Pro, MacBook Air, or iMac.
Here’s a checklist to ensure a smooth setup:
- Mac OS Version: Verify that your system is updated to a compatible version.
- Available USB Port: Check if your Mac has a USB 3.0 or USB-C port.
- System Configuration: Make sure your Mac has the necessary hardware configuration to support external hard drives.
- Power Source: Ensure your Mac is connected to a power source or has enough battery life during the setup process.
Whether you’re setting up your drive on an advanced MacBook Pro or a standard MacBook Air, these steps are the foundation for a successful installation. It’s also a good idea to have an idea of how much storage you’ll require for your tasks, so you can choose the right Toshiba Canvio model for your needs.
Connecting Toshiba Canvio to Mac
Before setting up your Toshiba Canvio external hard drive with your Mac, make sure you have a compatible USB cable and that your Mac is powered on.
Inspecting the Cable Connection
First things first, identify which USB cable came with your Toshiba Canvio. It’s likely a USB 3.0 with a micro B connector on one end to plug into the drive, and a USB type A connector on the other end for your Mac. If your Mac only has USB-C ports, you’ll need a USB-C to USB-A adaptor. Check the connections on both ends carefully. Make sure they’re secure and snug, with no wiggles.
Power and Status Indicators
Once you’ve connected the cable, look for an LED light on the Toshiba Canvio drive. This light is an indicator of power as well as data transfer. If it’s lit, your drive is getting power and is ready to go. The drive is plug and play, which means your Mac should recognize it without needing a complex setup. If the drive doesn’t appear, disconnect and then reconnect it. Make sure not to force the connectors; they should fit easily into the ports. When your Mac reads the drive, it may mount as ‘read-only’ if it’s not formatted correctly, which you can fix in Disk Utility.
Initial Disk Formatting
Setting up your Toshiba Canvio for Mac involves a crucial first step: formatting the drive. This ensures compatibility and optimal performance when storing files on your Mac.
Choosing the Correct Format
When selecting a file system format for your Toshiba Canvio drive, the choice hinges on how you plan to use the drive:
- APFS (Apple File System): Ideal for SSDs and flash drives; supports encryption, file snapshots, and space sharing.
- Mac OS Extended (Journaled), also known as HFS+: Recommended for older Macs or drives used with macOS versions prior to High Sierra.
For versatility across different operating systems, you might consider:
- exFAT: Works with both macOS and Windows without the size restrictions of FAT32.
- NTFS: Read-only on Mac by default but can be used for drives that will primarily interface with Windows.
Remember, the right format ensures your drive interacts well with your Mac.
Step-by-Step Formatting Guide
Follow these steps to format your Toshiba Canvio Basics drive for your Mac:
- Connect your Canvio drive to your Mac.
- Open Disk Utility: Find this in the Utilities folder, or search for it using Spotlight.
- Select Your Drive:
- Look for your Toshiba drive under the External section.
- Highlight the drive, ready for formatting.
- Initiate Format:
Click the Erase button.
In the dialog box that pops up, confirm your format choices:
FieldSelectionNameEnter a name for your driveFormatChoose APFS or Mac OS ExtendedSchemeSelect GUID Partition Map Erase: With everything set, click Erase again to start formatting.
Your Toshiba drive will now be prepped and ready for your Mac, making file storage and management seamless.
Toshiba Canvio Software for Mac
Setting up your Toshiba Canvio on a Mac involves installing the proper driver software, and configuring the backup software to ensure your data is protected.
Installing Driver Software
For Mac users, the NTFS file system that comes standard with Toshiba Canvio drives is not natively supported for write operations; Macs can only read NTFS drives. Therefore, you’ll need to install NTFS driver software to allow full read-write access. Detailed steps for installing this driver are typically provided either with the drive or on the Toshiba website. Once the driver is in place, you can manage files to and from the Canvio drive through Finder, just like any other drive.
Configuring Backup Software
Mac OS comes with a built-in backup solution called Time Machine. To ensure your Toshiba Canvio drive works with Time Machine:
- Connect your Toshiba Canvio drive to your Mac.
- Open System Preferences and select Time Machine.
- Click Select Backup Disk and choose your Toshiba Canvio drive.
- You may configure additional options or initiate a backup immediately.
Configuring backup software is straightforward, and you’ll only need to set it up once. Remember that regular backups are key to keeping your data safe. If you prefer, there is also a range of third-party backup software available that is compatible with Mac OS and can be used instead of or alongside Time Machine.
Frequently Asked Questions
This section answers common questions about setting up and troubleshooting a Toshiba Canvio external hard drive for use with a Mac.
How can I format my Toshiba Canvio external hard drive for Mac use?
To format your Toshiba Canvio for Mac, connect the drive to your Mac, open Disk Utility, select the drive, click the ‘Erase’ button, name your drive, choose either APFS or Mac OS Extended for the file system, select GUID Partition Map for the scheme, and press ‘Erase’ again.
What steps are required to initialize a Toshiba external hard drive on macOS?
First, connect the Toshiba external hard drive to your Mac. Open Disk Utility, found in the Utilities folder. Choose your Toshiba drive from the list, select ‘Erase,’ and follow the prompts to initialize the disk with the correct format for macOS.
Why isn’t my Toshiba external hard drive being recognized by my Mac, and how can I resolve it?
If your Mac doesn’t recognize your Toshiba external hard drive, check the USB port and cable for any issues, and try connecting to a different port. Restart your Mac with the drive connected. If the problem persists, the drive may need to be reformatted or it could potentially be a hardware issue requiring service.
Is it possible to use Toshiba Canvio external SSDs with both Mac and Windows systems?
Yes, Toshiba Canvio external SSDs can be used with both Mac and Windows systems. For seamless operation between the two, format the drive with the exFAT file system, which is compatible with both macOS and Windows.
How can I ensure my Toshiba Canvio will be compatible with macOS?
Ensuring compatibility requires formatting the Toshiba Canvio drive with a file system that macOS can read and write to, such as APFS or Mac OS Extended (Journaled). Use Disk Utility to format the drive accordingly.
Are drivers required for Toshiba external hard drives to work on a Mac, and where can I obtain them?
Generally, drivers are not needed for Toshiba external hard drives to work on a Mac as macOS supports them natively. If your hard drive does require a driver, it can typically be downloaded from Toshiba’s official website under their support section.