Knowing how to back up your Mac or MacBook is important to keep your files safe and protect you against failure, loss, or theft. The easiest way to backup a MacOS device (like Mac, iMac, Macbook, etc.) is to use Time Machine, the backup software provided by Apple. Time Machine is a critical tool you can use to protect your valuable data. You have options for backing up, including using built-in solutions like Time Machine and iCloud, or doing manual backups and using third-party tools. Regular backups are essential to make sure you can recover your data if something unexpected happens.
You can use Time Machine to back up to an external hard drive so you can quickly get everything back if something goes wrong. Using iCloud or other cloud services is another option to store your files online and access them from anywhere, keeping them safe if your MacBook is lost or broken.

Safeguarding Your Data: A Guide to Backing Up Your Mac
Time Machine: Your Built-in Backup Solution
Time Machine is Apple’s integrated backup feature, offering a hassle-free way to safeguard your data. It automatically creates hourly, daily, and weekly backups, allowing you to restore your entire system or individual files in case of data loss or accidental deletion.
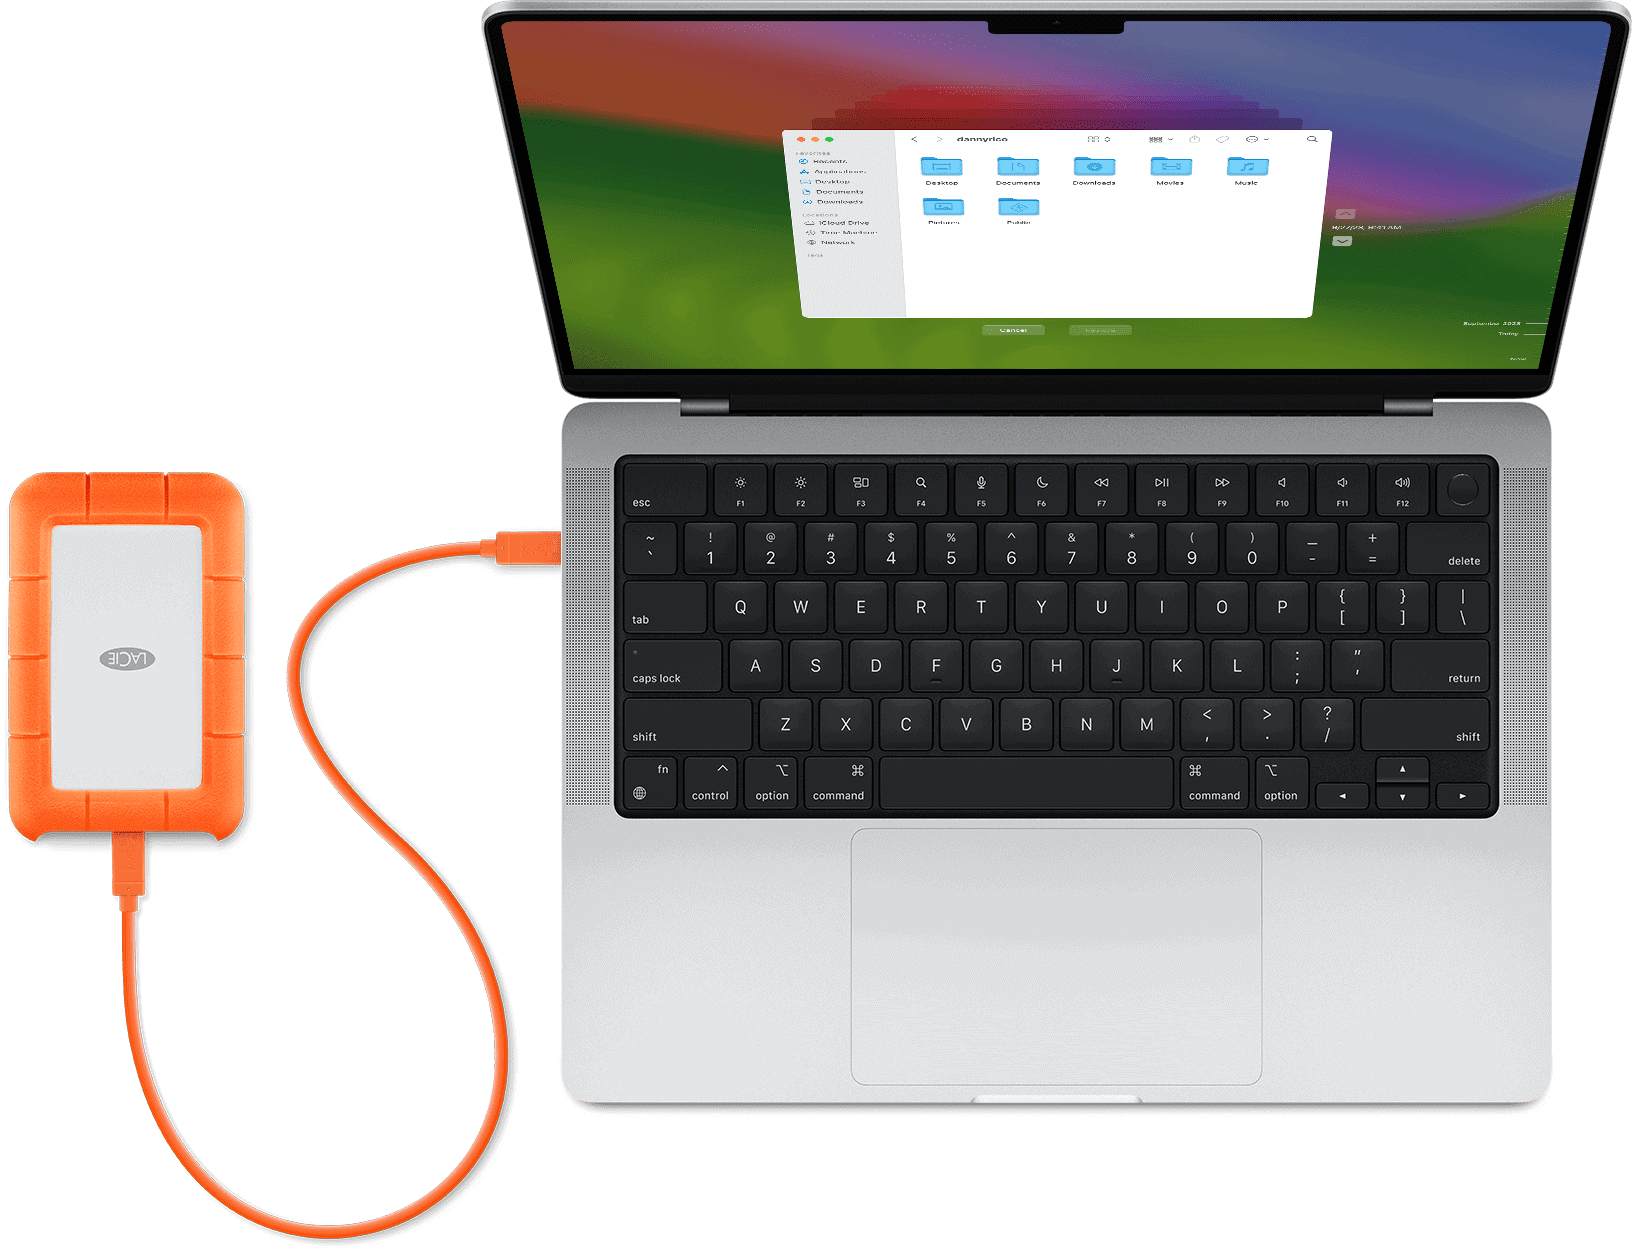
To get started, simply connect an external hard drive or network-attached storage (NAS) device with sufficient capacity. Time Machine will guide you through the initial setup and then take care of the rest, backing up your data in the background while you work.
iCloud: Cloud-Based Backup for Convenience
iCloud provides a seamless backup solution, keeping your data safe and accessible across all your Apple devices. It automatically backs up your photos, videos, documents, and other important files, allowing you to retrieve them anytime, anywhere.
While iCloud offers 5GB of free storage, you can upgrade to a larger plan for additional space. iCloud also enables syncing across devices, ensuring your data is always up to date, regardless of which device you’re using.
Manual Backups: A DIY Approach for Extra Security
For added peace of mind, consider creating manual backups of your important files. This involves copying them to an external hard drive or cloud storage service like Dropbox or Google Drive.
While not as automated as Time Machine or iCloud, manual backups provide an extra layer of protection, especially for critical files you can’t afford to lose.
Third-Party Backup Solutions: Explore Advanced Options
If you require more advanced backup features or want to customize your backup strategy, explore third-party backup solutions. These tools often offer features like:
- Incremental backups: Back up only the changes since the last backup, saving time and storage space.
- Encryption: Protect your backups with strong encryption to prevent unauthorized access.
- Scheduling: Set custom backup schedules to suit your needs.
- Cloud backup: Back up your data to remote servers for offsite protection.

Comparison of Backup Methods
| Method | Pros | Cons |
|---|---|---|
| Time Machine | Automatic backups, easy to set up and use, can restore individual files or the entire system | Requires an external hard drive or NAS device, can be slow for initial backups |
| iCloud | Convenient cloud-based backup, accessible across devices, automatic syncing | Limited free storage, might require a paid plan for larger backups |
| Manual Backups | Provides extra control and security, ideal for critical files | Requires manual effort and organization |
| Third-Party Solutions | Advanced features, customizable backup strategies | Additional cost, may require technical expertise |
Key Takeaways
- Time Machine makes backing up your MacBook easy
- External hard drives and cloud services are good backup options
- Regular backups protect your files from loss or damage
Setting Up Local Backup with Time Machine
Time Machine is a built-in tool for backing up your Mac. It’s easy to set up and helps keep your data safe. Let’s go through the steps to get it working.
Choosing Your Backup Drive
Pick an external drive for your backups. You can use an SSD or a regular hard drive. Make sure it has enough space for all your files. USB and FireWire drives both work well.
Plug the drive into your Mac. Your computer should see it right away. If not, check the connection.
Some drives are made just for Time Machine. These work great, but any drive will do. The bigger the drive, the more backups you can keep.
Configuring Time Machine Settings
Open System Settings on your Mac. Look for Time Machine in the list. Click on it.
Turn on the switch next to “Back Up Automatically”. This makes Time Machine work without you having to think about it.
Click “Add Backup Disk”. Pick your external drive from the list. Your Mac might ask to format the drive. This erases everything on it, so be careful.
You can choose to encrypt your backups. This keeps your data extra safe. You’ll need to make a password if you do this.
Initiating the Backup Process
Once you’ve set everything up, Time Machine starts working on its own. It will do its first backup soon.
The first backup takes a while. It copies all your files. Later backups are faster. They only copy what’s new or changed.
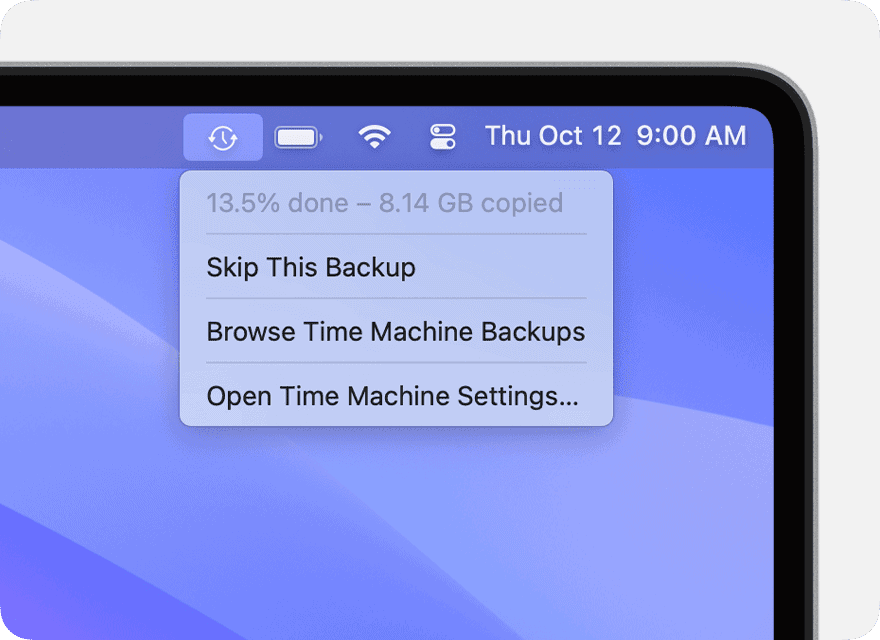
You can start a backup yourself too. Click the Time Machine icon in the menu bar. Choose “Back Up Now”.
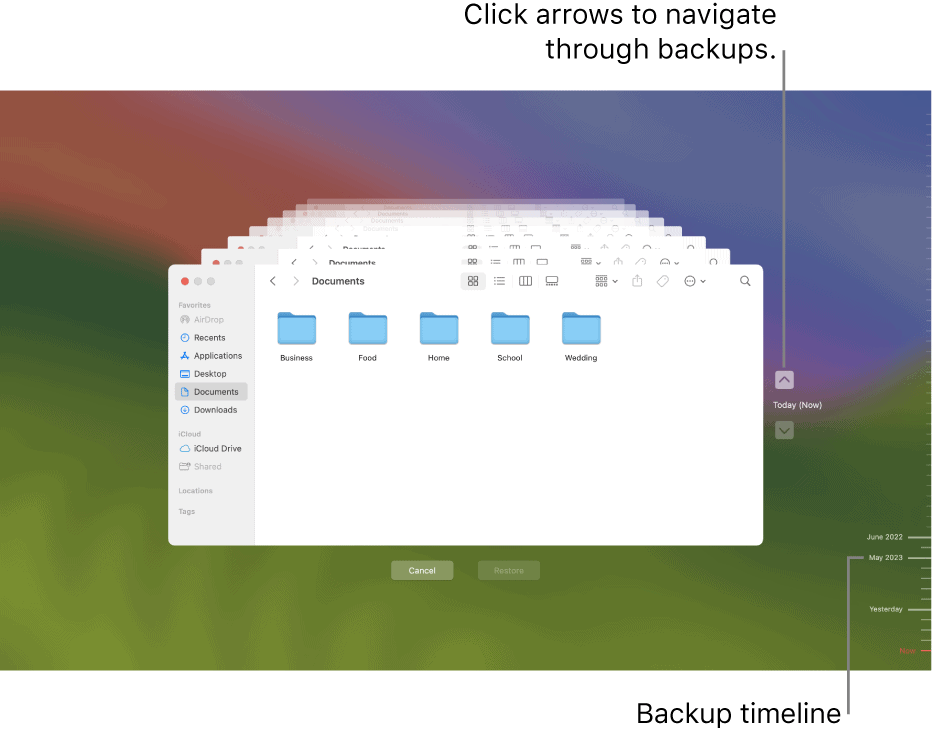
Time Machine keeps hourly backups for a day, daily backups for a month, and weekly backups for all older periods. It deletes old backups when it needs space.
You can see your backups by clicking “Enter Time Machine” in the menu. This lets you look at old versions of your files.
Exploring Cloud and Remote Backup Solutions
Cloud backups offer easy and secure ways to protect your MacBook data. They let you save files online and access them from anywhere.
iCloud and iCloud Drive Integration
iCloud is built into MacBooks. It backs up photos, contacts, and more. To use it:
- Open System Settings
- Click your Apple ID
- Select iCloud
- Choose what to back up
iCloud Drive stores files in the cloud. You can sync it across devices. To set it up:
- Open Finder
- Click iCloud Drive in the sidebar
- Drag files to back up
iCloud gives 5GB free storage. You can buy more if needed.
Selecting Third-Party Backup Software
Many apps can back up MacBooks to the cloud. Popular choices include:
- Backblaze: Backs up unlimited data for a yearly fee
- Dropbox: Syncs files across devices
- Google Drive: Offers 15GB free storage
To pick the best option:
- Check storage space
- Compare prices
- Look at security features
- Test free trials
Some apps work in the background. Others need manual backups.
Setting Up Online Backup Systems
Once you choose a backup service, set it up:
- Make an account
- Download the app
- Pick what to back up
- Start the first backup
This may take hours for lots of files. After that, it runs faster.
Set backups to run often. Daily is best for most users. You can also:
- Encrypt backups for extra safety
- Set upload speed limits
- Choose which Wi-Fi networks to use
Check your backups now and then. Make sure they’re working right.
Frequently Asked Questions
Backing up a MacBook is crucial for data safety. Several methods exist to protect your files and settings.
What are the steps to backup a MacBook Pro to an external hard drive?
- Connect the external hard drive to your MacBook Pro.
- Open Time Machine from System Preferences.
- Select the external drive as the backup disk.
- Click “Use Disk” to start the backup process.
Time Machine will now back up your files automatically.
How can one ensure their MacBook Air is fully backed up to iCloud?
- Go to System Preferences and click on Apple ID.
- Select iCloud in the sidebar.
- Check the box next to iCloud Drive.
- Click Options next to iCloud Drive.
- Select the items you want to back up.
Make sure your MacBook Air has enough iCloud storage space.
What methods are available for backing up a Mac without using Time Machine?
- Use cloud storage services like Dropbox or Google Drive.
- Manually copy important files to an external drive.
- Use third-party backup software like Carbon Copy Cloner.
Each method has its own pros and cons. Choose based on your needs.
How can a user verify that their Mac’s data is securely backed up to iCloud?
- Go to System Preferences and click on Apple ID.
- Select iCloud in the sidebar.
- Click “Manage” in the bottom right corner.
- Review the storage breakdown to see what’s backed up.
Check your iCloud settings to make sure all desired items are selected for backup.
What are the most effective strategies for performing a complete MacBook backup?
- Use Time Machine for regular, automatic backups.
- Create a bootable clone of your hard drive.
- Store important files in cloud storage.
- Keep multiple backups in different locations.
A mix of these strategies offers the best protection for your data.
What are the recommended procedures to back up a Mac before sending it for repair?
- Create a full Time Machine backup.
- Make a bootable clone of your hard drive.
- Sync important files to iCloud or another cloud service.
- Sign out of iCloud and other accounts.
- Disable Find My Mac.
These steps help protect your data while your Mac is being repaired.


