Changing your Apple ID can seem like a hassle, but it’s quite simple if you follow the right steps. First, you need to make sure you have your new email address ready and that it’s not already linked to another Apple ID. This ensures that you won’t run into any problems during the switch.
Next, go to the settings on your iPhone or iPad. Find the “iCloud” option and select it. Tap on the Apple ID at the top of the screen to see your account details. From there, follow the prompts to enter your new email address. Apple will send a verification code to the new email. Enter this code to complete the process.
If you have trouble during this process, remember that all the information stored in your iCloud and other Apple services will remain safe. Your purchases, photos, and backups won’t be affected even if you change the email address associated with your Apple ID.
Changing Your Apple ID
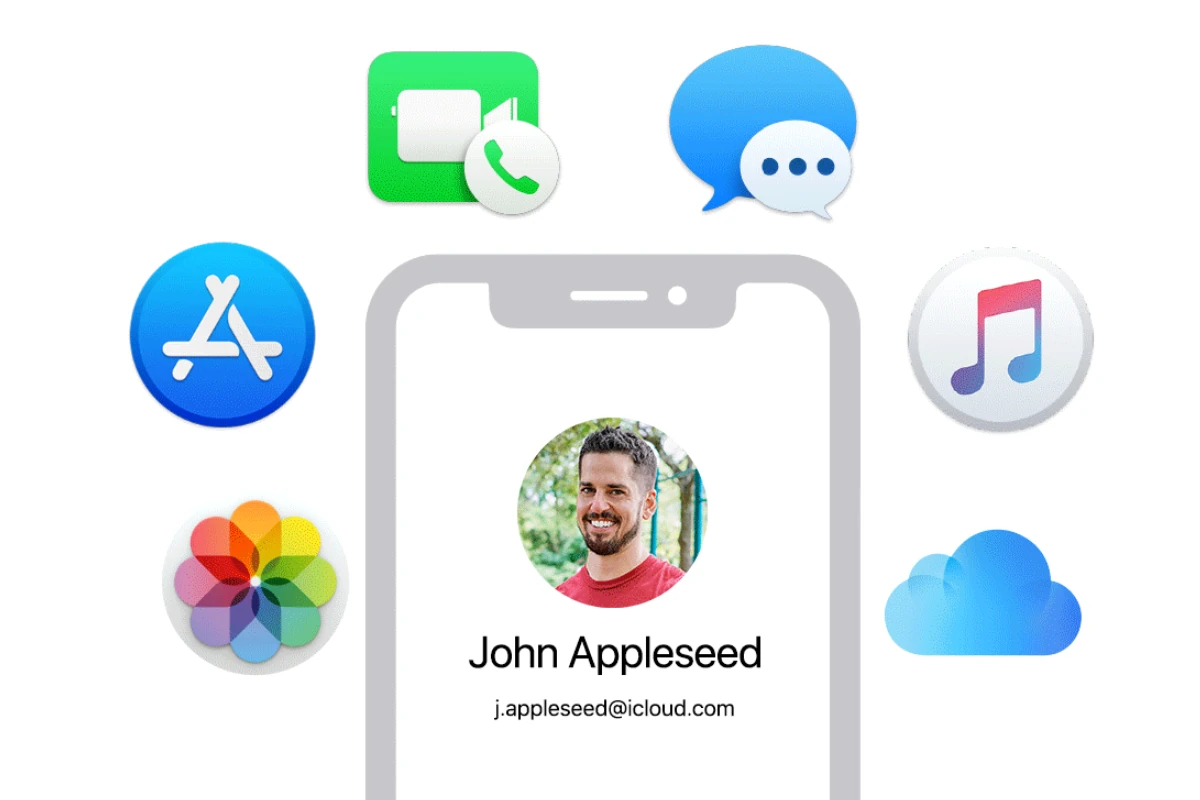
Your Apple ID is your key to the Apple ecosystem, used for everything from iCloud and the App Store to Apple Music and FaceTime. While you can’t completely change your Apple ID to a brand new one, you can update the email address associated with it. Here’s how:
Changing Your Apple ID Email Address
- Sign in to appleid.apple.com: Go to appleid.apple.com and sign in with your current Apple ID and password.
- Go to “Sign-In and Security”: In the “Sign-In and Security” section, click on “Apple ID.”
- Enter your new email address: Type in the new email address you want to use for your Apple ID.
- Click “Change Apple ID”: Click the “Change Apple ID” button to proceed.
- Verify your new email address: Apple will send a verification code to the new email address you provided. Enter the code to confirm the change.
Important Notes
- Sign Out Everywhere: Before changing your Apple ID email, sign out of all Apple services and devices connected to your account. This includes iCloud, the App Store, iTunes, iMessage, FaceTime, and any other Apple services you use.
- Update Your Devices: After changing your Apple ID, you’ll need to sign back in to all your devices using the new email address.
- iCloud Email: If you want to change your iCloud email address (the @icloud.com address), you’ll need to do that separately within your iCloud settings.
- Can’t Change to an Existing Apple ID: You cannot change your Apple ID to an email address that is already associated with another Apple ID account.
Troubleshooting
- Verification Email Not Received: Check your spam or junk folder. If you still can’t find it, you can request another verification email from the Apple ID website.
- Can’t Sign Out of Devices: If you can’t sign out of all your devices, you may need to contact Apple Support for assistance.
Why Change Your Apple ID Email?
- Updated Email Address: You might have a new primary email address that you prefer to use.
- Security Concerns: If you suspect your current Apple ID email has been compromised, changing it can improve your account security.
- Account Consolidation: You might want to consolidate multiple Apple IDs into one account.
Key Takeaways
- Prepare by ensuring your new email address is ready and valid
- Change your Apple ID through the settings on your iPhone or iPad
- Enter the verification code sent to your new email
Preparing to Change Your Apple ID
Before you change your Apple ID, it’s essential to understand its significance, check your device compatibility, and secure your data. This preparation ensures smooth transitions and prevents data loss.
Understanding Apple ID and Its Importance
Your Apple ID is the account you use for everything on Apple services. This includes iCloud, iTunes, App Store, and others. It allows you to sync data across devices.
An Apple ID can be an email address ending with icloud.com, me.com, or mac.com. Remember your security questions and answers. These help you recover access to your account if you forget your password.
Understanding what your Apple ID does helps you appreciate why it’s necessary to handle it carefully. It’s the key to accessing important information across all Apple devices.
Checking Device Compatibility and Requirements
It’s important to ensure your devices are compatible with the latest Apple software. Your iPhone or iPad should run the latest iOS version. Go to Settings > General > Software Update to check and update your software.
Your Apple ID should be properly set up on each device. This includes making sure your email account linked to the Apple ID is accessible. This can prevent issues when changing your Apple ID.
Ensure two-step verification is set up if you use it, as this adds an extra layer of security. Compatibility checks prevent issues during the change process.
Securing Your Data Before Making Changes
It’s crucial to back up your data before changing your Apple ID. Use iCloud to back up important data like contacts, photos, and app data. Go to Settings > [Your Name] > iCloud > iCloud Backup, then tap Back Up Now.
Update family members or anyone who shares apps, music, or other data with you about the change. This ensures they aren’t affected during the process.
Double-check all information linked to your Apple ID, such as email accounts and payment methods. This ensures a smooth transition without losing access to important data or services.
Changing Your Apple ID
Changing your Apple ID on your devices is a straightforward process. You’ll need to update your email and contact information, and at times, troubleshoot common issues that might arise during the update.
Steps to Update Your Apple ID on Apple Devices
First, go to the Settings app on your device. Tap your name at the top of the screen. Choose Sign In & Security, then select Email & Phone Numbers.
Tap Edit next to the current email you want to change. Tap the red Remove button, then confirm by tapping Delete. You’ll need to enter your Apple ID password if prompted.
After removing the old email, tap Add Email. Enter the new email address, then input your device passcode if asked. A verification code will be sent to your new email. Use this code to complete the update.
Updating Email and Contact Information
Open Settings and tap your name. Go to Name, Phone Numbers, Email.
Tap Edit next to Reachable At. Add a new email address and delete the old one by tapping the red Remove button. Confirm by tapping Delete.
To update your phone number, follow similar steps. Tap Edit next to Phone Number and then tap Remove before adding the new number.
After changing the email or phone number, you’ll receive a verification code. Enter this code to confirm. Always make sure the new contact information is correct to avoid issues later.
Troubleshooting Common Issues During the Update
If you face problems, start by checking your internet connection. A weak connection can cause verification issues.
Sometimes, the system may ask for two-factor authentication. Ensure you have a trusted device nearby.
If the verification code doesn’t come through, try resending it. Also, check your spam or junk folders.
Should your device still refuse the update, restarting might help. If problems persist, contacting Apple Support is recommended. They can help resolve more complex issues.
By following these steps, updating your Apple ID should be a smooth process.


