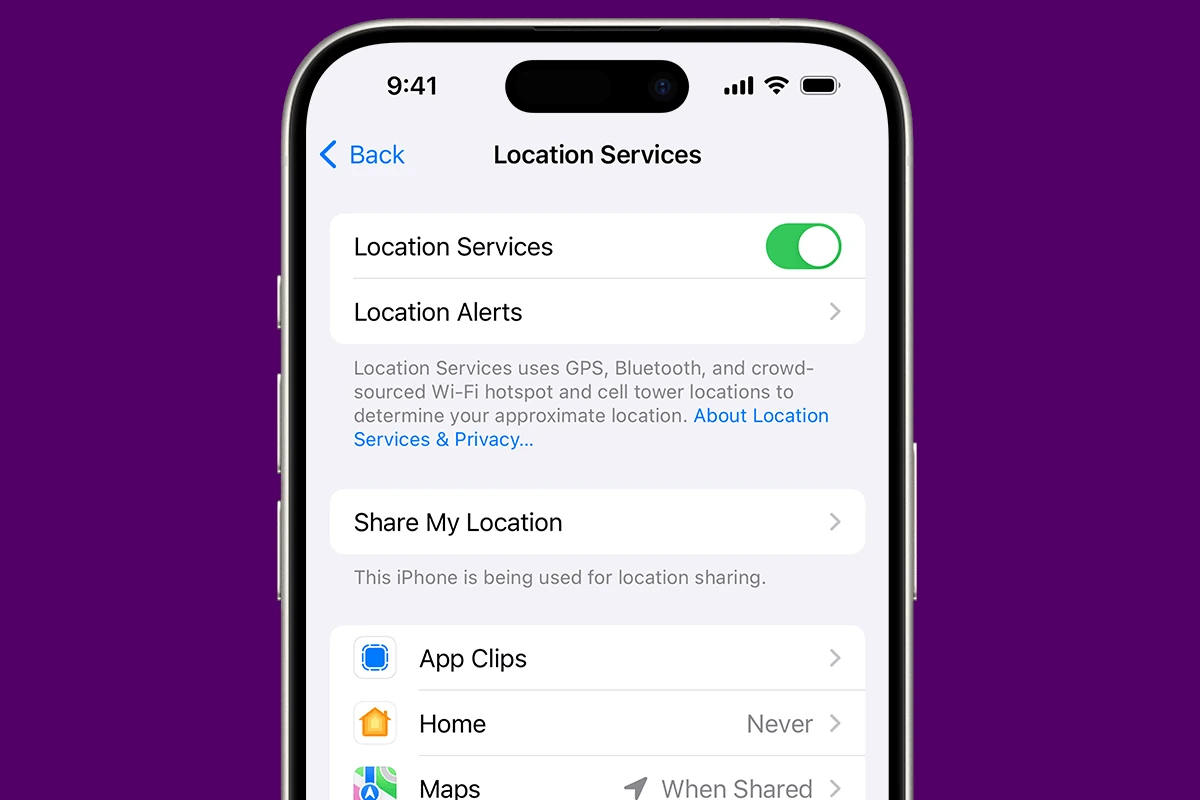
Many iPhone users are interested in reviewing their location history for various reasons, ranging from revisiting travel spots to monitoring their digital privacy. iPhones record location data in several ways, which can prove useful for both functional and security purposes. Understanding how to manage and review this data can help users maintain control over their privacy and make more informed decisions about the apps they allow to access their location information.
Accessing the location history on an iPhone involves navigating the built-in privacy settings and familiarizing oneself with the system’s location services. Users can view significant locations, manage app permissions for location access, and even disable tracking completely for specific apps or services. Transparency in location data helps users stay informed about which parts of their data are being used and how to adjust these settings to fit their privacy preferences.
A Guide to iPhone Location History
Unveiling Your iPhone’s Location Secrets: Significant Locations
Your iPhone keeps track of places you visit often, labeling them “Significant Locations.” This feature helps personalize your experience with location-based suggestions and reminders. To view these locations:
- Go to Settings.
- Tap Privacy & Security.
- Tap Location Services.
- Scroll down and tap System Services.
- Tap Significant Locations.
You’ll find a list of places you’ve been, along with dates and times. You can tap on a location to view it on a map or clear your history if you wish.
The Time Machine of Your Travels: Google Timeline
If you use Google Maps, your location history might be stored in your Google Timeline. This feature creates a detailed map of where you’ve been and when. To access your Timeline:
- Open the Google Maps app.
- Tap your profile picture.
- Tap Your Timeline.
- Choose a date to view your movements for that day.
Other Clues in Your Digital Trail
Apart from Significant Locations and Google Timeline, other apps and services may also store your location data. These include:
- Photos: Check the metadata of your photos for location information.
- Find My: If you share your location with friends or family, they might be able to see your history.
- Third-party apps: Some apps request permission to access your location and may keep a record of your movements.
Managing Your Location Privacy
If you’re concerned about your privacy, you can adjust your iPhone’s settings to limit location tracking:
- Disable Location Services: Go to Settings > Privacy & Security > Location Services and turn off the toggle.
- Disable Significant Locations: Go to Settings > Privacy & Security > Location Services > System Services and turn off Significant Locations.
- Review app permissions: Regularly review the permissions of your apps and disable location access for those that don’t need it.
Remember, being mindful of your location settings is crucial for protecting your privacy in the digital age.
Key Takeaways
- iPhones store location data that can be managed for privacy.
- Location services on iPhones offer detailed history and control.
- Disabling location tracking for apps is straightforward on iOS.
Enabling and Accessing Location History
Knowing how to enable and check your iPhone’s location history can be useful for remembering places you have visited and tracking your movements. This section explains the steps to turn on relevant settings and view your location data.
Turning On Location Services
To use location-based features on your iPhone, you must first enable Location Services. Go to the Settings app, tap Privacy, and then select Location Services. Here, you can switch on Location Services by toggling the button to green. This action allows apps like Apple Maps to use data from GPS, Wi-Fi, and cellular networks to determine your device’s location.
Viewing Significant Locations
Once Location Services are active, you can view your Significant Locations. This is a list of places you’ve frequently visited, compiled by your iOS device. To access this list, navigate to the Settings app, choose Privacy, tap Location Services, then select System Services, and finally tap on Significant Locations. You may need to authenticate with Face ID or Touch ID to view this data. Here you can see the history or clear it as needed.
Using Find My App to View Location Data
To check on the recent location of your Apple devices, use the Find My app. The app allows you to view the current or last known location of your iPhone. Open Find My, tap the Devices tab, and select your iPhone from the list. It will show the device’s location on a map. If the device is offline, you’ll see its last known location.
Managing and Understanding Location Data
When managing location data on an iPhone, users can review details, clear their history, and adjust privacy settings to ensure personal information remains secure.
Reviewing Location Data Details
Users can find location data details in the ‘Location Services’ section of their device settings. Details such as dates, times, and places visited are provided in the ‘System Services’ sub-section. This is where users often find ‘Significant Locations’, which records frequent places visited. They can also see location data in the Google Maps app by viewing the Google Maps timeline.
Clearing Location History
To delete location history, users have two options. They can either go to the ‘System Services’ section mentioned earlier and clear history, or they can manage it in the Google Maps app. Within Google Maps, tapping ‘Settings’, then ‘Location History’ and ‘Manage history’ allows them to delete all location data or just specific entries.
Adjusting Privacy and Security Settings
Protecting location data is crucial for privacy. Users can turn off location services completely to prevent tracking. For individual apps, toggling the location access to ‘Never’ or ‘While Using the App’ is possible. To secure location settings, users should use features like Face ID or a passcode. This ensures that only they can authorize changes to these settings.


