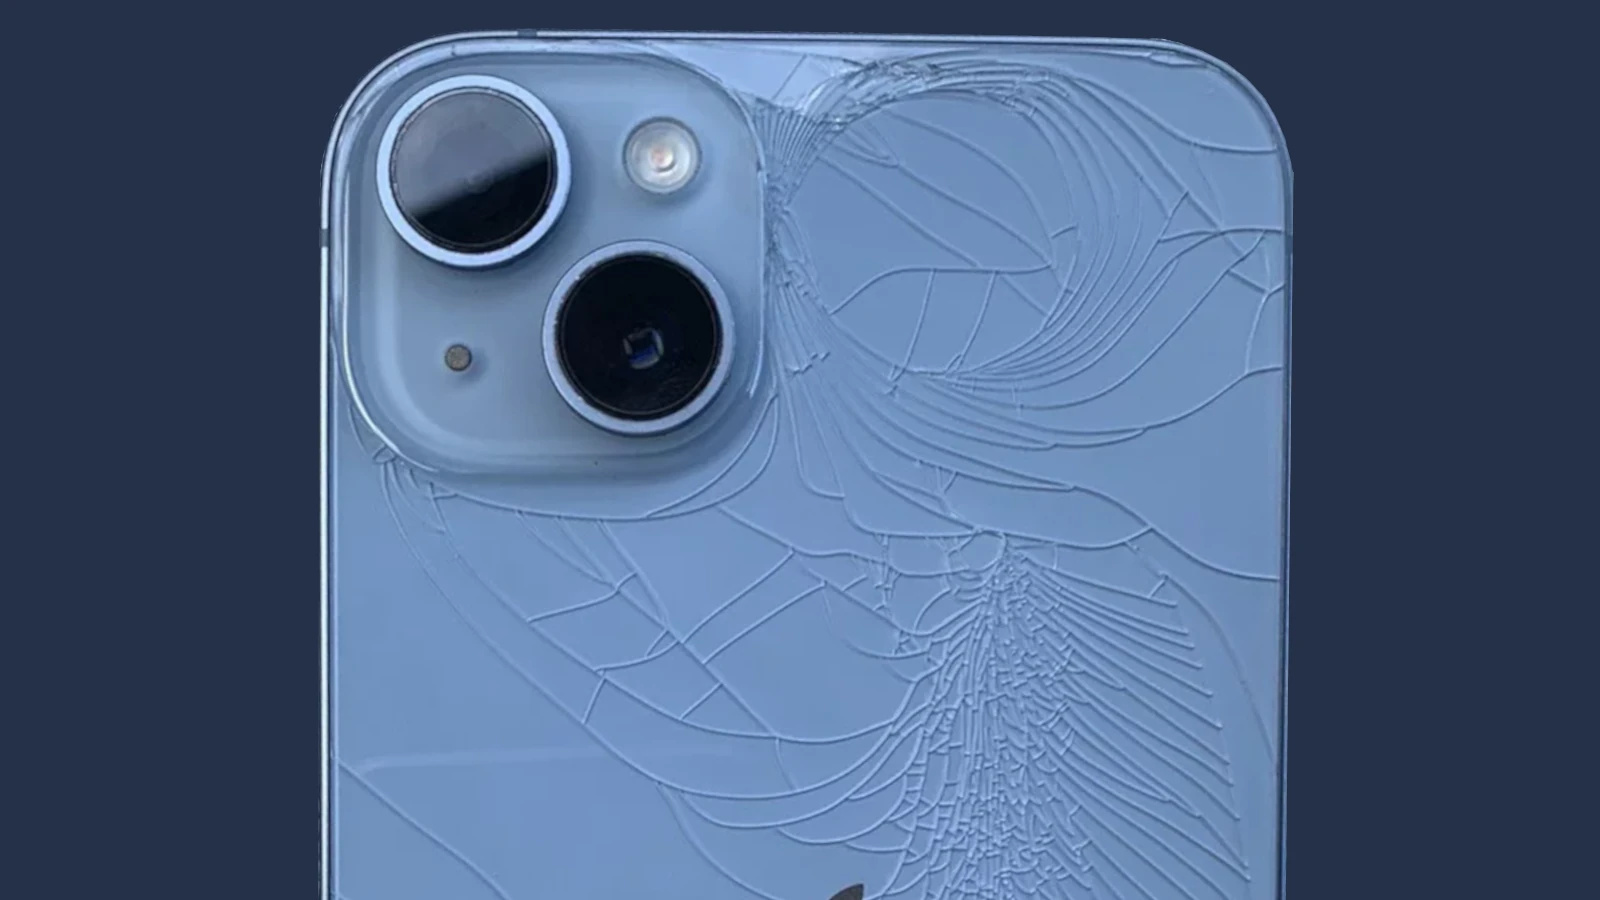
The iPhone 14 brings a welcome change for users who have experienced the frustration of cracked back glass. Apple has redesigned the iPhone 14 and 14 Plus models with removable back glass, making repairs easier and more affordable. This new design marks a shift from previous models where replacing the back glass was a complex and costly process.
Users can now breathe a sigh of relief knowing that repairing a broken back glass on their iPhone 14 or 14 Plus won’t break the bank. The cost for out-of-warranty repairs has dropped significantly to $149 for the standard model and $199 for the Plus model. This price reduction makes it more feasible for users to fix their devices rather than replacing them entirely.
While the iPhone 14 Pro and Pro Max still use the older glued-in design for back glass replacement, the standard and Plus models offer a more user-friendly approach. This change not only benefits consumers but also aligns with Apple’s efforts to make their products more repairable and sustainable.
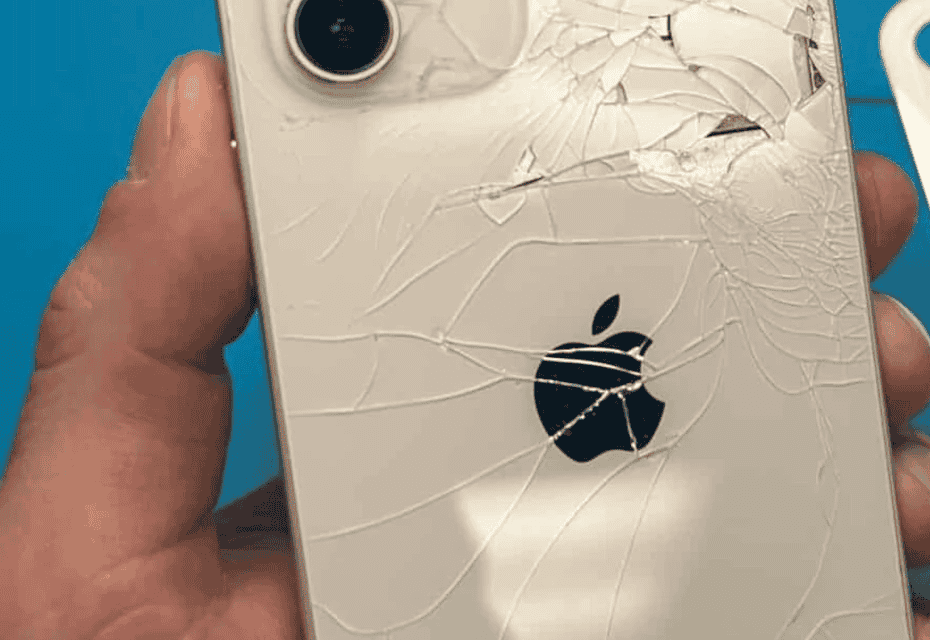
How to Replace Your iPhone 14 Back Glass
The back glass on your iPhone 14 is beautiful. But it can also be fragile. Accidents happen, and you might find yourself with a cracked or shattered back glass. While replacing the back glass yourself can be tricky, it’s definitely possible. This guide will walk you through the process.
What You’ll Need
Before you begin, gather the following tools and materials:
- A replacement back glass panel for your iPhone 14 model
- Strong adhesive
- A heat gun or hair dryer
- Suction cups
- Plastic prying tools
- Screwdrivers (check ifixit.com for the exact types you’ll need)
- Isopropyl alcohol
- Microfiber cloths

Getting Started
Find a clean, well-lit workspace. A soft mat can protect your phone during the repair. Power off your iPhone completely to avoid any electrical damage.
Removing the Old Back Glass
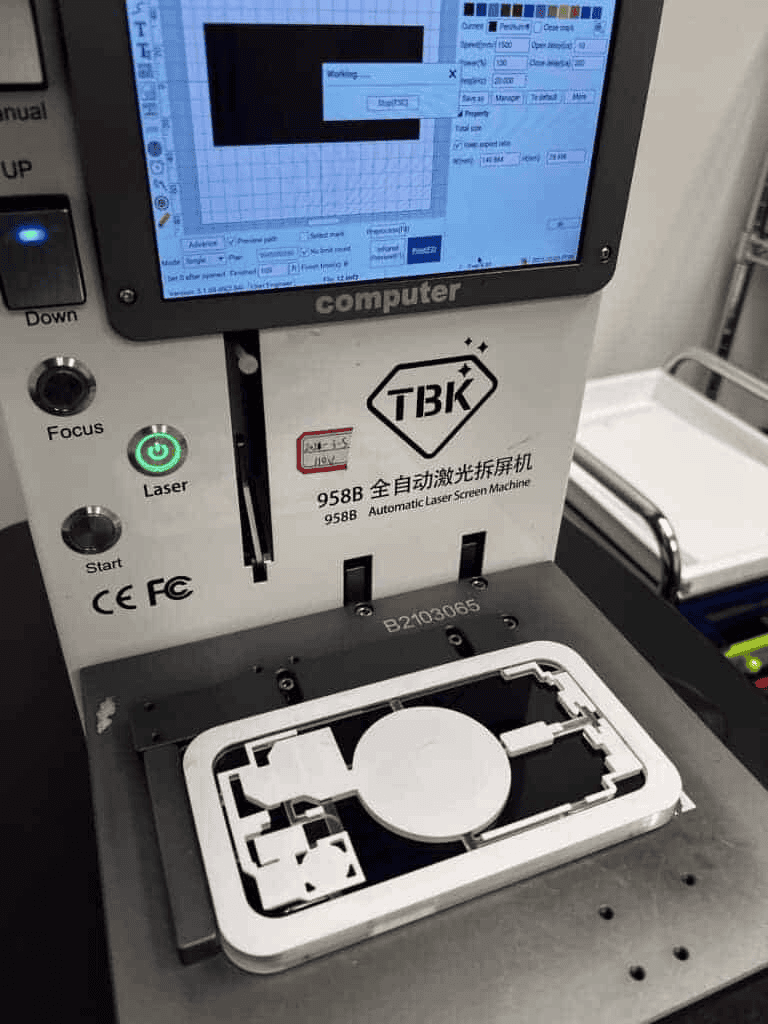
- Use a heat gun or hair dryer to gently warm the back glass. This will loosen the adhesive.
- Carefully attach suction cups to the back glass.
- Use plastic prying tools to slowly separate the glass from the phone’s frame. Be patient to avoid cracking the glass further.
- Once the glass is removed, use a plastic scraper to remove any leftover adhesive from the frame.
- Clean the frame with isopropyl alcohol and a microfiber cloth.
Installing the New Back Glass
- Apply adhesive to the new back glass, following the instructions provided.
- Carefully align the new back glass with the phone’s frame.
- Press the new back glass firmly onto the frame.
- Use clamps or weights to hold the glass in place while the adhesive dries.

Finishing Up
If you removed any screws or parts, put them back in place. Power on your iPhone and check that the new back glass is secure and working properly.
Tips for Success
- Refer to online resources like iFixit for detailed guides and videos specific to your iPhone 14 model.
- Take your time and work carefully. The internal parts of your iPhone are delicate.
- If you’re unsure about any step, consider taking your phone to a professional repair shop.
| Step | Description | Tips |
|---|---|---|
| Preparation | Gather tools, power off iPhone | Organize your workspace |
| Removing Old Glass | Apply heat, use suction cups and pry tools | Be patient, avoid cracking the glass |
| Cleaning | Remove old adhesive, clean the frame | Ensure a clean surface for the new glass |
| Installing New Glass | Apply adhesive, align and attach new glass | Follow adhesive instructions, apply even pressure |
| Finishing | Reassemble phone, power on and test | Check for proper fit and functionality |
Key Takeaways
- iPhone 14 and 14 Plus feature removable back glass for easier repairs
- Out-of-warranty back glass replacement costs are now significantly lower
- The new design promotes repairability and sustainability for Apple products
Repair Process and Considerations
Replacing the back glass on an iPhone 14 requires careful steps and proper tools. The process involves assessment, disassembly, and installation of the new glass panel.
Assessment and Preparation
Before starting the repair, check the extent of damage to the back glass. Gather the needed tools: a suction cup, opening pick, screwdriver set, and replacement adhesive. Use genuine Apple parts or high-quality alternatives for best results.
Heat is key to soften the adhesive. A hair dryer or heat gun works well. Apply heat evenly around the edges of the back glass. This makes removal easier and reduces the risk of further damage.
Have a clean, well-lit workspace ready. Lay out your tools and keep spare parts handy. Protect the work surface with a soft cloth to prevent scratches.
Disassembly and Back Glass Removal
Start by powering off the iPhone 14. Use the suction cup to create a small gap at the edge of the back glass. Slide an opening pick into this gap and move it around the edges to separate the glass.
Carefully lift the back glass, watching for any cables or components attached to it. The charging coil and rear microphone may be connected. Gently disconnect these if needed.
Remove any leftover adhesive from the frame. A plastic spudger or credit card can help scrape it off without damaging the phone’s internals.
Installing the New Back Glass
Clean the phone’s frame thoroughly. Apply new adhesive strips or liquid adhesive to the frame. Be precise to ensure a proper seal.
Align the new back glass carefully. Start from one edge and press down firmly. Work your way across the panel, applying even pressure to activate the adhesive.
Reconnect any detached components like the charging coil. Double-check all connections before sealing the phone completely.
Let the adhesive cure for several hours before using the phone. This ensures a strong bond and prevents water damage.
Frequently Asked Questions
iPhone 14 back glass replacement involves costs, service options, and DIY possibilities. Repair procedures vary between models. Some key points are outlined below.
What is the estimated cost for replacing the back glass on an iPhone 14?
Out-of-warranty back glass repair for iPhone 14 costs $149. This price is much lower than previous models. Apple’s service page lists this cost for back glass damage repairs.
Where can I get my iPhone 14 back glass replaced?
Apple Stores and authorized service providers offer back glass replacement. Many third-party repair shops also provide this service. uBreakiFix by Asurion is one option that includes a 1-year limited warranty.
Are there DIY options for iPhone 14 back glass replacement?
DIY repair is possible for the iPhone 14. The device has a removable back panel. This design makes it easier to replace the back glass at home. However it requires care and the right tools.
What is the difference in price for back glass replacement between iPhone 14 models?
Price differences for back glass replacement between iPhone 14 models are not clearly stated. The $149 cost applies to the base iPhone 14 model. Prices may vary for Pro and Pro Max versions.
What are the recommended steps for replacing the back glass of an iPhone 14?
iFixit’s guide for iPhone 14 rear glass replacement includes these steps:
- Power off the device
- Remove the bottom screws
- Open the phone from the back
- Disconnect the battery
- Remove the old glass
- Install the new glass
The guide notes that the rear glass includes the charging coil and rear microphone.
Can the back glass of an iPhone 14 be repaired, or does it require full replacement?
Full replacement is the standard method for iPhone 14 back glass issues. Repair of cracked or damaged back glass is not typically offered. The entire panel is replaced to ensure proper function and appearance.

