AirPods Pro have changed the way we listen to music by offering wireless listening and active noise cancellation. The silicone ear tips are a vital part of the design, as they seal the ear canal for a better listening experience. Over time, these ear tips may wear down or become uncomfortable. This means you may need to replace the ear tips to keep the audio quality and comfort at their best. Properly fitted ear tips are important for getting the most out of your AirPods Pro.
This guide will show you how to replace your ear tips, choose the right size, and keep them clean for the best performance. Replacing the ear tips of AirPods Pro is simple, helping you to keep your earbuds in great condition. The ear tips come in different sizes to fit different ear shapes, ensuring a snug fit that improves noise cancellation and bass response. It’s important to select the correct size for your ears and attach the replacement tips properly to avoid them detaching during use or affecting the sound quality.

Replacing Your AirPods Pro 2 Ear Tips: A Simple Guide
Why Replace Your Ear Tips?
Replacing your ear tips is crucial for optimal comfort, sound quality, and noise cancellation. Worn-out tips lose their seal, leading to sound leakage and reduced noise cancellation effectiveness. Fresh tips ensure a snug fit and the best possible audio experience.
Signs You Need New Tips
- Discomfort: If your AirPods Pro 2 feel loose or uncomfortable, it’s likely time for new tips.
- Poor Sound Quality: Noticeable changes in sound quality, such as reduced bass or muffled audio, can indicate worn tips.
- Reduced Noise Cancellation: If external noise seems louder than usual, your tips might not be forming a proper seal.
Choosing the Right Size
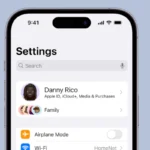
Apple includes three sizes of ear tips with AirPods Pro 2: small, medium, and large. Use the Ear Tip Fit Test in your iPhone’s Bluetooth settings to find the perfect size for your ears.

How to Replace Ear Tips
- Remove old tips: Gently pull the current ear tip off each AirPod.
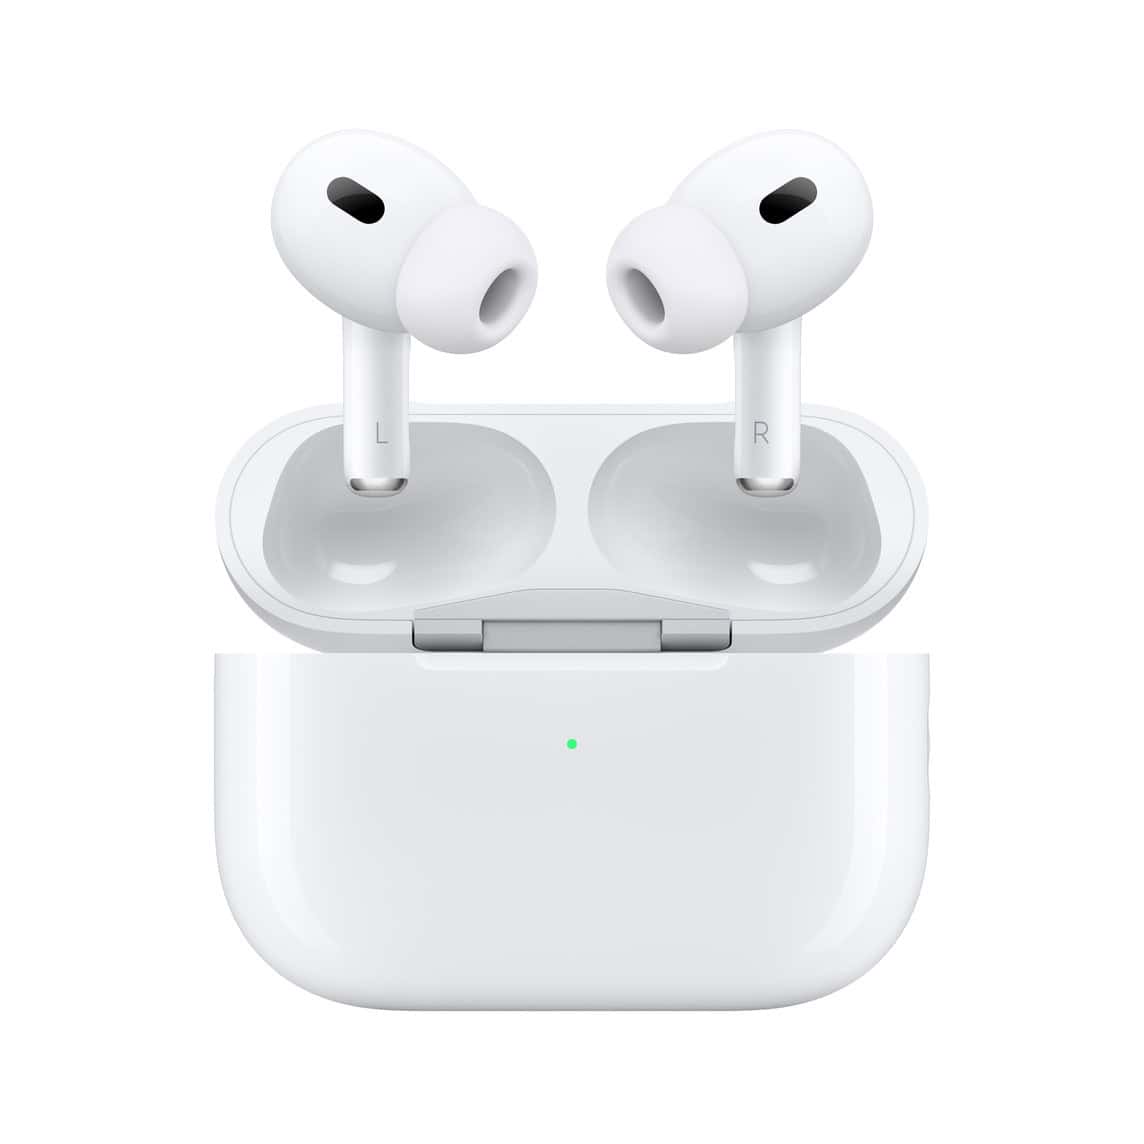
- Align new tips: Match the oval connector on the new tip with the oval-shaped port on the AirPod.
- Push and click: Firmly push the new tip onto the AirPod until you hear a click.
- Repeat: Repeat the process for the other AirPod.
Cleaning Your Ear Tips
Clean your ear tips regularly with a soft, dry, lint-free cloth. If needed, dampen the cloth with a small amount of water. Avoid using soap or other cleaning solutions.
Third-Party Ear Tips
Consider third-party ear tips for alternative materials and designs. Foam tips, for example, offer enhanced comfort and noise isolation for some users.
Key Takeaways
- AirPods Pro ear tips play a vital role in sound quality and user comfort.
- Replacing the ear tips is an easy process and ensures a better listening experience.
- Choosing the correct size and fitting the ear tips securely are crucial steps.
AirPods Pro Ear Tips Replacement Guide
Replacing ear tips on your AirPods Pro can enhance comfort and sound quality. This guide provides a step-by-step approach to help you select and install replacement tips efficiently.
Understanding AirPods Pro Ear Tips
The AirPods Pro come with uniquely designed silicone tips in three sizes: small (S), medium (M), and large (L). These tips are crucial for achieving a good seal in the ear canal, which is essential for optimal noise isolation and sound delivery. Due to their design, Apple’s silicone ear tips offer a balance of comfort and durability, contributing to the overall audio experience.
Selecting the Right Replacement Tips
When selecting replacement ear tips for AirPods Pro, it’s important to pick the right size for your ears. The correct fit will ensure a secure and comfortable seal. Apple provides a Fit Test on iOS and iPadOS devices to help gauge which size offers the best seal. In addition to silicone options, third-party brands like Comply and Foam Masters produce memory foam tips that adapt to the contours of your ear canal for enhanced comfort and seal.
Executing the Replacement Process
Replacing the ear tips on your AirPods Pro involves a simple process:
- Remove the old tips by gently pinching the base and pulling them away from the earbuds.
- Clean the earbuds’ surface to ensure no debris will get trapped.
- Align the new tips with the black stripe on the earbuds. Size indicators (S, M, L) help you match the tips to the correct earbud.
- Push the new tips onto the AirPods Pro until they snap into place.
Troubleshooting and Tips
After replacement, if you experience discomfort or poor sound quality, consider the following:
- Re-try the Fit Test to verify the seal of the newly installed tips.
- If the ear tips fall out or cause pressure pains, switch to a different size or material.
- Regularly clean the ear tips to maintain good hygiene and prevent any buildup that could affect performance.
- Avoid using excessive force when replacing or removing the tips, as it may cause accidental damage to the earbuds.
Where to Buy and Customer Support
Replacement ear tips can be purchased from the Apple Store, authorized retailers, or directly from third-party manufacturers. Pricing varies based on brand and material quality. You can obtain support and inquire about warranty coverage by contacting Apple Support or visiting apple.com. When ordering online, consider shipping costs and tax implications, which may vary depending on your location within the United States.