Confirming actions on your iPhone using AssistiveTouch can make the process smoother and more accessible. By enabling this feature, users can navigate their devices with ease, reducing the need for physical button presses. This functionality is especially useful when performing actions like confirming payments or installing apps.
AssistiveTouch provides a unique way to interact with your iPhone or iPad. To use it, you need to enable AssistiveTouch in settings. Once activated, users can access a virtual button that mimics hardware functions. This feature helps perform tasks with simple taps, making your device more user-friendly.
Customizing AssistiveTouch can further enhance your experience. You can set specific actions, such as device control or confirming Apple Pay transactions, making everyday tasks simpler. By tailoring AssistiveTouch to your preferences, your iPhone becomes even easier to use.
Using Confirm with AssistiveTouch
AssistiveTouch is a useful accessibility feature on Apple devices, allowing for easier navigation and control. It’s particularly beneficial for users who have difficulty touching the screen or pressing physical buttons. One of its key functions is the ability to confirm actions, enhancing the overall usability of the device.
Enabling Confirm with AssistiveTouch
To enable this feature on your Apple Watch, follow these steps:
- Open the “Settings” app.
- Go to “Accessibility” > “AssistiveTouch.”
- Tap on “Confirm with AssistiveTouch” and then “Continue.”
- Double-click the side button and enter your passcode.
- Double-click the side button again to confirm.
For iPhone users, the process is similar:
- Open “Settings.”
- Navigate to “Accessibility” > “Touch” > “AssistiveTouch.”
- Toggle on “AssistiveTouch.”
- Under “Custom Actions,” select “Single-Tap,” “Double-Tap,” or “Long Press.”
- Choose “Confirm” from the list of available actions.
Using Confirm with AssistiveTouch
Once enabled, you can confirm actions in a variety of ways depending on your device and settings:
Apple Watch
- Double-click the side button: This is the default action after enabling the feature.
- Custom gestures: Assign a specific gesture, such as a clench or a double clench, to confirm actions.
iPhone
- Single-tap, double-tap, or long press: Perform the assigned action on the AssistiveTouch menu button.
- Face ID: On iPhones with Face ID, use AssistiveTouch to confirm payments instead of double-clicking the side button.
Benefits of Confirm with AssistiveTouch
| Benefit | Description |
|---|---|
| Enhanced Accessibility | Makes it easier for users with limited mobility or dexterity to confirm actions. |
| Increased Security | Provides an alternative way to confirm actions, adding an extra layer of security. |
| Customizable Actions | Allows users to tailor the confirmation method to their specific needs and preferences. |
With Confirm with AssistiveTouch, Apple devices become more accessible and user-friendly, catering to a wider range of individuals and their unique requirements.
Key Takeaways
- AssistiveTouch simplifies device navigation.
- Customizing AssistiveTouch allows for accessible control.
- Enabling AssistiveTouch enhances usability.
Enabling and Understanding AssistiveTouch
AssistiveTouch is a powerful tool in iOS that helps users navigate their devices more easily. This feature provides virtual buttons and gestures on the screen, allowing you to perform actions without using physical buttons.
Accessibility Features in iOS
Apple designed many accessibility features to help users with different needs. AssistiveTouch helps people who have trouble using the hardware buttons on their iPhone, iPad, or iPod touch.
You can use it to perform tasks like returning to the Home screen, accessing Control Center, and managing settings. This feature is available on all modern Apple devices. It’s found within the Accessibility settings. It’s a key part of making the device easier to use for everyone.
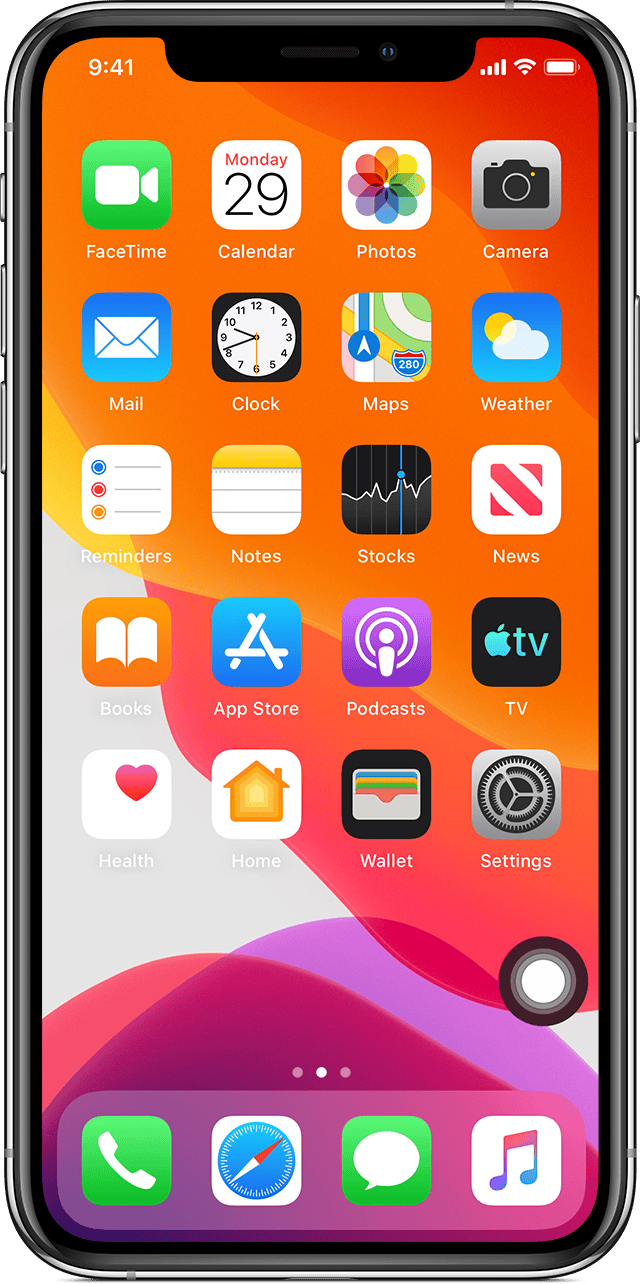
Activating AssistiveTouch on Your Device
To activate AssistiveTouch, go to the Settings app. Navigate to Accessibility. Select Touch, then tap AssistiveTouch. Turning it on will place a virtual Home button on your screen.
You can also ask Siri to turn on AssistiveTouch for you by saying, “Hey Siri, turn on AssistiveTouch.” This is handy if you have trouble navigating the settings. You can also customize the actions for single-tap, double-tap, and long press within the AssistiveTouch settings. These custom actions help you personalize how you use your device.
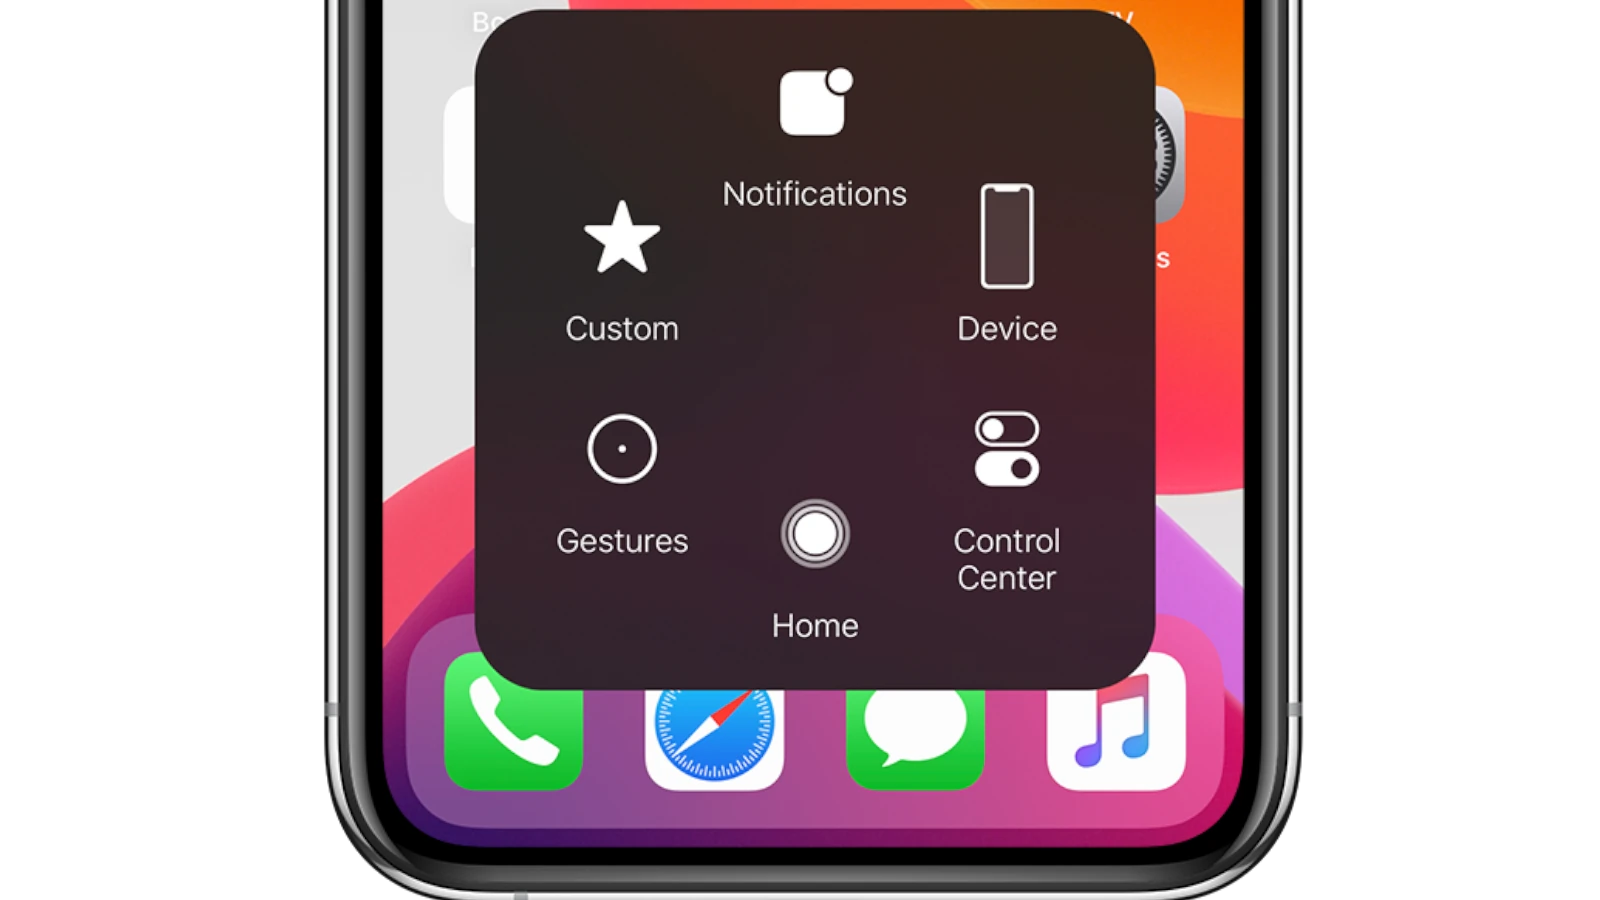
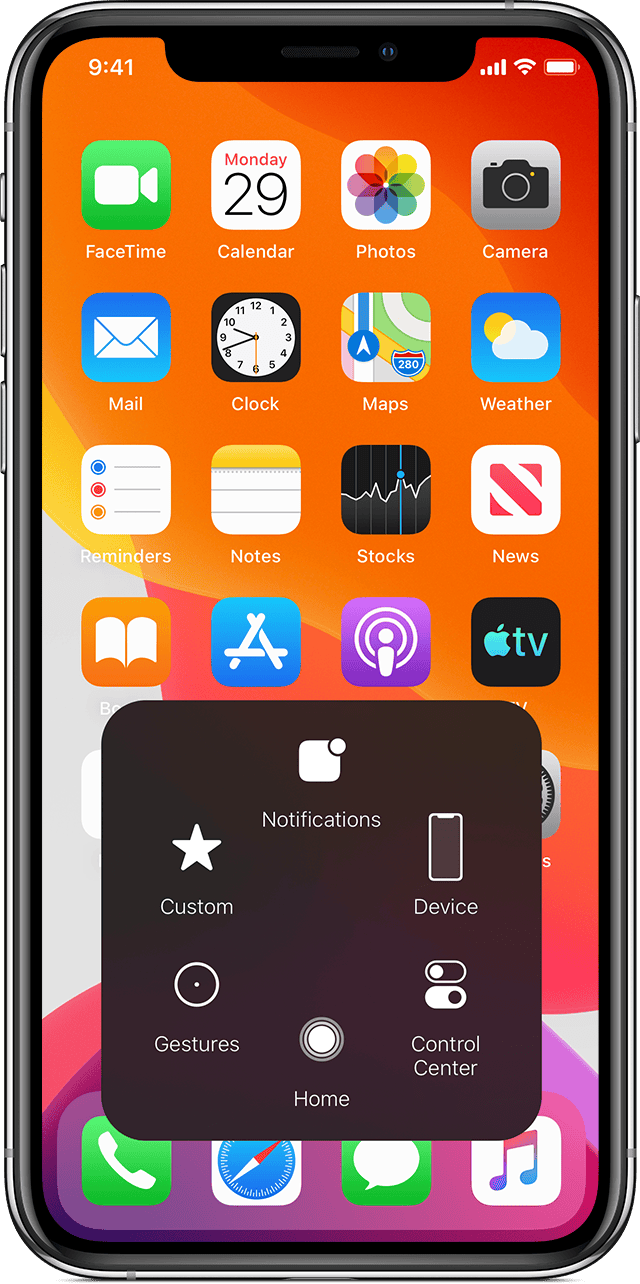
Navigating the AssistiveTouch Menu
Once AssistiveTouch is enabled, tapping the virtual button opens a menu. This menu has options like Home, Siri, Device, Control Center, and more. Home acts as a virtual Home button. Siri launches the virtual assistant. The Device option includes controls for volume, screen lock, and screenshots.
You can move the AssistiveTouch button to any edge of the screen. This makes it easier to access regardless of what you’re doing on your iPhone or iPad. Customizing this menu, you can add or remove options to suit your needs. It simplifies access to features you use most often.
Customizing and Using AssistiveTouch
AssistiveTouch helps people with physical issues interact with their Apple devices. This section covers customizing the AssistiveTouch menu and gestures, confirming actions, and using advanced gestures.
Customizing the AssistiveTouch Menu and Gestures
Users can tailor the AssistiveTouch menu to their needs. Open Settings > Accessibility > Touch and select AssistiveTouch. Turn it on, then tap Customize Top Level Menu. Here, one can add or remove actions and rearrange icons.
Custom gestures can be created by tapping Create New Gesture. Press and move your finger in the desired pattern on the screen. To test it, tap Save and give it a name. Users can also assign single-tap, double-tap, or long press actions for frequently used functions.
Confirming Actions with AssistiveTouch
Use AssistiveTouch to confirm actions like Apple Pay or making purchases. Go to Settings > Accessibility > Touch > AssistiveTouch and toggle on Confirm with AssistiveTouch. This enables a virtual button to confirm actions instead of double-clicking the side button.
When making payments or purchases, tap the AssistiveTouch button. Select Apple Pay or the confirming action icon, then tap Confirm. This is useful for people who have trouble pressing physical buttons.
AssistiveTouch for Advanced Gestures and Accessibility
AssistiveTouch excels with advanced gestures and accessibility features. Users can record (multi-finger) gestures for tasks like pinch, zoom, or rotate. Go to Custom and tap Create New Gesture, then perform the desired motion.
For multi-finger gestures, blue circles represent fingertip positions. Users can move and adjust these circles on the screen. AssistiveTouch supports devices like pointer mice, keyboards, and other assistive technologies.
Accessibility options like Dwell Control and Motion Pointer help users with severe mobility challenges. With Dwell Control, the pointer moves when you focus on a point, reducing the need for physical interaction. Motion Pointer lets users control the device with head movements.
By customizing AssistiveTouch, actions can be performed quickly and easily, making the device more accessible to everyone.